Canning Fruits – Perfect Projects For the Beginning Canner.
This page may contain affiliate links. More Information.
Welcome to Your Beginner’s Guide to Canning Fruit!
If you’re new to home canning, fruit is hands-down one of the easiest and most rewarding places to start. Canning your own fruit means you get to enjoy fresh flavors all year long, build a pantry full of homemade goodness, and feel confident preserving nature’s bounty. No pressure canner needed — just simple tools, a few basic steps, and a little patience.
Here’s what you’ll find on this page:
- Beginner-friendly fruit canning recipes that walk you through everything from peaches to berries, step by step.
- Helpful how-to articles and expert tips on the right equipment, techniques, and solving common canning questions.
- Answers to common questions about sugar alternatives, safety, and which fruits to can (and which to skip).
Are you ready? Scroll down and pick the perfect project to get started!
Two Canning Methods Appropriate for Fruit.
Because fruit is a high acid food, no pressure canner is needed! You can safely process most fruit in either a boiling water bath canner or a steam canner. For more information on the difference between the two canners check these articles.

Canning Fruit recipes
Browse by category to find canning projects that fit your skill level, taste, or seasonal fruit haul. Each link takes you to a full, step-by-step tutorial.
Classic Everyday Fruits – Perfect for pantry staples, lunchbox favorites, and versatile everyday use.
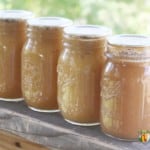
Canning Apples
Canning Applesauce
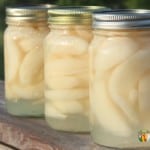
Canning Pears
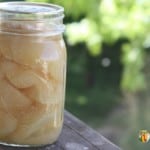
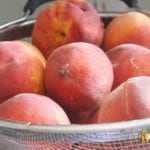
Canning Peaches
Canning Plums

Canning Berries
Canning Cherries
Dessert Ready Fillings and Spreads – For canners who want shortcuts to pies, crisps, and sweet treats.
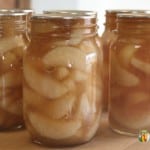
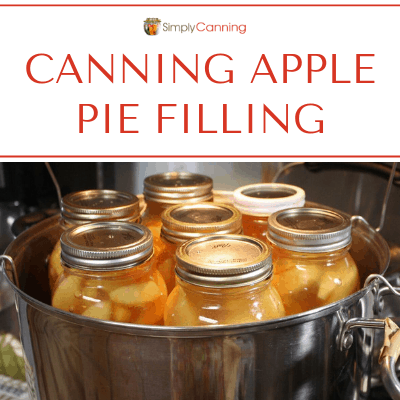
Canning Apple Pie Filling
Peach Pie Filling
Cherry Pie Filling

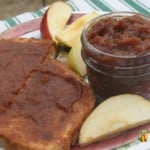
Apple Butter Recipe
Tropical and Specialty Fruits – More unique or seasonal fruits for adventurous or regional canners.
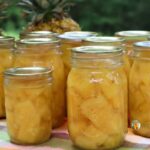
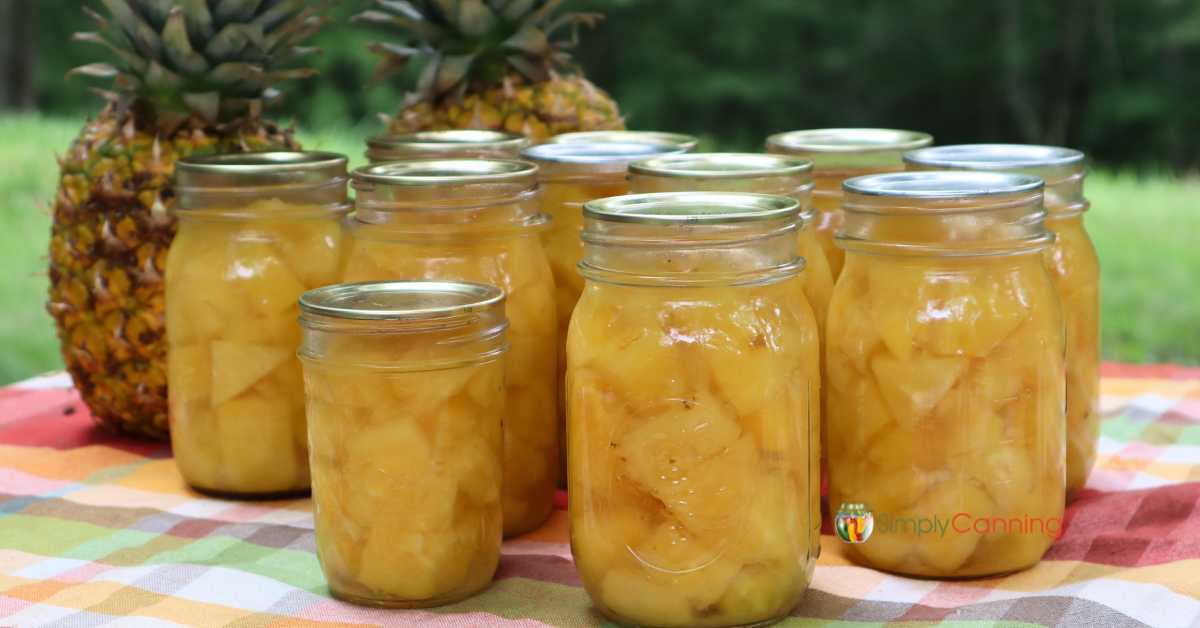
How to Can Pineapple
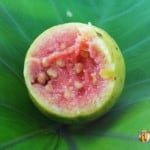
Canning Guava Fruit
How to Can Oranges
Learn more here…
Canning Asian Pears
Juices – Great for sipping, gifting, or preserving your own healthy drinks.

Tools and Equipment
When it comes to canning fruit, having the right tools and equipment can make the process much smoother. Here is a brief list with links to more information if needed. Here are some essential canning tools you’ll need:
Essential Canning Tools Needed
- Canning Jars: Quart jar or pint jars. Choosing jars specifically designed for canning with sealing lids and bands is recommended. But reused jars can be used in a pinch. (read more here)
- Canning Lids and Bands: These components create an airtight seal on the jars. Lids are usually single-use, while bands can be reused.
- Canning Pot – this can be a water bath canner sometimes known as a boiling water canner, or it can be a steam canner.
- Water Bath Canner: A large pot with a fitted lid or a dedicated water bath canner is used for the boiling water bath method of canning. It should be deep enough to submerge the jars completely and allow for water circulation.
- Steam Canner: A steam canner is an alternative to the traditional water bath canner. It uses steam to heat the jars, reducing the amount of water needed and saving energy. Not to be confused with a pressure canner. This pot does not use pressure.
- Canning Hand Tools. These hand tools can be purchased individually, but kits are an inexpensive way to go.
- Jar Lifter: This tool helps safely lift and handle hot jars from the canning pot.
- Canning Funnel: A funnel with a wide mouth is used to fill the jars with fruit and liquid while minimizing spills and mess.
- Bubble Remover/Headspace Tool/
- Magnetic Lid Wand: These hand tools help when you are packing jars to remove air bubbles, ensure the correct headspace, and retrieve metal lids from hot water (not boiling) to place on the jar.
Helpful Tools to Make Things Easier
- Kitchen Timer: A reliable timer is essential to keep track of processing times accurately. You don’t want to over or under process.
- Optional: Food Mill, Food Processor, or Blender: These can be extrememly helpful for processing or pureeing fruit if desired.
There may be other special hand tools that are needed according to specific fruit recipes. And You’ll also need a variety of general kitchen supplies. For example; cutting board and knife, kitchen towels and pot holders.
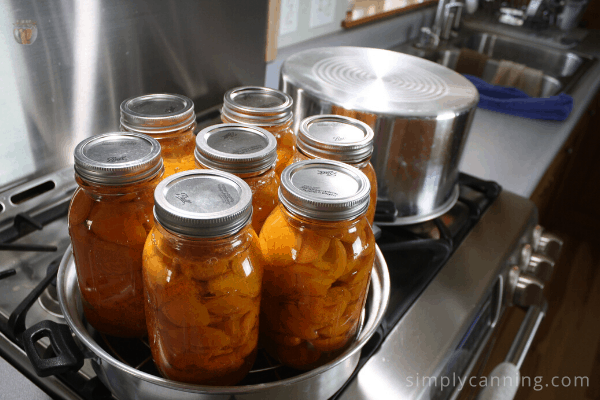
How to Use a Water Bath Canner
Here are the basic steps to water bath canning fruit: Each fruit will be slightly different as to how you pack the canning jars.
- Some will be hot pack some will be raw pack.
- Some fruit will need to be washed and chopped, some peeled and sliced.
- Some processed for 10 minutes, some for 20.
You get the idea. You’ll have to check the individual fruit recipes for specifics but the basics are the same.
- Prepare the fruit: Select ripe fruit. Rinse thoroughly with cold water, and prepare the fruit according to your directions. Chopping and/or peeling as needed.
- Prepare the canning liquid: Depending on the recipe and fruit, you most likely need to prepare a syrup, juice, or other liquid to pack the fruit in. You might need sugar water, you might want to use fruit juice. (more on sugar free below)
- Pack the jars: Fill the jar with prepared fruit. Leave the recommended headspace (usually 1/2 inch or as specified in the recipe). Pour the hot syrup over the fruit.
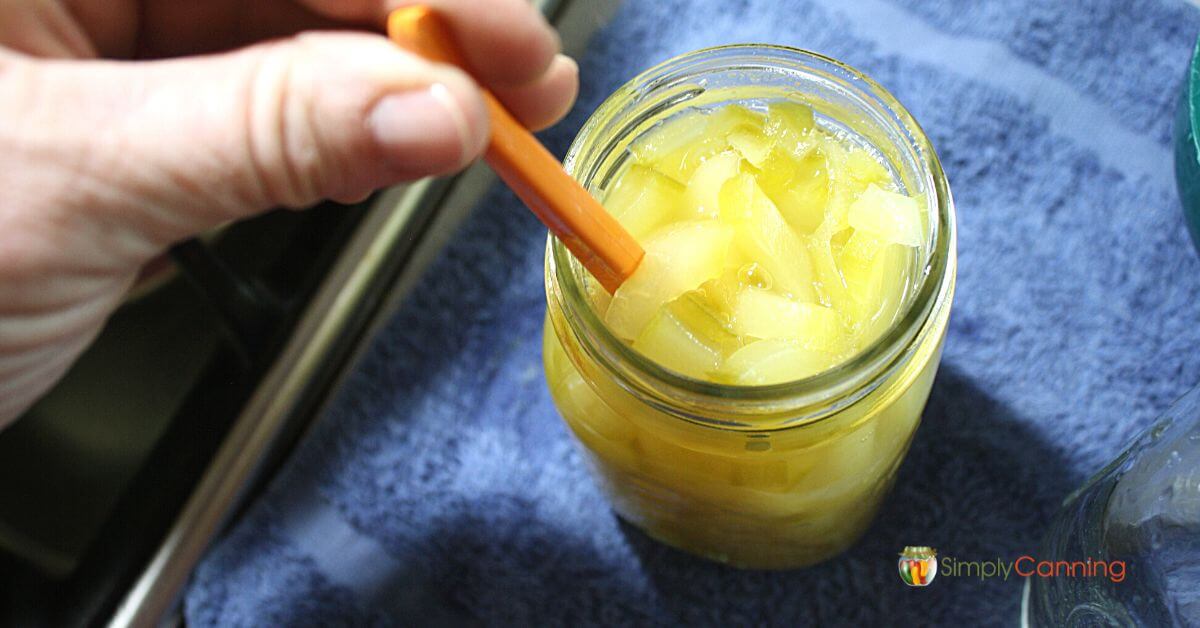
- Remove air bubbles: Use a bubble remover or a non-metallic utensil to gently remove any trapped air bubbles by sliding it along the inside of the jar. Check your headspace again, sometimes the bubble step changes things.
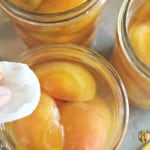
- Wipe jar rim: Take a clean, damp cloth or paper towel and wipe the rim of the jar. This is to make sure that any stickiness of food pieces don’t interfere with the seal between the jar and lid.
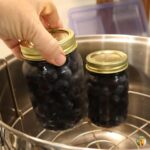
- Put on your flat lids and bands: The bands need to be snug. Finger tight is often used to describe this step. You don’t have to crank down hard.
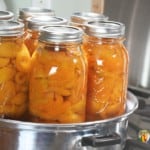
- Process the jars: Using jar lifters, place filled jars into a canning rack or a water bath canner filled with hot water. Make sure the water covers the jars by at least 1 to 2 inches. Put on the canner lid and bring the water to a rolling boil.
- Process for the recommended time: Follow the recipe instructions for the specific fruit you are canning. This may vary from 10 to 30 minutes depending on the fruit and jar size. Pints will have a shorter time, quarts longer. It will also depend on your altitude. Any good recipe will include altitude adjustments. I’ve got more on why adjusting for altitude in home canning is important.
- Remove and cool the jars: After the processing time is complete, turn off the heat and use jar lifters to carefully remove the jars from the canner. Place them on a towel leaving a bit of space between the jars. Let them cool undisturbed for 12 to 24 hours.
- Remove bands, Check the seals: Once cooled, you can remove the screw bands and check the seals. Press the center of each lid to check if it is properly sealed. If the lid does not flex or make a popping sound, it is sealed.
- Label and store: Once the jars are completely cool and sealed, label them with the contents and date. Store the jars in a cool, dry, and dark place.
Check here for full details on using a water bath canner including printable list. Love the printable list!
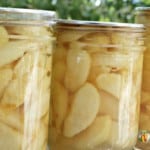
How To Prevent Fruit Discoloring
There are certain fruit that will brown, or darken when cut and canned. Apples and Pears are notorious for this. But there are others as well that would benefit from these treatments. There are a couple ways to avoid browning.
- You can use a commercial ascorbic acid. You’d just follow the instructions on the packaging. Ascorbic acid is basically vitamin C. So you can also use crushed vitamin C tablets. This one surprised me. I’ve got my resources at the bottom of this article! (always check for resources)
- You can use lemon juice to prevent darkening. You’d just slice your fruit into a pot with a lemon water until it is all ready to go into jars.
- You can use sugar water to prevent darkening. You’d just slice your fruit into a pot with the sugar water until it is all ready to go into jars.
- Did you know you can also use salt water? Yes, salt water will prevent browning of fruit. I tried it recently when I was freezing apples and it worked great! Just like sugar water, you’ll slice your fruit into the salt water. Drain well before packing. You can also rinse if you are concerned about any remaining salty taste.
What Fruit should not be canned?
Most fruit can be canned but there are a few exceptions. High acid fruits like apples, pineapple, peaches, apricots etc can all be preserved by home canning. Others are not acceptable.
Watermelon and cantaloupe and other melons are not suitable for canning. Fruit like bananas and avacado (eww I think they’d be mush) would not do well and are not tested for safe canning.
And yes peaches can be canned but be aware, there are white peaches that should not be canned as they are not high acid. Pears are another fruit that can be canned, but Asian Pears need special treatment. They are also a low acid fruit.
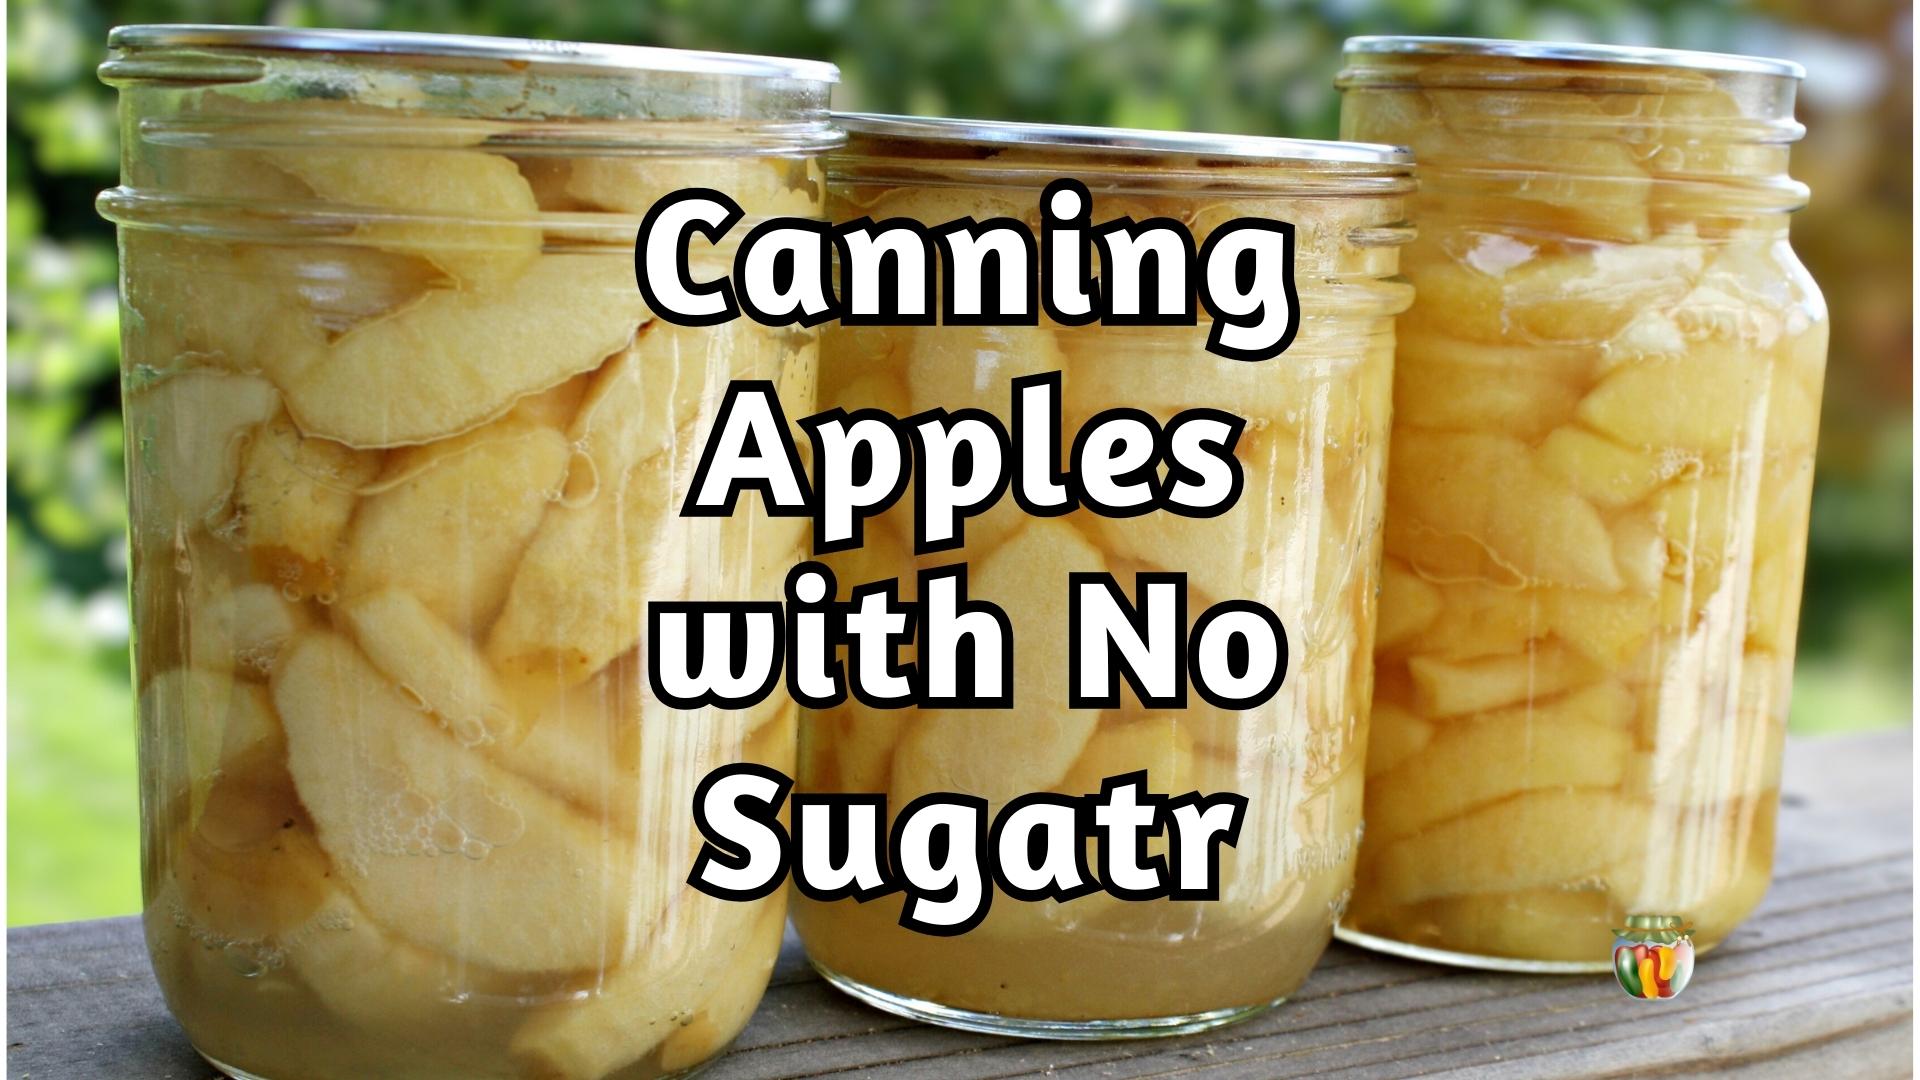
Canning Fruit with no sugar?
It is safe to can fruit without sugar. Sugar is optional. But keep in mind that sugar adds flavor and acts as a natural preservative. It helps maintain flavor, texture, and color. I have never tried sugar free canning myself, but some report that the flavor of the fruit tends to wash out into the water so your fruit will be bland. I always use at least a light syrup.
You might want to try just lowering the sugar amounts before cutting the sugar altogether. Here are some recipes for sugar syrup. These are flexible according to taste. Try a light syrup instead of heavy.
- Light syrup – 2 cup sugar to 1 quart water
- Medium syrup – 3 cups sugar to 1 quart water
- Heavy syrup – 4 cups sugar to 1 quart water.
Some fruits do well without sugar, others truly do benefit from at least having some sugar, especially for texture purposes (like pears).
Sugar Alternatives in canning
There are alternatives you can consider.
- Try fruit juice instead of a sugar syrup. White grape juice, pineapple, or apple juice works well as a liquid in most fruit. Think about what flavor would work best with the fruit you’ve got.
- Try honey instead of sugar. Honey may tend to change the flavor a bit. Consider finding a mild-flavored honey for sweetness without overpowering the fruit.
- Canning with Splenda is something I get a lot of questions about. Honestly I don’t recommend it but I know some do use splenda so I did some research.
These alternatives can add a touch of sweetness while still allowing you to enjoy the natural flavors.
Frequently Asked Questions
Most fruits can be canned. Whether you’re a fan of berries, peaches, apples, or even tropical fruits, you’ll find a wide variety of fruits suitable for canning. Just make sure to follow trusted recipes and guidelines specific to the fruit you’re canning to ensure safe and delicious results.
While many fruits can be successfully canned, there are a few exceptions. Fruits with very low acidity, like bananas, avocados, and melons, are not suitable for water bath canning alone. However, they can be safely preserved using alternative methods such as freezing bananas or dehydrating. I
The best time to buy bulk fruit for canning is when it’s in season and readily available. Visit local farmers’ markets, pick-your-own farms, or check with local orchards.
Typically, peak fruit seasons vary based on the specific fruit and your geographical location. Keep an eye out for harvest times in your area and take advantage of the abundance during those seasons.
And watch for end of season deals. If an orchard has the last of it’s fruit waiting, they want to get rid of it before it spoils. You can often get seconds for a great deal. Just remember fully ripe vs spoiled moldy is NOT the same thing. Canning does not fix spoiled fruit.
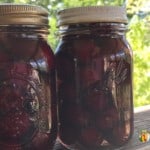
Several fruits hold up exceptionally well to the canning process. High-acid fruits like blue berries, apples, cherries, peaches, and apricots tend to preserve beautifully. They retain their flavors, textures, and colors when properly canned.
Some fruits can be canned, but are a little more delicate so take care to have the fruit just ripe. Pears and strawberries are a couple examples. Don’t over process those. That doesn’t give you permission to under process either. :). Just follow the tested instructions.
The processing time for water bath canning varies depending on the specific fruit and recipe you’re using. In general, most fruit recipes require processing in a boiling water bath for around 10 to 20 minutes. However, it WILL vary according to fruit and location.
You’ll need to adjust the suggested time for your altitude. A good canning recipe will include altitude adjustments.
If you don’t have a traditional canner, don’t worry! You can still can fruit using alternative pots. One option is to use a large stockpot or deep saucepan with a rack placed at the bottom to prevent direct contact between the jars and the pot.
This type of setup can serve as a water bath canner. Just ensure that the pot is deep enough to cover the jars with at least 1 inch of water during processing and you have a rack to keep the jars off the bottom of your pot.
You can also use a pressure canner to do a water bath. You’ll just skip the pressure part of the process.
Yes, water bath canning is a widely used method for preserving many fruits. It involves placing filled jars in a pot of boiling water and processing them for a specified amount of time. Water bath canning is suitable for high-acid fruits like berries, apples, peaches, and more. The high heat of the water bath kills bacteria and molds, creating a seal that helps preserve the fruit safely.
I purchased apricots from a farm stand, and usually when you purchase from a farm stand or orchard, your fruit comes in large boxes. The box will be full. And if you leave it full, the layers will smash the fruit that’s on the bottom. So once you get home, immediately take off the top layer of fruit and put it on the lid of the box. Keep it a layer or two deep. Any deeper, and you risk smashing the fruit.
Second, when you’re done canning fruit, don’t throw away the boxes! They’re perfect for storing full canning jars. If you’re like me and can so much that it won’t all fit in your pantry, these boxes work well! I think 8 jars fit inside my boxes. They even come with lids. You can stack the boxes. It’s convenient. Those fruit boxes are valuable; I’d even pay for them!
Sources
- National Center for Home Food Preservation
- https://extension.psu.edu/lets-preserve-ingredients-used-in-home-food-preservation
- https://ohioline.osu.edu/factsheet/HYG-5343

I am looking at how to can Oranges and Peaches so I can have them out of season but have ripened on the tree.
Did you find the right post? I have information on canning oranges here…. . And canning peaches here…