Pickled Three Bean Salad Canning Recipe, Water Bath or Steam Canning
This page may contain affiliate links. More Information.
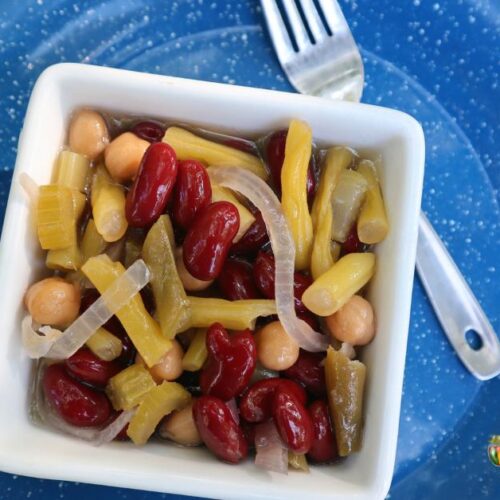
This Pickled 3 Bean Salad Canning Recipe is easy and makes a great summer side dish. This one is husband approved! Step-by-step canning guide for a home canned version.
This is a 2 day canning project. You’ll make the three bean salad on the first day, allow it to marinade overnight and then process it the next day. Combine green beans, kidney beans, onions, celery and a tangy vinaigrette sauce. Process in pint or half pint jars in a water bath or steam canner. So good!


Quantity
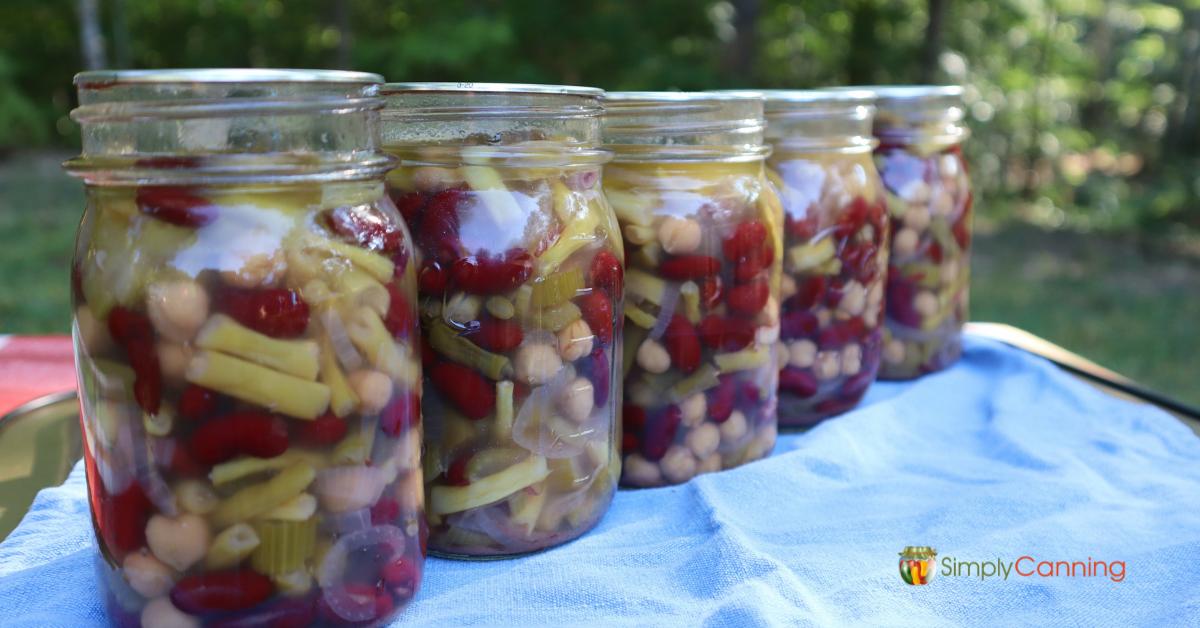
This salad can be made in either half pints or pints. You’ll end up with about 5-6 half pints. Or 3 pints. There are no processing recommendations for quarts.
There are many recipes that I make in the smaller sizes because our sons have grown up and it is just my husband and myself. But this recipe? Oh no, half pints will not do. I could eat it all myself. So for my purposes, I do pints. I doubled the recipe and ended up with 5 pints.
Know your Canner
Are you familiar with both water bath canning and steam canning? This recipe can be processed with either of these canning methods. Water Bath Canning and Steam Canning. These guides will help you with what you need to confidently set up for your canning project.
Extended Directions and Expert Tips
The ingredients include canned kidney and garbanzo beans. Notice that the quantity is in cups… not cans. Don’t mis-read and dump a whole can in. You’ll need to measure by the cup.
Ingredients
- 1-1/2 cups canned red kidney beans, drained
- 1 1/2 cups prepared green beans, cut and blanched
- 1 cup canned garbanzo beans, drained
- 1/2 cup peeled and thinly sliced onion
- 1/2 cup sliced celery
- 1/2 cup sliced green pepper, or red
- 1/2 cup white vinegar, or apple cider vinegar (5 percent acidity, check your label)
- 1/4 cup bottled lemon juice
- 3/4 cup sugar
- 1/4 cup oil
- 1/2 tsp canning or pickling salt
- 1-1/4 cups water
How to make 3 bean salad for canning
These are directions on how to make the salad. The second part of the project is the processing step which is done after the mixture has marinaded for 12-14 hours.
Prepare green beans.
If you are using fresh green beans they need to be blanched first.
- Snap fresh beans into approximately 1- 2 inch pieces as you prefer. (I like 2 inch)
- Blanch – plunge beans into boiling water for 3 minutes.
- Cool immediately by putting beans in cold water.
When I made this I had green beans in the freezer that had already been blanched in the freezing process. All I did was take them out of the freezer, thaw and they are ready to go.
Just for fun! I used 2 colors of green beans, and a purple variety too. I thought the purple would add some visual color… but it turned green when it cooked. Ah well, nice try. I can see a variety of greens. Any color works.
Prepare pre-canned kidney and garbanzo beans.
I used commercially purchased canned kidney and garbanzo beans for convenience. Just open the cans, drain and rinse well. Note that the measurements is in cups… not cans. You’ll need to measure out the beans. Don’t just dump a can in.
If you want to start from dried that works too. Just precook the beans. Don’t add dried beans to the recipe. They should be fully cooked, and drained. Or you can use home canned kidney beans too.
Prepare Onions, Celery, Peppers.
This is as simple as washing as needed, slicing and measuring. I omitted the green peppers in my salad just because I didn’t have any available. If you leave any of the vegetables out, do not adjust the quantity of any other ingredient.
Green peppers is called for but… red is suitable too and would add a lovely color to your salad. I also used purple onions for another color variety.
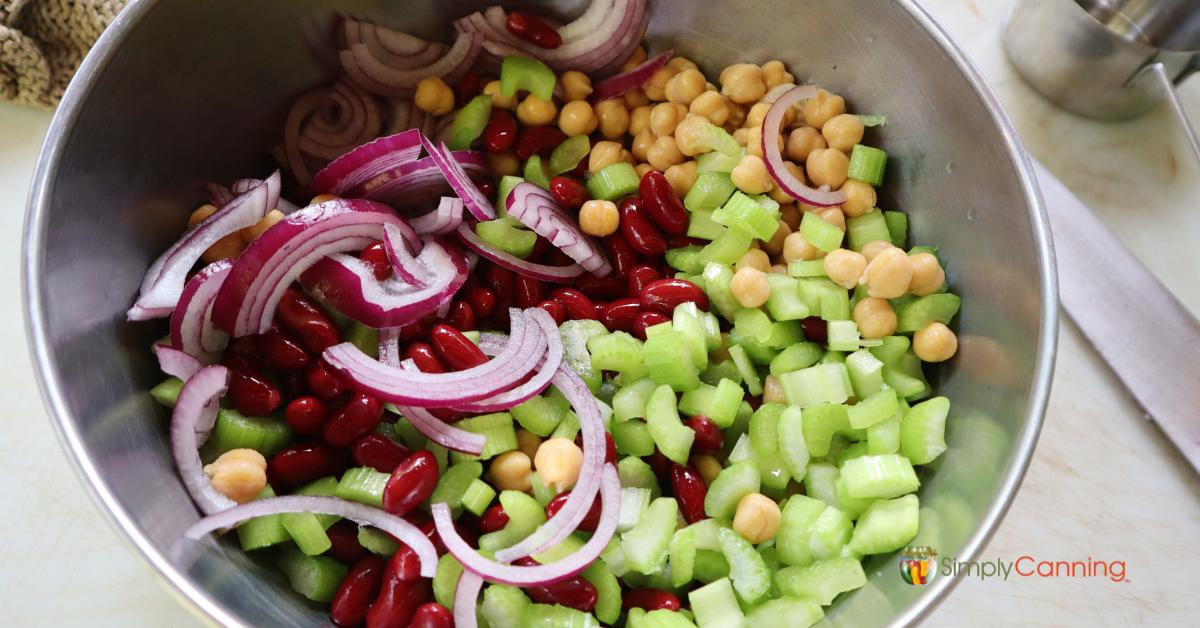
Combine Ingredients and Cook.
Measure all the beans (both types) and vegetables and combine in a large bowl.
Combine the vinegar, lemon juice, sugar and water in a large pot. Don’t add the oil or salt yet. Bring to a boil and turn off heat.
After bringing vinegar mixture to a boil, add oil and salt to the hot vinegar mixture, stir.
Note – Usually, oil is not recommended in any canning recipe. This is a small amount and it has been tested for safety so this is appropriate. My Ball Canning Book does have a different recipe that does not include oil and has a few different ingredients. But this recipe caught my eye and is perfectly safe and so very good!
Now add measured beans and vegetables.
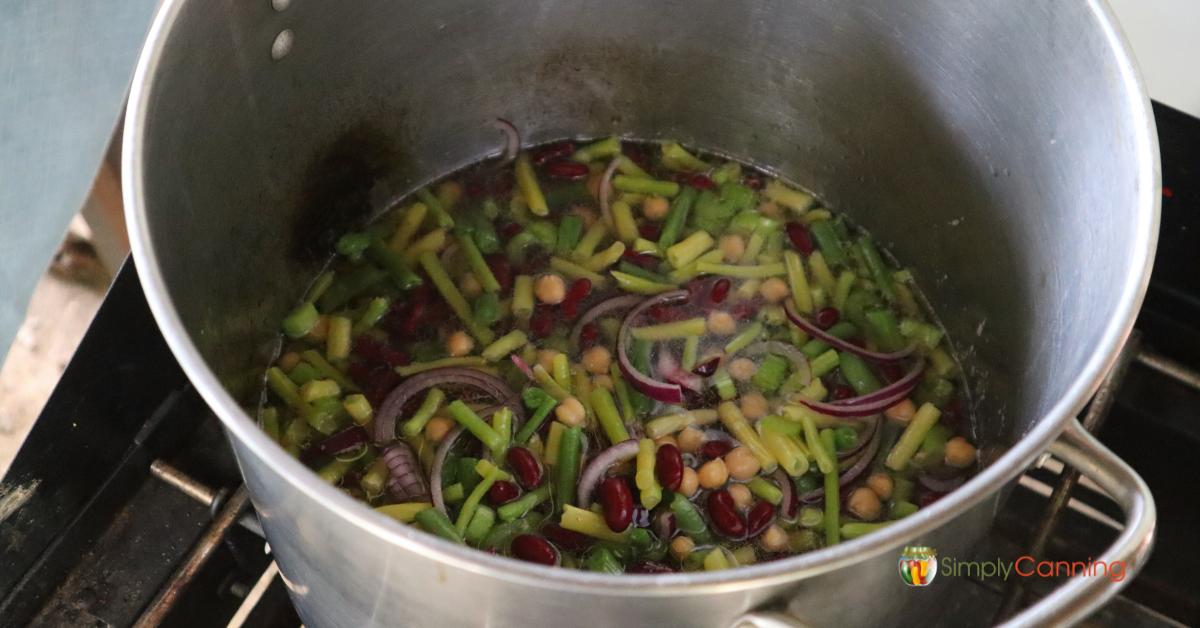
Bring the entire 3 bean salad mixture to a simmer. Remove from heat. Allow the salad to cool a bit and then put in the refrigerator to marinate. 12 to 14 hours is a minimum time. I usually do this the day before and then marinate it overnight.
Canning Three Bean Salad
When you are ready to can, gather all canning supplies and get the jars and water in the canner heated. (See recipe card below for a list) The goal is for the canner to be hot but not boiling when the jars are filled and placed in the canner.
Reheat the three bean salad to a boil. Stir often while you do this to avoid sticking. It is not super thick so it is not usually an issue but just in case go ahead and give it a stir.
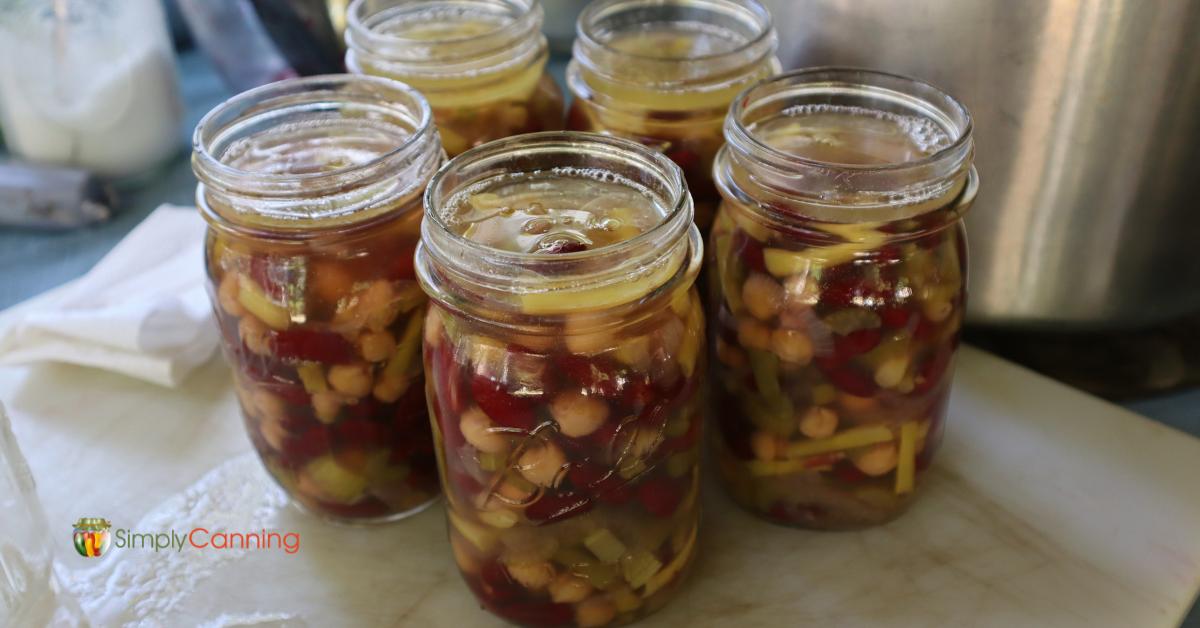
Packing the Jars
Adding solids and then liquid to your jars allows you to fill your jars evenly and not end up with some jars mostly solids, and some jars mostly liquids.
- Using a slotted spoon, fill jars with beans and other solids. Leave approximately 1/2 inch headspace.
- Using a ladle, add the hot liquid over the solids. Leave 1/2 inch headspace.
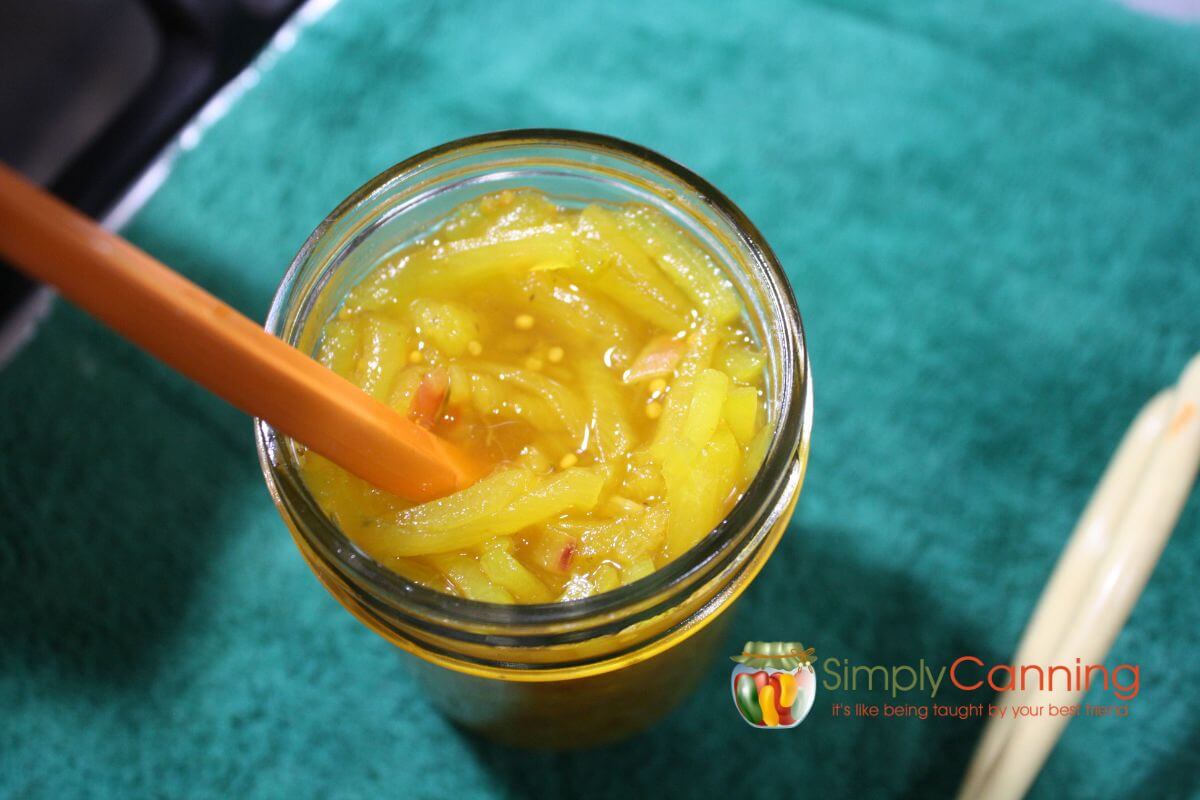
Remove air bubbles with a bubble tool or some other plastic utensil. If you don’t have a canning bubble tool, an orange peeler works great. Just run it down the side of the jar and move things around to release potential air. Then check your headspace again in case the levels changed.
Wipe rims of jar clean with damp towel or paper towel. Sometimes you’ll end up with a mess on the rim of your jars so it is important to clean them off. Residue on the rims may interfere with the seal.
Finally, add your canning lids and rings. You do not need to crank down hard. Finger tight is sufficient.
Place the jars in the hot canner and process according to the instructions below. Remember, the canner should be hot but not boiling yet.
Processing in a Water Bath Canner
After all jars are in the canner, lower jar rack into the water. Bring to a boil. When the water comes to a rolling boil, start your time.
Processing Time
Half Pints and Pints are processed for the same amount of time. Quarts are not recommended nor tested.
- 0-1000 feet – 15 minutes
- 1001-6,000 – 20 minutes
- Above 6,000 feet 25 minutes
- Process for the full time indicated, adjusting the heat as needed to maintain a boil for the entire processing time.
- When processing time is completed turn off the heat.
- Remove the canner lid and wait 5 minutes.
- Remove your jars. Some bubbling is normal but you can wait another 5 minutes if the contents appear to be bubbling so hard it is coming out of the jars.
- Put the jars a few inches apart on a thick towel and allow them to cool to room temperature undisturbed. 12 hours is suggested. Do not try to speed this up! No fans, no covering the jars. Just leave them rest.
When the jars are cooled to room temperature, remove the metal bands, check the seals.
You will want to wash jars if they are sticky. Usually just a rinse is fine with this recipe. It doesn’t get too sticky. Then dry completely, mark the contents on the lid, and store in a cool dark place.
What if the canning jars don’t seal?
If you find a jar that has not sealed, just put it in the refrigerator for use. It won’t be safe for storage on the shelf… but in the fridge is just fine.
Steam Canning
This recipe is a great candidate for steam canning. The processing time will be the same as a water bath. Check the directions for using your steam canner.
3 Bean Salad Recipes specific for canning purposes
There are many sources 3 bean salad recipes. If it is for fresh use, any recipe is fine. But keep in mind if you want to can this for storage on the shelf, you really do need to use a recipe specifically for canning purposes. The ingredients, amounts of vegetables, vinegar, oil, etc. It’s all important for canning safety.
This recipe is research tested from the National Center for Home Food Preservation. I chose it because it includes that bit of oil and garbanzo beans. Love the garbanzos! And I think the oil just adds a richness to the flavors.
Ball Canning Three Bean Salad recipe is very similar. It does have a few different ingredients. It does not include oil and it adds in wax beans, lima beans, and some different spices like mustard seed, celery seed.
Adaptations
When I made this recipe I left out the peppers simply because I didn’t have any on hand. If you leave out a vegetable, do not replace it with another vegetable or increase the amounts of the other ingredients.
You can change the type of pepper to make it more spicy. The recipe calls for mild green peppers, you can use any color or heat of pepper in equivalent amounts. In fact, the next time I make this I’m going to add a bit of heat with some peppers. My husband loved the recipe as is… but commented it could use a little more spice.
You can also add in different seasonings. For example mustard seed, and celery seed might be a good addition since the Ball canning recipe included those. 1 Tablespoon mustard seed, 1 teaspoon celery seed.
You can substitute apple cider vinegar for white vinegar. It must be at a 5% acidity. Check your labels.
Frequently Asked Questions
Yes, you can use fresh green beans, but make sure to blanch them before adding to the salad. Canning requires pre-cooked beans to ensure safety and preservation.
Home canned 3 bean salad can be stored for up to 1 year in a cool, dark place. Always check for signs of spoilage before consuming. This is more of a quality issue than a safety one. After a year the quality of the ingredients will deteriorate more quickly. If it is a year old, just make a plan to use it up soon.
No, you should not change the vinegar. Altering the acidic ingredients might affect the salad’s preservation.
A water bath canner is suitable for canning high-acid foods like 3 bean salad. Pressure canning is not recommended as it can overcook the ingredients. But you can use the pot to do a water bath. Here is a quick video tutorial on how to use your pressure canner for a water bath process.
The printable recipe card is a step by step printer friendly recipe. More details, explanations, and tips are available in the article above.
3 Bean Salad Canning Recipe
Equipment
- Steam Canner optional
Ingredients
- 1-1/2 cups green beans
- 1-1/2 cups canned red kidney beans drained
- 1 cup canned garbanzo beans drained
- ½ cup peeled and thinly sliced onion
- ½ cup sliced celery
- ½ cup sliced green pepper or red
- ½ cup white vinegar or apple cider vinegar (5 percent acidity, check your label)
- ¼ cup bottled lemon juice
- ¾ cup sugar
- 1-1/4 cups water
- ¼ cup oil
- ½ tsp canning or pickling salt
Instructions
3 Bean Salad
- Prepare fresh green beans by cutting into 2 inch pieces and blanching for 3 minutes then cool.
- Prepare pre-canned kidney and garbanzo beans. Drain and rinse well.
- Prepare onions, celery, peppers.
- Measure all beans and vegetables and combine in a large bowl.
- Combine the vinegar, lemon juice, sugar and water. (not the oil or salt yet) Bring to a boil and turn off heat.
- Add oil and salt, stir and add beans and vegetables. Bring entire mixture to a simmer. Remove from heat and allow to marinate in the refrigerator. 12 to 14 hours. (I do overnight)
- Reheat mixture to a boil. And you are ready to can.
Packing the Jars
- Using a slotted spoon, fill 1/2 pint or 1 pint jars jars with solids. Leave 1/2 inch headspace.
- Using a ladle add the hot liquid over the solids. Leave 1/2 inch headspace.
- Remove air bubbles and check your headspace again. Adjust if needed.
- Wipe rims of jar clean with damp towel or paper towel.
- Add your canning lids and rings, finger tight.
- Place the jars in the canner and process according to the instructions below
Processing with Water Bath Canner
- After all jars are in the canner, lower rack into the water. Bring to a boil.
- When the water comes to a rolling boil, start your time.
Processing Time
- Half Pints and Pints are processed for the same amount of time. Quarts are not recommended.
- 0-1000 feet – 15 minutes
- 1001-6,000 – 20 minutes
- Above 6,000 feet 25 minutes.
- Process for the full time indicated, adjusting the heat as needed to maintain a boil for the entire processing time.
Cool Down Time
- When processing time is completed turn off the heat.
- Remove the canner lid and wait 5 minutes.
- Remove your jars. Some bubbling is normal but you can wait another 5 minutes if the contents appear to be bubbling so hard it is coming out of the jars.
- Put the jars a few inches apart on a thick towel and allow them to cool to room temperature undisturbed. 12 hours is suggested.
- When the jars are cooled, remove the metal bands, check the seals, wash jars, dry completely, and store in a cool dark place.
Notes
National Center for Home Food Preservation
More To Do with Beans
Source-National Center for Home Food Preservation
This recipe is by far the best 3-bean salad I’ve ever had! I too doubled the recipe… then 4 days later made ANOTHER double batch! And I’m with you, Sharon. I could literally eat an entire half pint jar of this delicious salad in one sitting! It’s that good.
Really excellent recipe! Great flavor and easy to make. Thanks Sharon!
Can you omit the oil and reduce the sugar?
No, I would not make those substitutions. Ball has a 3 bean salad recipe as well. I know it does not have oil. I’m not sure on the sugar or other ingredients. It might be a better fit for you.
Thank you. I will try your recipe as it is. Looks delicious!
What is the reason you cannot use quart size jars?
The recipe has not been tested for the larger quantity. You can’t just assume that increasing time will give the correct heat and processing for the larger jar. I go over this more in this video article about the canning process and adapting jar size.
sounds good. Need to can some this year. The photos shows 5 pint jars. The recipe said this makes only 3 pints. Can I add more canned beans or would it be best to wait till I open the jars & then doctor it up some. I usually have more vinegar in my bean salad.
I’m pretty sure I probably made a double batch when I did this photo shoot, thus the extra jars. As far as adding extra of any ingredient, I don’t recommend that for canning. Doctoring things up when you open the jar is a perfect solution!
This was so good the way it is written but next time…. I’m adding a bit of hot pepper instead of green peppers to add some spice!