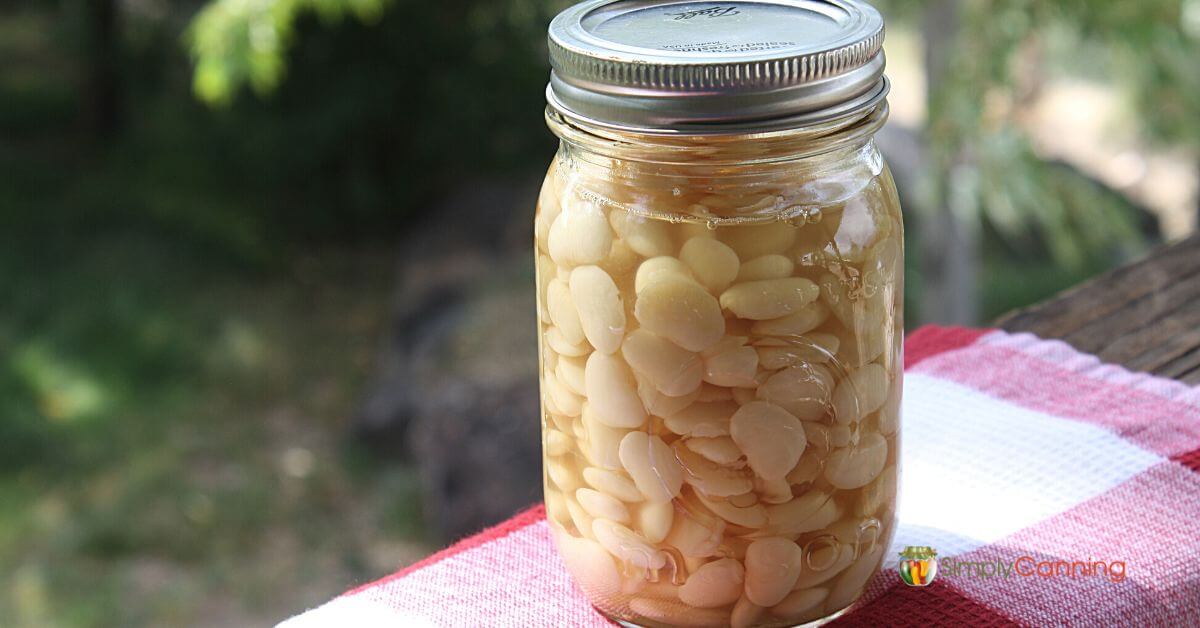
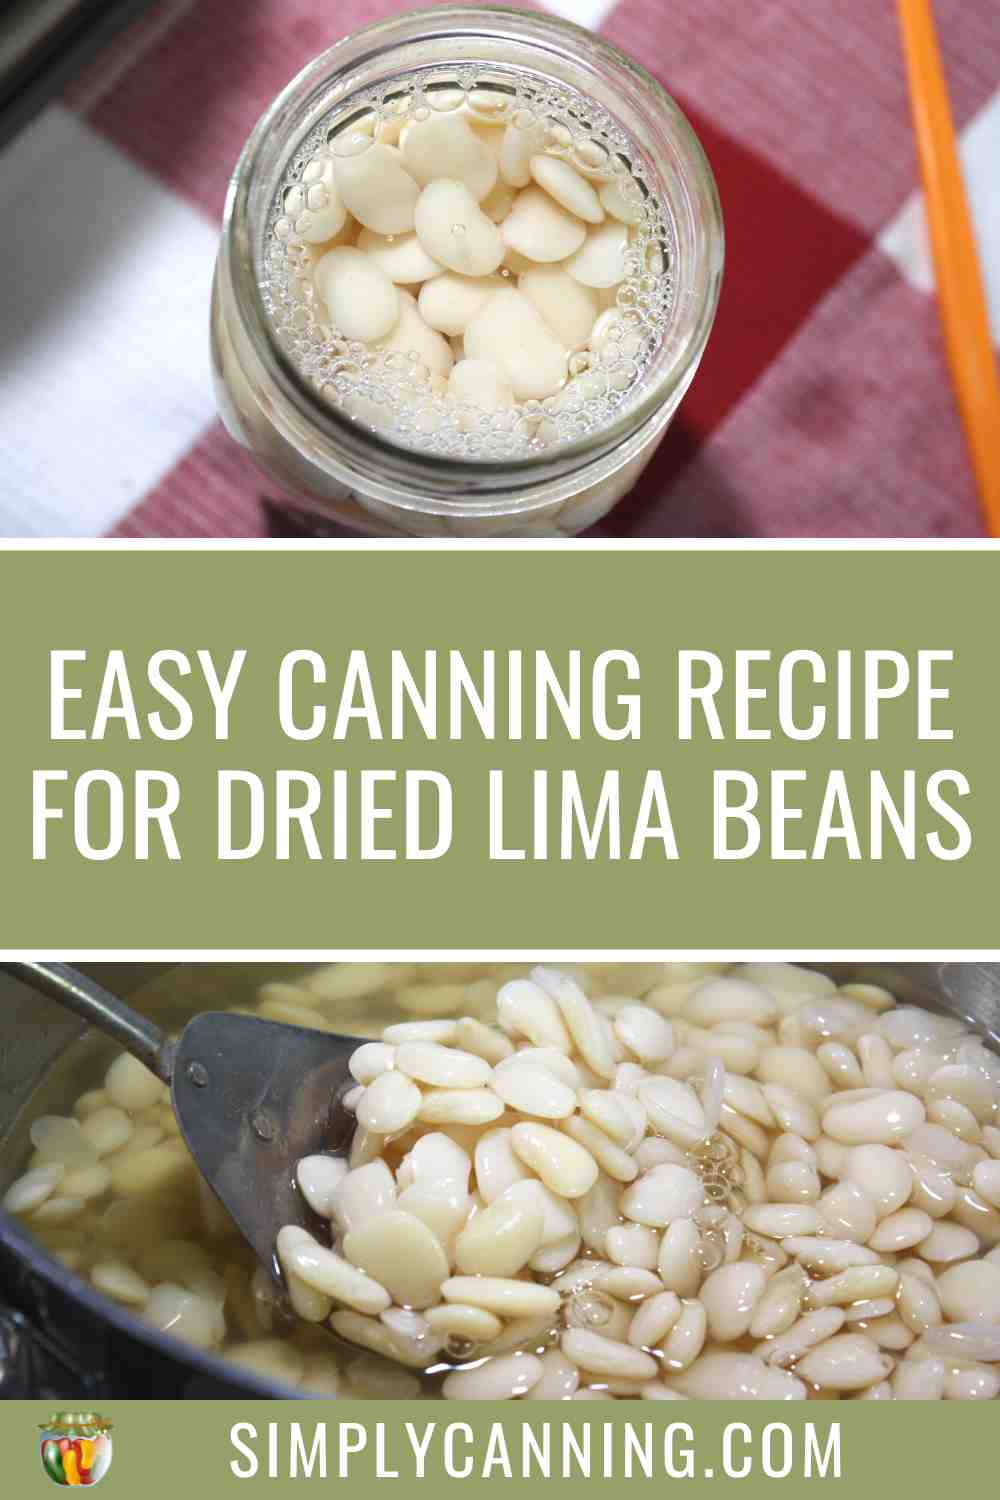
How To Can Lima Beans
This page may contain affiliate links. More Information.
Learn how to can lima beans with our expert tips and step-by-step guide. Canning lima beans is a great way to enjoy them with that ready to eat convenience.

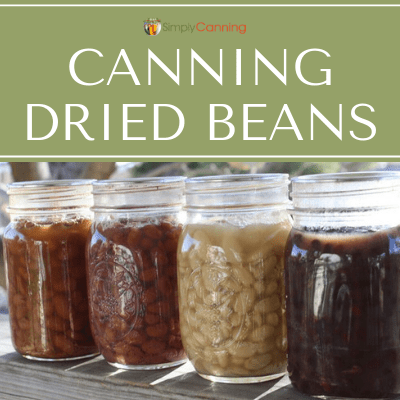
Why Can Dried Lima Beans? Don’t they store better dehydrated?
The first reason I can dried beans is home made convenience. They require no soaking and can be used straight from the jar. No waiting if you forgot to soak them the night before.
Canning dried lima beans at home allows for greater control over the ingredients used, including the amount of salt and other seasonings.
Canning dried beans is a cost-effective way to have that convenience on the shelf. Especially when compared to purchasing pre-canned beans at the store.
Quantity
For a full canner load of 7 quarts, you’ll need about 5 pounds of dried lima beans.
For a full canner load with 9 pints, you’ll need about 3.25 pounds of lima beans.
Per jar this works out to .71 pounds per quart which is a little less than a pound per jar. Or about 3/4 pound per quart.
Know your Canner
Before you start this project, if you are not familiar with using a pressure canner I recommend reading – How to use a pressure canner. This will familiarize you with how a pressure canner works and what steps to take to get set up for any canning project.
Canning Lima Beans Extended Directions and Expert Tips
Pre-soak to hydrate the beans.
First wash your lima beans. I do this with a bowl and strainer. Just cover your beans with cold water, swish a bit and drain. Do this twice. While you are working, debris or bad beans will likely float. Pick those out and dispose of them. Just cleaning things up a bit.
Your beans need to be hydrated before canning. Some people say you can just add dried beans and water to a jar. But the process will not work for that. The beans will need time to cook first.
Hydrate beans by either an overnight soak or quick soak. Either are fine. I usually do an overnight soak… unless I forget, then I’m happy to be able to boil the beans and rehydrate relatively quickly.
- Overnight Soak; after rinsing, put dried lima beans in a large pot and cover with water several inches over the top. The beans will swell and you want them to stay submerged. Soak 12 to 18 hours in a cool place. Drain water away. You will not reused this water.
- Quick Soak; after rinsing, bring beans to a boil with plain water. Use plenty of water as the beans will swell and you want them to stay submerged. Boil for 2 minutes. Remove from the heat, cover, and leave in the water for 1 hour. (That is the quick soak part) Drain water away, you will not reuse this water.
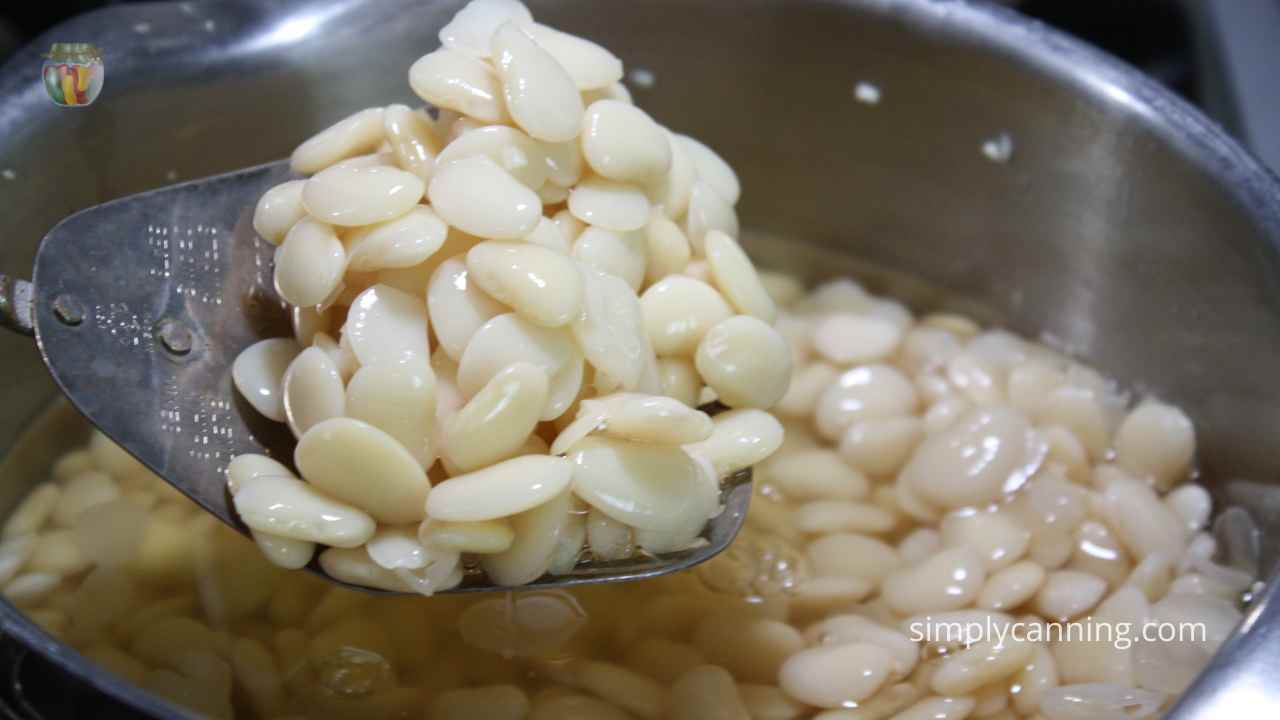
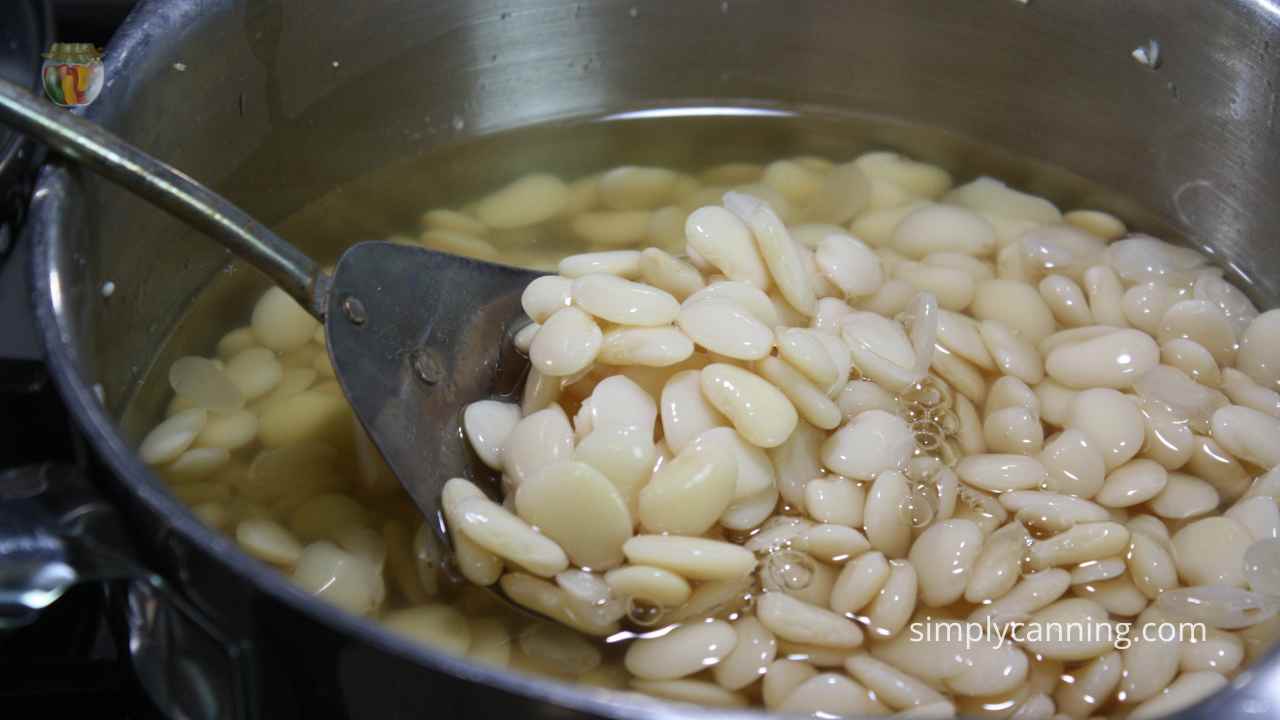
Pre-cook the beans
Next partially cook your beans with fresh water. Bring to a boil, reduce heat and simmer for 30 minutes. Once again the beans will soak up water and swell so be sure and have a few inches over the top.
After this 30 minute boil the beans are ready to go in jars. You will use this cooking water in your jars so don’t throw it away.
Canning and Packing the Jars with Rehydrated Limas
You should have your jars and canner hot (not boiling) and ready to go at this point. Hot food, goes into hot jars, which go into a hot canner. This will prevent your jars from breaking.
Next add canning salt. Salt is actually optional but highly recommended. The beans will taste so much better. Use canning salt, not regular table salt. Canning salt has no fillers.
Adding the salt to your jars before you add the beans is easiest. – 1 teaspoon of salt per quart, 1/2 teaspoon per pint.
Fill jar with lima beans and cover beans with the water you cooked them in. Make sure all beans are fully submerged.

Note: if you accidentally drained the cooking water down the drain it’s ok. Or if you don’t have enough to cover the beans in all your jars. You’ll just need to have some extra boiling water to put over your beans in the jars.
Leave 1 inch headspace between the liquid level and the flat lid.
From my experience these beans will still swell. I like to leave about 1.5 to 2 inch inch headspace for just the beans. Then you should add water to the 1 inch headspace. This gives the beans just a little more room yet keeps you within that safe headspace recommendation.
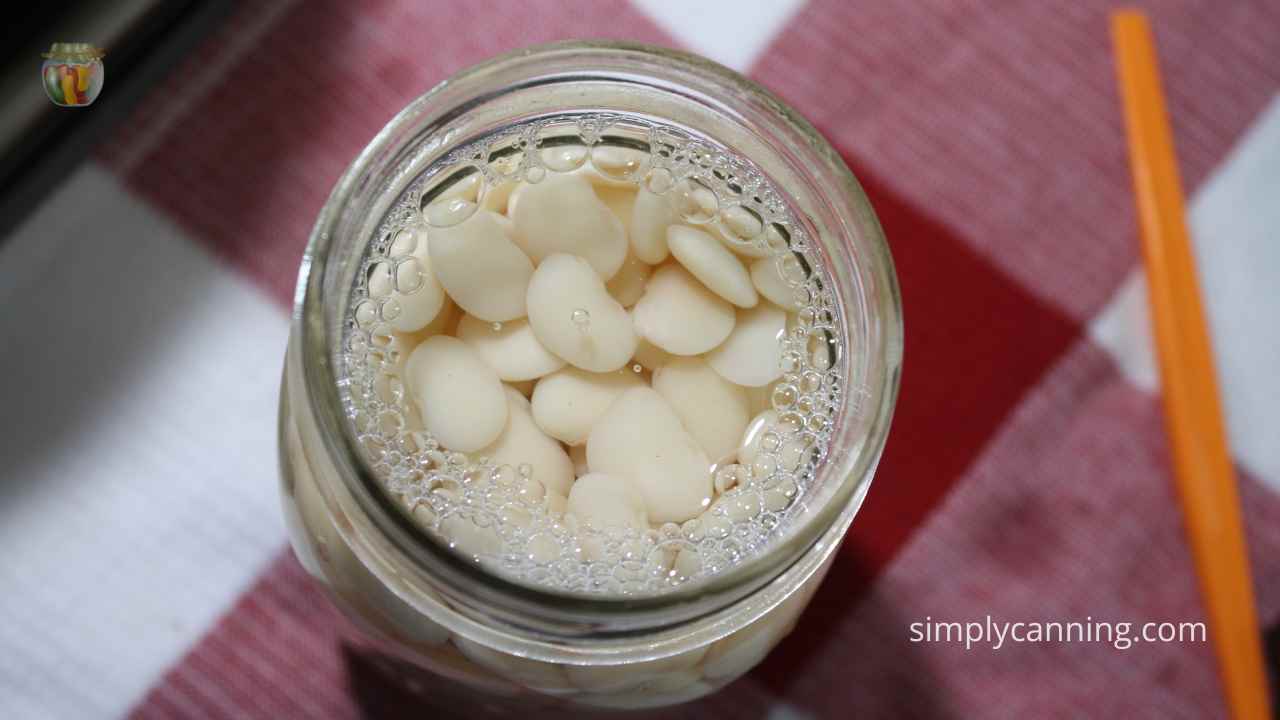
Remove air bubbles. This is simply done’ by using a bubble tool or some small plastic utensil. Run it down the sides of your jars moving things around a bit. If there are air bubbles they will be released. I find beans and water don’t tend to trap air bubbles like some vegetables do. But do it anyway just I case.
Check your headspace again. Sometimes removing the air bubbles changes the level of the water enough that you might need to top it off a bit.
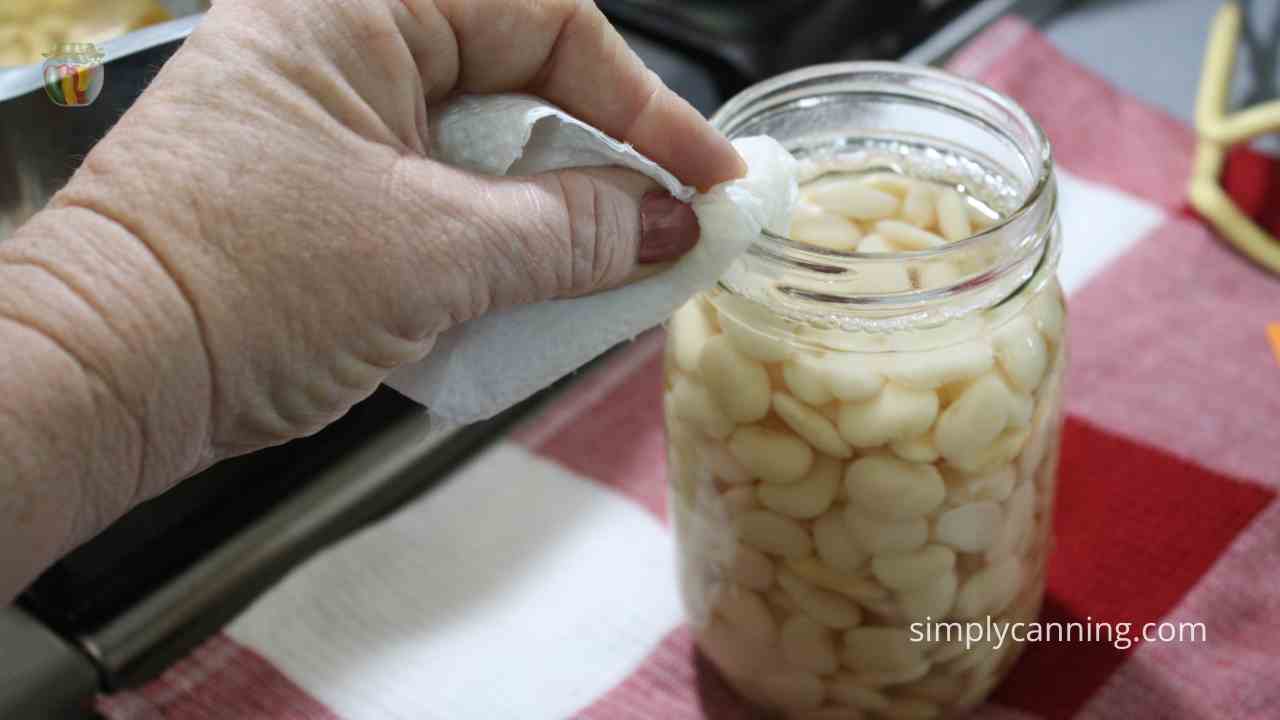
Wipe rims of the jar clean with damp towel or paper towel. You don’t want food particles to interfere with the seal.
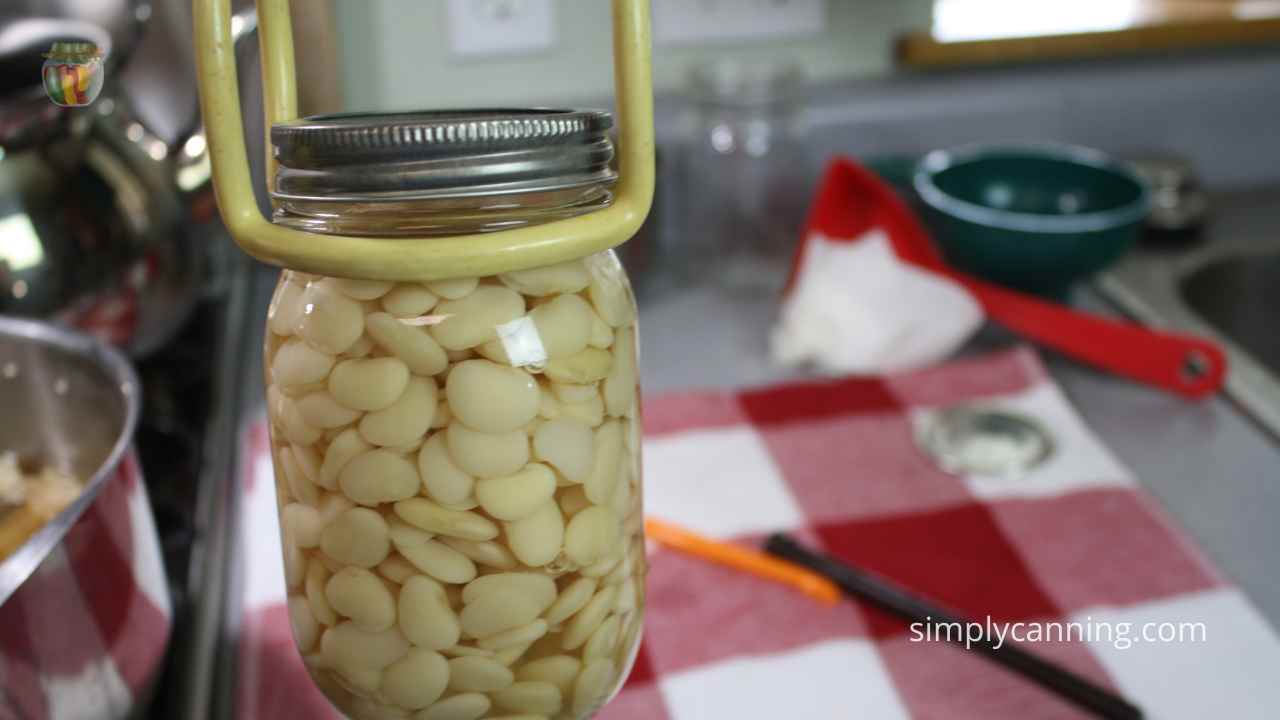
Add your canning lids and rings, finger tight. This just means closed so it is secure. You do not need to crank down super hard!
Place the jar in the canner. Remember, hot pack beans, hot jar, hot canner.
Repeat this process until all jars are filled.
Next you’ll process in a pressure canner according to the instructions and chart in the notes area below.
Frequently Asked Questions
Do lima beans need to be cooked before canning?
Yes, the beans really must be pre-soaked and then pre-cooked. Raw pack is not suggested. If you just add the beans without those steps they are a completely different density. The timing will be off and the testing doesn’t apply. And No, you can’t just add time and assume that will take care of things. Remember the testing is very accurate. You might as well do things right.
No, if you add meat you are once again changing the process. What you can do though is make the recipe as written. Then when you open the jar to serve it, add the meat of choice. Adding a bit of cooked bacon or ham to this and serve with cornbread or toast would make a quick lunch.
I can them for the convenience of having them ready to go. Just like canned beans from the store… only much cheaper! And with home canning the flavor can’t be beat.
You can use home canned lima beans just like you would commercially purchased beans. Soup, hot dish, heat and eat as a side. Heat up a pint jar of lima beans, serve with some toast and you’ve got lunch.
Posts and Tutorials you Might Need
- Finger Tight? What is finger tight anyway?
- How to use a Pressure Canner
- Video Chat with questions about canning dried beans.
- Three Bean Salad Recipe – another way to use dried beans, this one pickled!
Printable Recipe

Equipment
Ingredients
- Lima Beans
- Salt
Instructions
Canning Dried Lima Beans
Pre-Soak Lima Beans
- First wash your lima beans with several rinses of clear water. Pick out any bad beans and debris.
- Hydrate beans by either an overnight soak or quick soak.
- Overnight Soak; put dried lima beans in a large pot and cover with water. Soak 12 to 18 hours in a cool place. Drain water.
- Quick Soak; bring beans to a boil with plain water. Boil 2 minutes. Remove from the heat and leave in the water for 1 hour. Drain water.
Pre-cook Lima Beans
- Next partially cook your beans with fresh water. Bring to a boil for 30 minutes.
Packing the Jars
- Add salt to each jar if desired. 1/2 tsp per pint, 1 tsp per quart.
- Fill jars with beans and the water you cooked them in. Leave beans at 1 1/2 inch headspace. Fill with cooking water to a 1-inch headspace. (There will be a little extra liquid above the beans to allow for expansion)
- Remove air bubbles and check your headspace again. Adjust if needed.
- Wipe rims of jar clean with damp towel or paper towel.
- Add on your lids and screw bands.
- Place jar in the canner. When all jars are filled, process according to the instruction and chart in the notes area below.
Processing with a Pressure Canner
- Put the lid on the canner leaving the weights off. Bring to a boil. Watch for steam to start coming out the vent pipe in the lid.
- Allow the steam to ‘vent’ for 10 minutes then put the weights on. Use the proper weight for your altitude (check the chart) This is when pressure will start to build.
- When the pressure reaches your requirements, start your time. Process for the full time indicated, adjusting the heat as needed to maintain the correct pressure for the entire time.
- When processing time is completed turn off the heat. Do not remove weights yet. Let the canner sit undisturbed until pressure comes back to zero. Do not try to speed up the cooling process.
Cool Down Time
- Remove the weight and wait 5 minutes.
- Open the lid to allow steam to escape. (carefully don’t let it hit your face or arms!) Leave the lid setting on top of the canner slightly ajar and wait 5 minutes again.
- Take the lid off the canner and remove your jars. (optionally you can wait another 5 minutes if the contents appear to be bubbling so hard it is coming out of the jars).
- Put the jars a few inches apart on a thick towel and allow them to cool to room temperature undisturbed. 12 hours is suggested.
- When the jars are cool, remove the metal bands, check the seals, wash jars, dry completely, and store in a cool dark place.
Notes
- Use the chart below for the style of pressure canner.
- Check the altitude adjustments for your altitude.
Dial Gauge – Watch the dial on your canner to determine pressure. Altitude – Weight (pounds pressure) 0-2000 – 11 lbs 2001-4,000 – 12 lbs 4,001-6,000 – 13 lbs 6,001-8,000 – 14lbs
Weighted Gauge – Watch for the weight to ‘jiggle’ to determine pressure. Altitude – Weight (pounds pressure) 0-1000 ft – 10 lbs Above 1000 – 15 pounds
Pin this for later!

I had a migraine coming on. That’s my disclaimer for what happened next. I soaked, rinsed, and cooked the beans. I sautéed onions and bell peppers and added to the beans. I canned the beans, onions and bell peppers. I forgot to add the corn!!! If I dump it all into a bowl, add the corn and processor again, will the beans be too mushy? Should I just resign to the fact that I now have 15 pints of butter beans?
Hi Brenda, I’m not sure where you got your recipe. This post is about canning plain lima beans. With all the extra ingredients you included it would not be appropriate for the processing instructions here. Be sure you are using a safety tested recipe. Remember canning is not cooking. With those ingredients you could sure use the process for homemade soup. Remember how you pack the jars is just as important as processing time.
Very good instructions, thank you! The link to the FAQ about adding bacon or pork to the lima beans isn’t working. So, that is my question – can you can bacon or pork to the jar when canning lima beans? Thanks so very much for such a fabulous website. I have referred to you many, many times in my years of canning for recipes, instructions and inspiration.
Oh thank you for the nice compliments! I’m glad that it has been hjelpful. If you want to add meat to your jars take a look at this recipe instead. (opens in a different website)