How to Can Onions with Honey and Wine
This page may contain affiliate links. More Information.
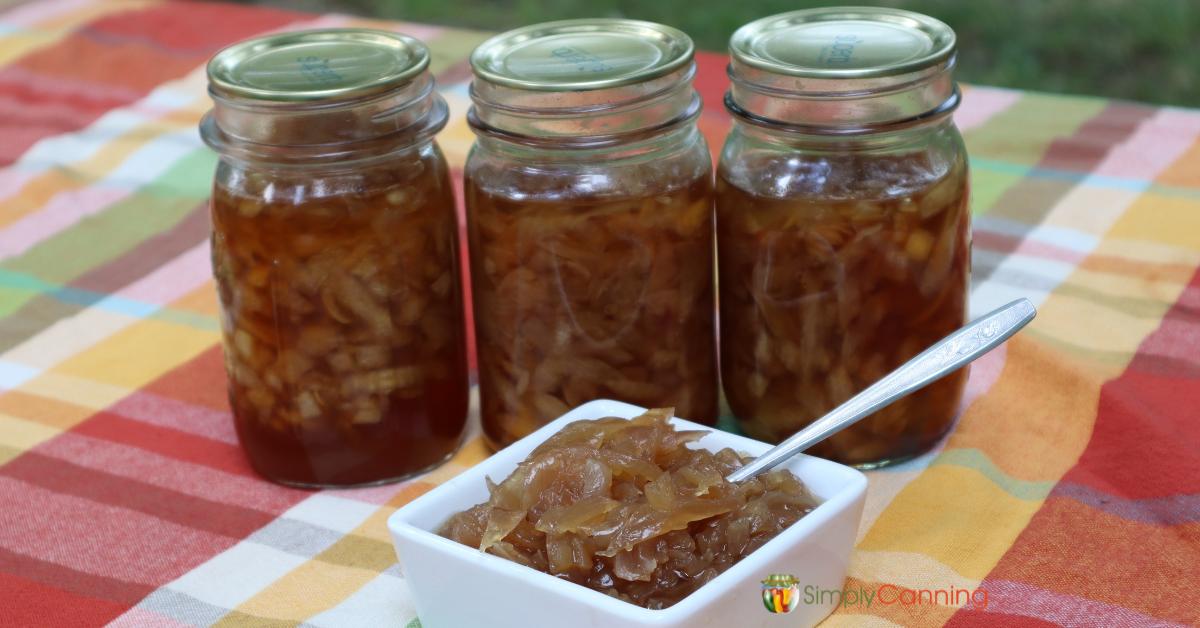
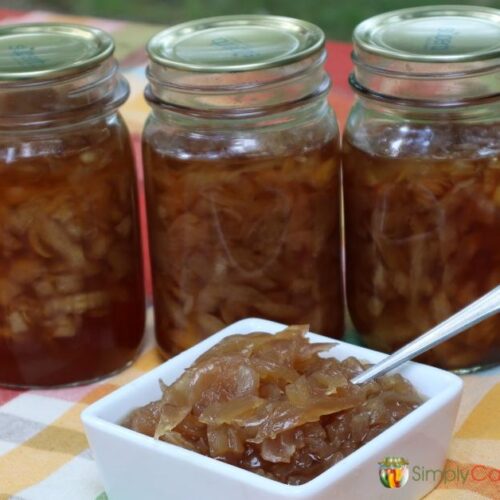
Learn how to can onions in a honey and wine sauce. This ball canning recipe makes a sweet and delicious blend! These turned out so yummy (and they smell good cooking too). This is similar to an onion jam, but a bit less sweet and maintains more texture of the onions. (It’s still soft!)
Includes canning instructions for storage in your pantry. Or simply freeze. Tips on the best onions to use and techniques for great texture.
You can also watch me make this recipe here…
Extended Directions and Tips
Quantity
This recipe makes about 4 pint jars of completed onions in honey, meaning you’ll need about 15 large onions to fill this many jars. You can use smaller half pint jars. Just process for the same time as pints. Do not use larger jars. There are no processing instruction for larger.
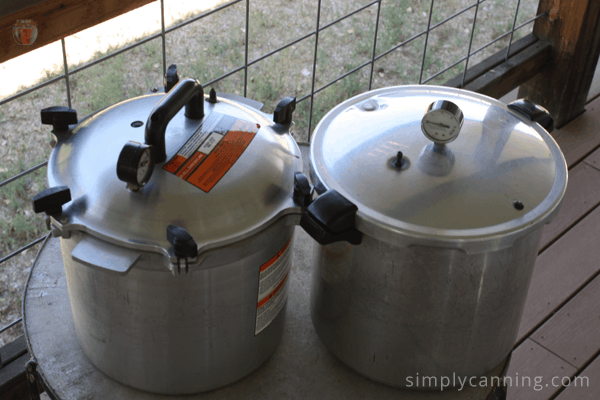
Know Your Canner
If you’re unfamiliar with using a pressure canner, don’t worry—it’s nothing you can’t handle. Just take a moment to read through “How to Use a Pressure Canner. This handy guide will give you the know-how to operate your canner smoothly and get set up for any canning project with ease, including canning red onions!
How to Can Onions in a Sweet Savory Style
Start by peeling and slicing your onions. I used red onions, but the color fades so any onion will work. Thick slices work better for this recipe, so keep that in mind. I used my food processor with a French fry blade to make the slicing process much easier! Or just cut slices with a knife.
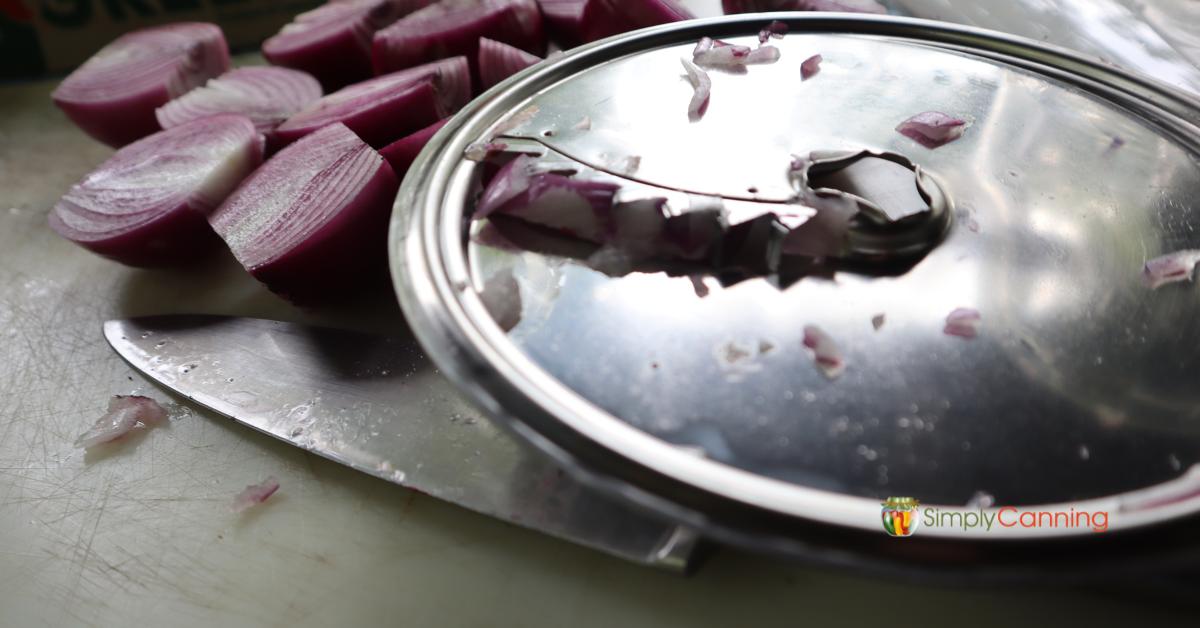
My food processor is a Bosch, but any food processor that has a French fry blade would work. Or any blade that will coarsely chop. It really speeds things up a lot. Remember not to make your slices too thin. They soften as they cook.
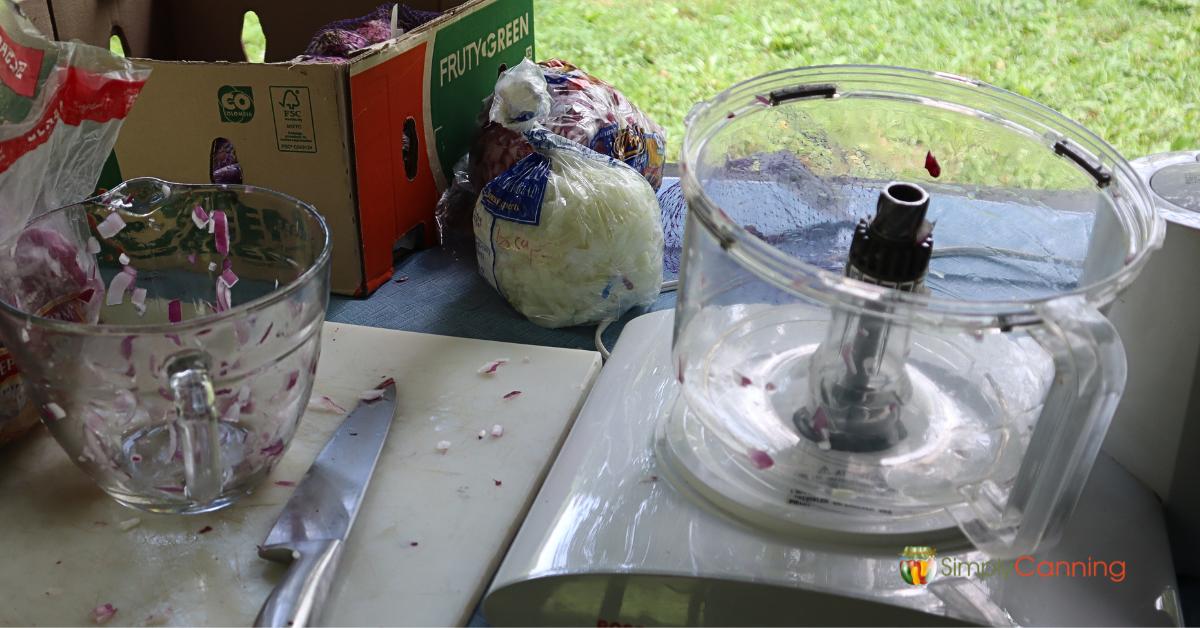
When I made this recipe, I was canning outdoors and had lots of onions to use, as you can see from the pictures! I actually sliced all of these onions and portioned them out for separate recipe batches.
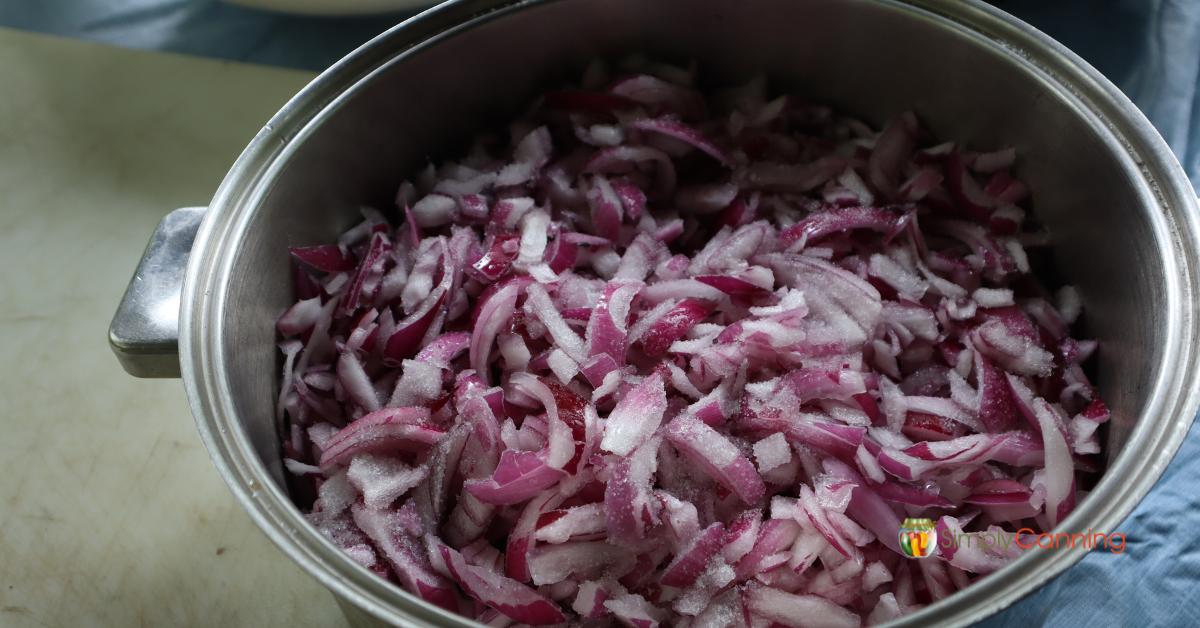
Place the sliced onions into a bowl and sprinkle them with 1 Tablespoon salt. Stir to combine and coat all onions with the salt.
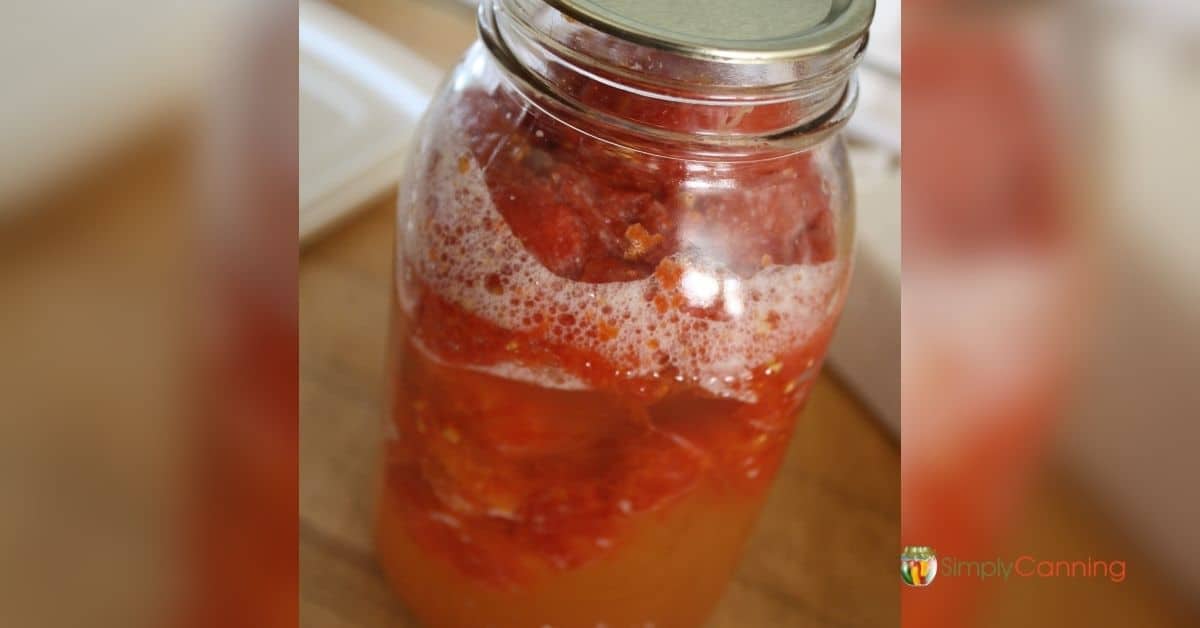
Next, combine honey, water, and wine in a pot (I used my tea kettle for easy pouring.) and bring to a boil. Reduce heat to a simmer. Stir and cook about 30 minutes or until sauce is reduced by half.
Now it’s time to pack jars! Using a slotted spoon, add salted onions to your hot jars, leaving a 1-inch headspace.
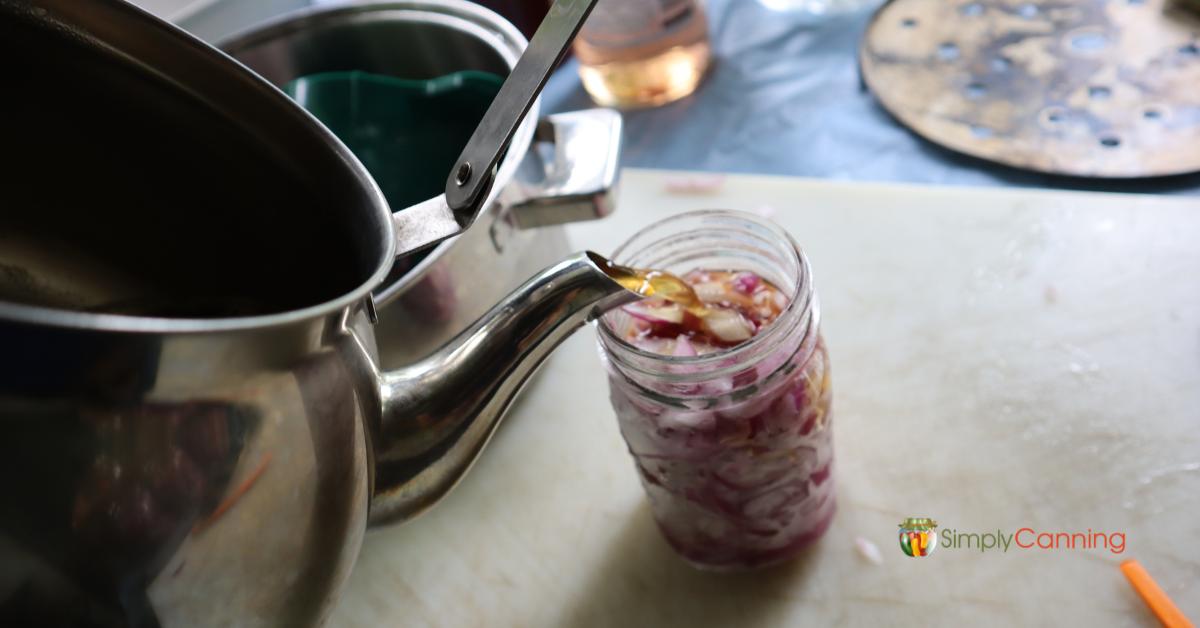
Add the liquid to your jars, again leaving a 1-inch headspace. You can ladle this in, or if you used a tea kettle like I did just pour.
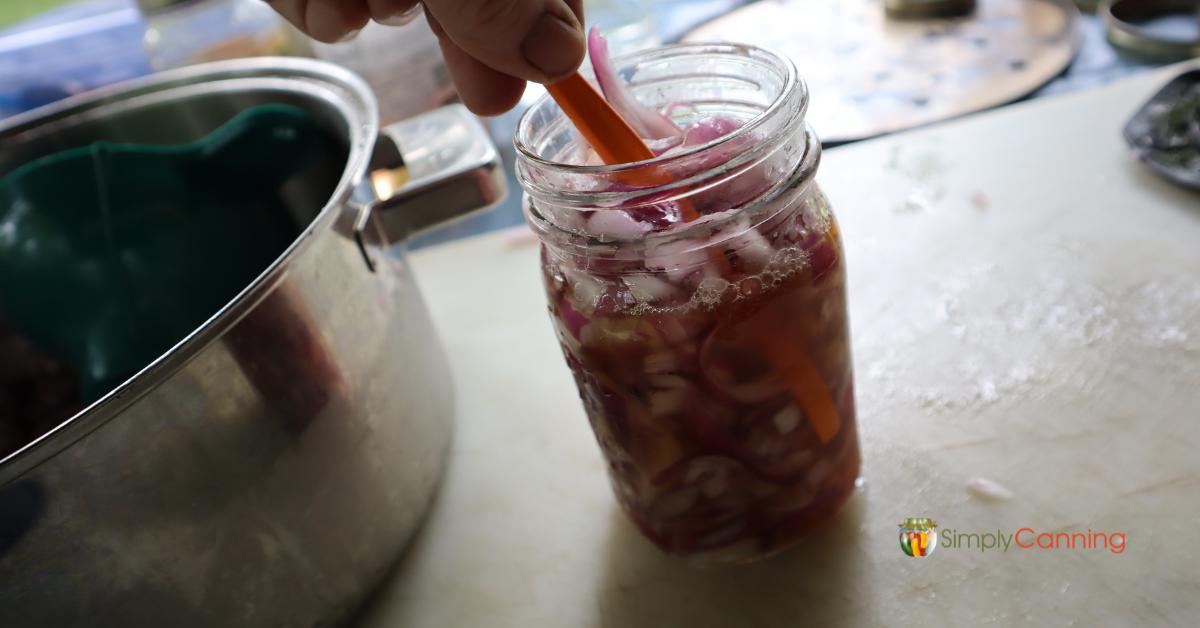
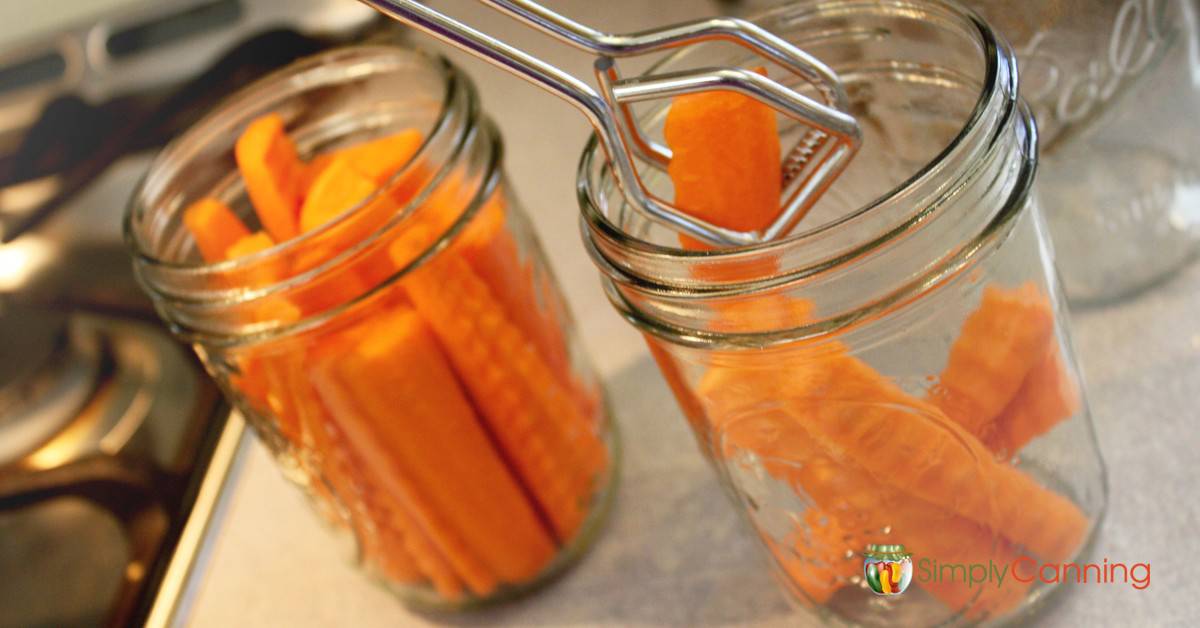
Remove air bubbles by sliding a bubble tool or other small plastic utensil in the jar and move things around a bit. An orange peeler works great! Check your headspace again as sometimes it will need to be adjusted. Be sure your onions are covered in liquid and you have that 1 inch headspace when done.
Wipe jar rims clean with damp towel or paper towel. You don’t want stickiness or bits of onion to interfere with the seal. The honey makes this sticky so don’t skip this step.
Add your canning lids and rings, finger tight. You don’t have to crank down hard. Just snug is fine. Then place the jar in the canner.
When all jars are filled, process according to the instructions below. Don’t forget to adjust for altitude as needed.

If you have concerns about liquid loss check this post… Siphoning in Home Canning

Adaptations
What Type of Onions to Use
While the original recipe specifically calls for red onions, you can also use another type. Red onions will just have a better flavor for this type of recipe! It pairs well with the honey and wine, yum.

What Type of Honey & Wine to Use
I used a raw honey that I had. But since it will be cooked it doesn’t remain raw. You can really use any type of honey you have available. It will still be good! This recipe calls for white wine, so any type of white wine will do.
What Size Of Jars To Use For Canning Red Onions
This recipe uses half-pint or pint jars. (Quart jars aren’t recommended.) I think the smaller jars are just perfect, because you’ll be using these onions more like a condiment than a side dish.
How do you use Home canned onions like this?
- They are great as a condiment with most meats.
- Pile them on sandwiches if that is your thing.
- Perfect as a condiment on burgers.
- Pour over a roast in the slow cooker. The sweetness of the sauce is deliciously subtle when you use it this way.
- Add to stews and soups.
Frequently Asked Questions
Not with this recipe. You can make pickled onions in vinegar with a water bath, but since onions are a vegetable, canning them without acid, like in this recipe, requires the use of a pressure canner.
How long will canned onions last?
The general rule for canned goods is to store them for about a year. After that, they don’t automatically go bad on day #365, as long as the jars remain sealed; their quality just reduces over time. Food usually softens and flavors will deteriorate.
Before you go…
Have lots of onions you need to use up quickly? You can also freeze onions for quick use later.
Recipe card
How to Can Red Onions in Honey
Equipment
Ingredients
- 2 ½ quarts Peeled Sliced Onions Thick slices work better. White or red onions.
- 1 Tablespoon Salt
- 1 cup honey
- 1 ½ cups water
- ½ cup white wine any white wine will do
Instructions
Red Onions in Honey Wine
- Peel and slice onions, place in a bowl, and sprinkle with salt. Stir.
- Combine honey, water, and wine in a pot and bring to a boil. Reduce heat to a simmer. Stir and cook about 30 minutes or until sauce is reduced by half.
Packing the Jars
- Using a slotted spoon, add onions to your jars, leaving a 1-inch headspace. Add the liquid to your jars, again leaving a 1-inch headspace.
- Remove air bubbles and check your headspace again. Adjust if needed. Be sure your onions are covered in liquid.
- Wipe rims of jar clean with damp towel or paper towel.
- Add your canning lids and rings, finger tight.
- Place jar in the canner. When all jars are filled, process according to the instruction and chart in the notes area below.
Processing with a Pressure Canner
- Put the lid on the canner leaving the weights off. Bring to a boil. Watch for steam to start coming out the vent pipe in the lid.
- Allow the steam to ‘vent’ for 10 minutes then put the weights on. Use the proper weight for your altitude (check the chart) This is when pressure will start to build.
- When the pressure reaches your requirements, start your time. Process for the full time indicated in the notes area below, adjusting the heat as needed to maintain the correct pressure for the entire time.
- When processing time is completed turn off the heat. Do not remove weights yet. Let the canner sit undisturbed until pressure comes back to zero. Do not try to speed up the cooling process.
Cool Down
- When your processing time is over, remove the weight and wait 5 minutes.
- Open the lid to allow steam to escape. (carefully don’t let it hit your face or arms!) Leave the lid setting on top of the canner slightly ajar and wait 5 minutes again.
- Take the lid off the canner and remove your jars. (optionally you can wait another 5 minutes if the contents appear to be bubbling so hard it is coming out of the jars)
- Put the jars a few inches apart on a thick towel and allow them to cool to room temperature undisturbed. 12 hours is suggested.
- When the jars are cool, remove the metal bands, check the seals, wash jars, dry completely, and store in a cool dark place.
Notes
Half-pints or pints are processed for 15 minutes. Quarts are not recommended.
- Step one – use the chart for the style of pressure canner you are using.
- Step two – check the altitude adjustments for your altitude.
- Altitude / Weight (pounds pressure)
- 0-2000 / 11 lbs
- 2001-4,000 / 12 lbs
- 4,001-6,000 / 13 lbs
- 6,001-8,000 / 14lbs
- Altitude / Weight (pounds pressure)
- 0-1000 ft / 10 lbs
- Above 1000 / 15 pounds
Source
- Ball Blue Book
I don’t see the pressure canning processing time in your recipe. The National Center for Home Food Preservation states that onions need to be pressue canned for 40 minutes. Is that the time you use?
It is 15 minutes at the appropriate pressure for your elevation, half pints and pints only. It is a ball recipe so I trust it’s source. The shorter time is likely because the onions are sliced and the addition of the honey and wine. The processing time is in the recipe card but I’ll see if I can make it more obvious. I hope this helps!
I am drooling over this recipe! Can’t believe I haven’t seen it in my Ball canning book. So I’m adding this to my To Do with Vidalia onions, even though it’s recommended to use red onions. I’m an avid onion consumer but a sad onion grower. Thanks again.