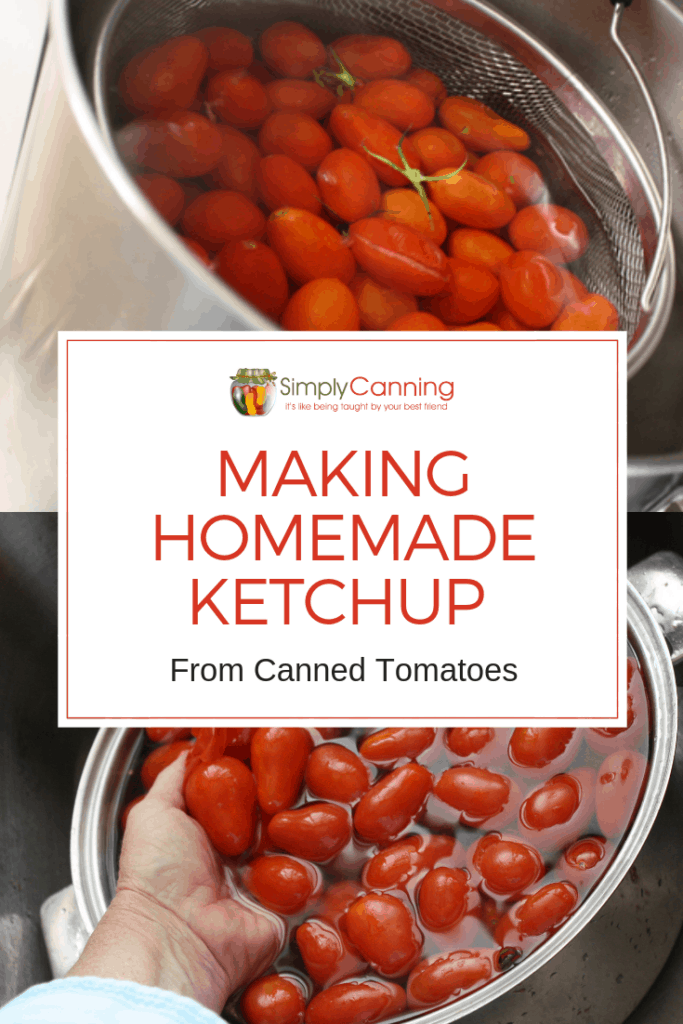
How to Can Homemade Ketchup: A Safe Recipe for a Water Bath Canner
This page may contain affiliate links. More Information.
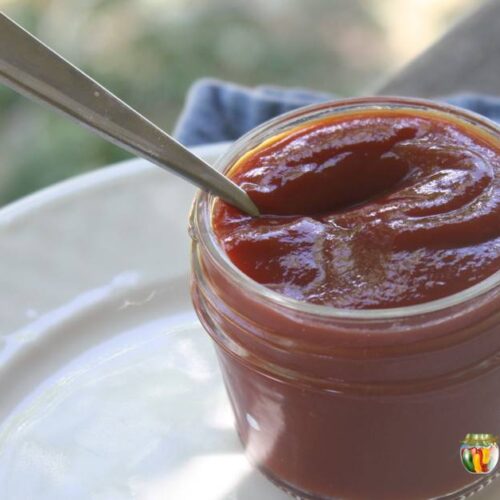
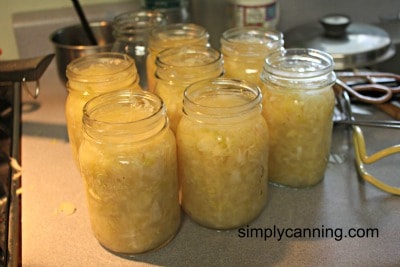
This is my favorite ketchup recipe for canning. Use fresh or canned tomatoes. Making it from scratch allows you to know just what is in the jar! Make this for canning and storage on the shelf. If you do not want to can it you can also just put in the refrigerator or freeze it. The yield is about 3-pint jars.
I tried several times with different seasonings before I came up with this recipe that finally met with the approval of my crew.

Ketchup Recipe For Canning
This homemade ketchup recipe is actually considered a pickled item, thanks to the vinegar. That vinegar is what makes it safe for water bath canning. You can tweak the spices to your taste like I did, but don’t mess with the ratiou of vinegar or tomatoes and vegetables. That ratio need to stay the same to keep it safe for canning.
I got this basic recipe from the Ball Blue Book, but we didn’t care for the spices they added, so I tried the basic recipe several times before I came up with this recipe that finally met with my crew’s approval and is safe for home canning.
You can adapt the seasonings like I did, but remember don’t mess with the ratio of vinegar and tomatoes and vegetables. It is the acidity of the recipe that makes it safe for a water bath processing.
Know Your Canner

Before we dive into the recipe, make sure you’re familiar with your canner. You can use a water bath canner because the vinegar makes the recipe acidic enough for safe processing. If you’re new to this, check out my guide to using a water bath canner. This can also be processed in a steam canner.
Gather Your Canning Supplies:
- water bath canner
- canning jars
- canning seals and rings
- jar lifter
- canning funnel
- large pot
- food mill
- Crockpot (optional, but very helpful – see details below)
Ingredients:
- 4 quarts chopped tomatoes (or tomato puree)
- 1 cup chopped onion
- 1/2 cup chopped sweet pepper
- 1 1/2 cups vinegar
- 1 Tbsp. canning salt
- 1/4 tsp. ground allspice
- 1 stick cinnamon
- 3/4 cup sugar
Start by preparing jars, and get water in your canner heating. (See water bath canning for full directions.)
First, Make a Tomato Puree
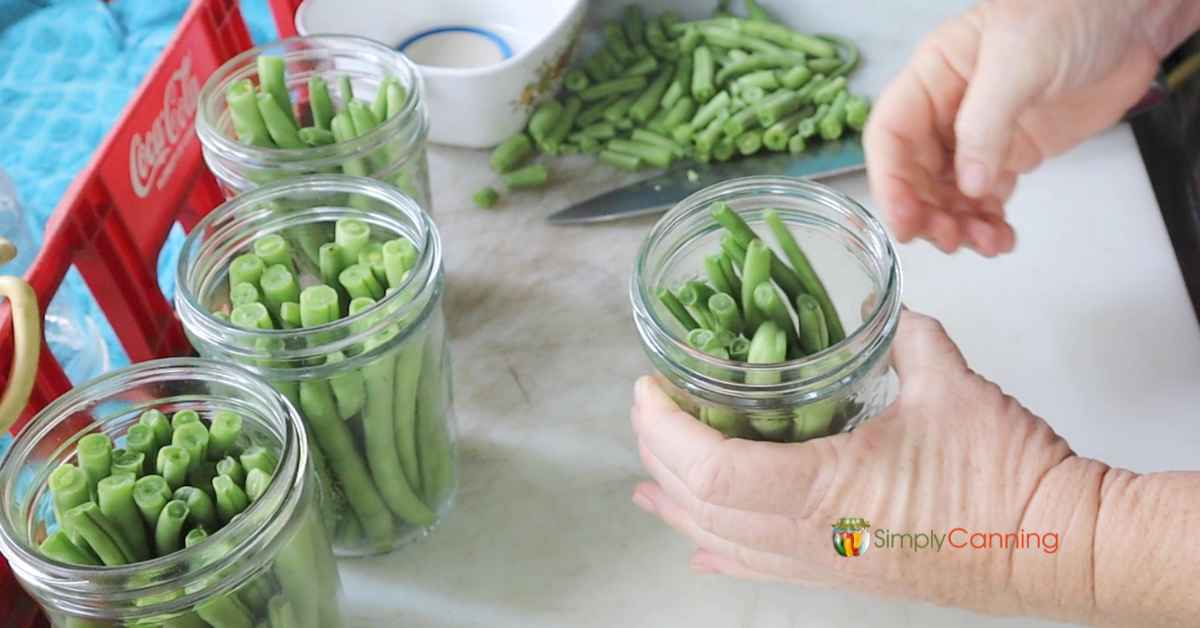
If you’re starting with fresh tomatoes, chop them up, and throw one quart of the tomatoes, plus all the chopped onions and sweet peppers, into a large pot. Simmer until everything softens. Add in the rest of the tomatoes and heat through.
Run this mixture through a food mill to get rid of seeds and skins. (This should be all tomatoes and vegetables.)
Tip: If you already have a smooth tomato puree or are using canned tomatoes, you can skip the milling for the tomatoes. But you’ll still need to make sure the peppers and onions get cooked and run through the food mill to remove skins and seeds. You could do this will just part of your tomato puree. Just make sure the onion and pepper mix gets nice and smoothly combined with the tomatoes.
2. Cook Down the Tomato Puree Next, bring everything to a boil in a large stockpot. Reduce the heat and simmer until it thickens up and reduces by about half, stirring often so nothing sticks. This can take around an hour or so. It won’t be ketchup thick just yet but it should be reduced. Keep checking and stirring!
3. Add Your Seasonings Now, it’s time to add the good stuff! Stir in your vinegar, salt, sugar, allspice, and that cinnamon stick. Give it a good stir.
4. Thicken the Ketchup To get that ketchup-like thickness, transfer the sauce to a slow cooker (with the lid off) and let it cook until it reaches your desired consistency. This could take a couple of hours, so stir occasionally to keep an eye on things. Depending on your cooker you might want it on high. I find newer cookers a high heat so you might need low. I like to keep a splatter screen on top of mine
Step-By-Step Directions
1. Prepare Your Tomatoes to allow steam to escape but keep it covered and clean.
If you don’t want to do the slow cooker idea, you can do this on the stove top. Just watch it closely and simmer slow and low.
5. Remove the Cinnamon Stick Once your ketchup has thickened to a ketchup consistency remove that cinnamon stick. Don’t forget! If that stick ends up in a jar… oh goodness that jar will be super cinnamony.
6. Can or Refrigerate At this point, you can either fill up a jar and stick it in the fridge or go ahead and can it for longer storage. Let’s talk about canning next!
Canning Homemade Ketchup
If you want to process in jars for storage on the shelf, use the following directions.
This can be canned in either pint or 1/2 pint jars. It is not intended for quarts. There is no processing time for canning ketchup in quart jars.
Start by preparing jars, and get water in your canner heating. (See water bath canning for full details.) The goal is hot not quite boiling water as you add your filled jars.
Here are more detailed step by step directions on using a water bath canner. (or steam canning works too.) But the general steps are….
- Ladle hot ketchup into hot jars, leaving 1/4-inch headspace.
- Remove air bubbles with a plastic knife or bubble canning tool. I like to use an orange peeler.
- Wipe the rims clean, add your canning lids.
- Place jars in your canning and process according to the recipe card below.
- Process 1/2 pints or pints for 10 minutes. Be sure to adjust for your altitude if needed—here’s my guide to altitude adjustments. I’ve also included altitude information in the canning recipe card below.
Again – This recipe is not intended for canning in quart jars.
Ketchup Recipe for Canning: Tips & FAQs
Can I Change The Spices In This Recipe?
Absolutely! Feel free to play around with the spices to suit your taste, but don’t adjust the amount of vinegar, tomatoes, peppers or onions. That balance is what makes the recipe safe for canning.
You might like celery seeds or whole cloves or whole allspice. Add a pinch of cayenne pepper to make it spicy! If you use whole seasonings like this be sure and use a spice bag and remove it when you remove the cinnamon stick.
Making Smooth Homemade Ketchup
Cook until all the vegetables are very soft. Then when you run it through the food mill, it will come out smooth. It might not be exactly the same as a commercial product, but you can get it pretty close.
To Can Or Not?
You don’t actually have to can this recipe. If you use a lot of ketchup you might just want to put it straight into the fridge. Or put it in freezer containers for the freezer. If you like the recipe, double it the next time. That way you can process 6 pints. I don’t like running a half-full canner. It seems so inefficient.
How Long Does Homemade Ketchup Last Once Canned?
Properly canned ketchup will last up to a year on the shelf. After that the quality will start to deteriorate. But don’t throw it away at one year, just make a plan to use it up soon. Read more about the shelf life/expiration dates for home canned food here.
Pros And Cons Of Canning Homemade Ketchup
Pros:
- It’s homemade and you know exactly what’s in it!
If you’re someone who loves knowing what goes into your food, this is a huge plus. You can control the ingredients and avoid any unwanted additives. - Customize the flavor to your liking.
You can adjust the seasonings to suit your taste, making the ketchup truly your own. If you love a spicier kick or prefer it milder, it’s all up to you! - Great way to use up a glut of garden tomatoes.
If you’ve got an abundance of tomatoes and aren’t sure what to do with them, making homemade ketchup is a delicious way to preserve your harvest.
Cons:
- Not the most cost-effective option.
Let’s face it—store-bought ketchup is pretty inexpensive, so if you’re looking for a way to save money, this might not be the way to go. (oh but it is oh so good… and look at the ingredients!) - It’s a bit labor-intensive.
Homemade ketchup does take time to cook down. While you don’t need to stand over the stove the whole time, it does require periodic attention to avoid scorching.
Pinnable Recipe
Homemade Ketchup
Equipment
- Slow Cooker optional
Ingredients
- 4 quarts Tomato Puree or chopped tomatoes
- 1 cup Onion(s) chopped
- ½ cup Pepper sweet, chopped
- 1 ½ cups Vinegar
- 1 Tablespoon Canning Salt
- ¼ teaspoon Ground Allspice
- 1 stick Cinnamon
- ¾ cup Sugar
Instructions
- Start by preparing jars and getting water in the canner heating. You want the canner hot, but not boiling, when the jars are ready to be processed.See full water bath canning instructions here.
Hot Pack only
- Combine 1 quart of the tomatoes with onions and sweet peppers in a large pot.
- Simmer until veggies are soft.
- Add the rest of the tomatoes to the cooked tomato mixture.
- Run all of the tomato mix through a food mill, removing skins/seeds.
- Return to pot and bring to boil. Boil rapidly until thickened (about 1 hour), stirring often.
- Add vinegar, salt, sugar, and other seasonings.
- Cook again to thicken.
- Remove cinnamon stick.
- Pour hot ketchup into hot jar, leaving 1/4” headspace.
- Remove air bubbles, wipe rim clean, and place on seal and ring. Place the jar in the warm canner. Proceed to fill all jars. Process according to chart below.
Notes
Adapted from: Ball Blue Book Guide to Preserving
Homemade Ketchup from Scratch: Tips & FAQs
Making Smooth Homemade Ketchup
Cook until all the vegetables are very soft. Then when you run it through the food mill, it will come out smooth. It might not be exactly the same as a commercial product, but you can get it pretty close.
How to Thicken the Sauce for Making Ketchup
There are two points in this process where you cook to thicken your sauce. First, with just the tomatoes and veggies, and then you’ll add the rest of the ingredients and thicken again.
For the second cook time, I like to use my Crockpot. Put sauce in a Crockpot on high, with the lid removed. Cook until thickened (1+ hours), stirring occasionally. Slow cookers vary, so be sure and watch it. You can also just cook the sauce on low in the pot on your stove for about 30 minutes. Stir often to avoid scorching.
To Can or Not?
Ketchup can be processed safely in a water bath canner. This makes about 3 pints, which is a very small batch. It can be processed like other canned foods, or you can skip the processing step and just refill your ketchup bottle and store in the fridge. That is what I did. If you like the recipe, double it the next time. That way you can process 6 pints. I don’t like running a half-full canner. It seems so inefficient.
How Long Does Homemade Ketchup Last Once Canned?
Read more about the shelf life/expiration dates for home canned food here.
Pros & Cons of Making Homemade Ketchup
Cost-effective? Probably not. You can buy ketchup pretty cheap at the store.
Labor-intensive? Yes, sort of. This homemade ketchup takes a long time to cook down…but you are not standing there the entire time. Just check to watch for scorching and go about your daily tasks.
Then again…it IS pretty easy to grab a bottle at the store. But if you want to make it yourself, know what is in the jar, and love to adjust the taste by adjusting seasonings, it is soooo good! Plus, if you’ve got a glut of tomatoes from the garden and don’t know what to do with them, this is a good way to use it up.
Related Pages
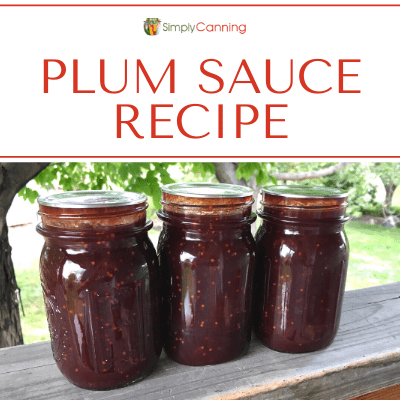
Plum Sauce Recipe
I think you’ll like this delicious plum sauce recipe (also sometimes known as a plum BBQ sauce).
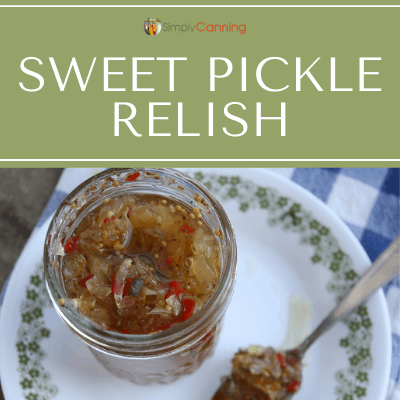
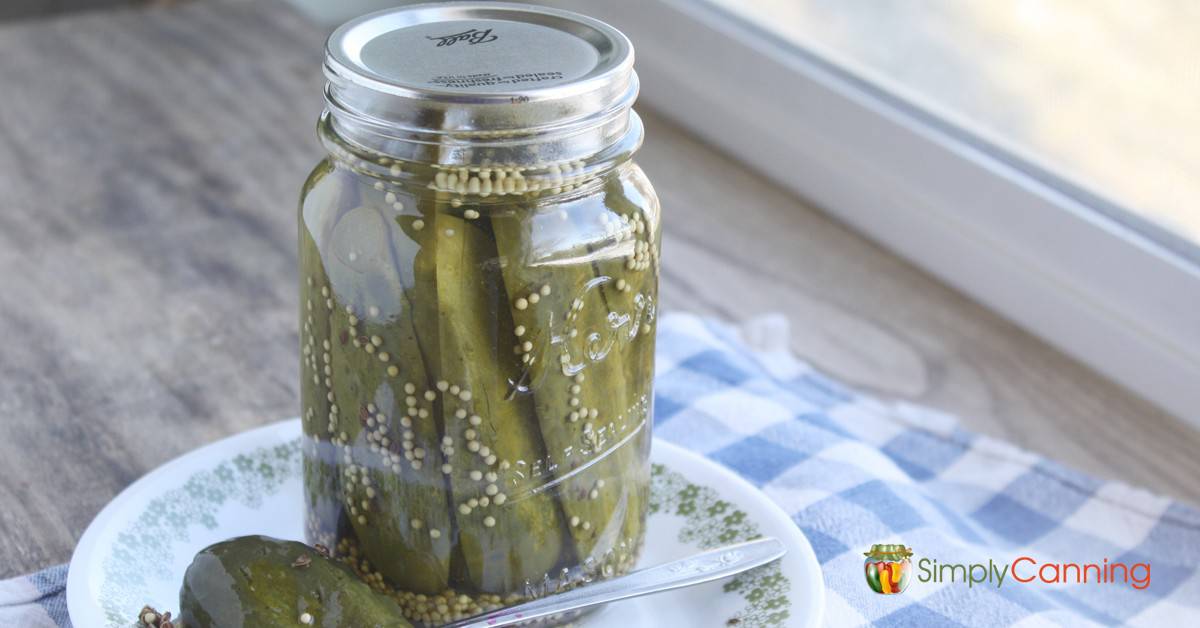
Sweet Pickle Relish
This easy canning recipe for homemade sweet relish is used for summertime hot dogs, potato salad, hamburgers, and more.
Pin This to Find Later
Source: Ball Blue Book Guide to Preserving
Page last updated: 9/3/2021
I canned ketchup for the first time this fall and my goodness, it’s fabulous! This recipe tastes very close to the store bought ketchup, and the kids absolutely love it! Will be adding this to my canning roster from here on out! Thank you!
Hi Sharon trying not to be dense here but is the vinegar White or ACV??
It can actually be either. As long as the acidity is at 5%. I personally prefer the ACV. But I don’t think it would make a big flavor difference for this recipe.
Sharon, I’m on my second batch of this ketchup recipe. I love the flavor..a lot better than any other I have tried. I do have one question….the recipe doesn’t indicate an approximate time on the second boil. My first batch I made didn’t give me 3 pints and I cooked it for a couple of hours so maybe that’s why. This second batch has been cooking for over 2 hours and still not as think as it should be. Am I missing something or does it just take hours to get to the right consistency?
That will depend a lot on the juice in your tomatoes. Some are simply more juicy and will need longer, some more meaty and can be done quicker.
When I don’t want to scorch foods,
candys, chocolate, or sauces I heat it in a separate pot in another pot set in boiling water.
I really love this recipe, the first ketchup one I’ve tried that really tastes great. I’d like to recommend a great tool you should try. I never stir and simmer long enough to get to ‘thick’. Either that, or I burn it by walking away for too long. After knowing I wanted to do another really big batch of ketchup and lots of tomato sauce as well, I looked for ‘automatic stirrer’ on Amazon and got a Stirmate. It works great, even in pots that aren’t round. Variable speed and rechargeable that clamps to the pot. Now, I get stuff… Read more »
I’m interested in your ketchup recipe. I’m able to calculate for making bigger batches but wanted to draw your attention to the size calculator. When I push 2x or 3x only the amount of servings changes. The recipe amounts stay the same.
Oh no. I’ll take a look at that and fix it. Thanks for letting me know!
Made this recipe last week with my over abundance if tomatoes. Turned out so good I am back making a second batch!
I’ve tried ketchup recipes before, but like your crew, found them too highly seasoned. I will play with this recipe soon, since I’m looking at a big crop again and would really like a good ketchup. My question is why not use pressure canning rather than water bath? When that is an option, I generally do that as the higher temperature could provide a longer shelf life. That also insures the acidity question isn’t as critical.
Congratulations on your move from Colorado, now you get to learn gardening all over again with the new climate!
I don’t think pressuring is any safer than a water bath. They are simply two different processes for different purposes. I don’t know that the pressure canner gives a longer shelf life. I had not heard that before so I haven’t researched it so if you’ve got a source that states this I’d love to see it. 🙂 I’m always up for learning new things. And the acidity is just as important in pressure canning as waterbath canning. The pressure canning process was tested with certain foods and acidity levels. That is why it is now recommended to add lemon… Read more »
Can I use tomatoes that I threw into the freezer to use later?
Yes. Thaw completely and follow the recipe as it is written. You’ll still need to skin them if you didn’t before you froze them. And I recommend removing the seeds too.
Hi Sharon, thanks for the recipe! Do you think the whole raw tomatoes (and the cooked pepper/onion mixture) could be puréed in a high speed blender like a Vitamix thus avoiding the milling process?
No, the thing is the mill removes the peels of the tomatoes and peppers.
so your calculator on the recipe only seems to work for the number of servings not the recipe. I click the 3x button and it changes to 9 pints, but the quantities on the ingredients don’t change. can do the math myself but wanted to let you know so you can fix that
Thank you very much for pointing that out. I’ll take a look and see what needs to be fixed.
I was looking for a smaller batch recipe for using my fresh tomatoes from my garden. Can you tell me what 4 quarts equate to in fresh tomatoes? Like how many pounds?
I’ve never weight mine out. I’ve usually just got a box or two of tomatoes and I keep canning until it’s gone! haha.
An average of 35 pounds is needed for 7 quarts of sauce. 4 quarts is a little more than half that. So I’d estimate 19-20 pounds. Make your sauce and then measure out the 4 quarts needed for this recipe so you know you’ll have the right amount.
Your recipe calls for tomato puree, but the instructions say to put tomatoes through a food mill to remove seeds and skins.
I’m confused.
Guy, thank you for asking. I reworded the recipe to hopefully make more sense. When I start, I have tomatoes that are simply chopped and I make a puree out of that. I didn’t indicate that very well in my ingredient list so I edited it above to be more clear. I then added some more clarity in the directions themselves. Hopefully, that helps. Please ask again if you still are uncertain. It helps me to know how others are reading my directions so I can be sure they are clear for others too.