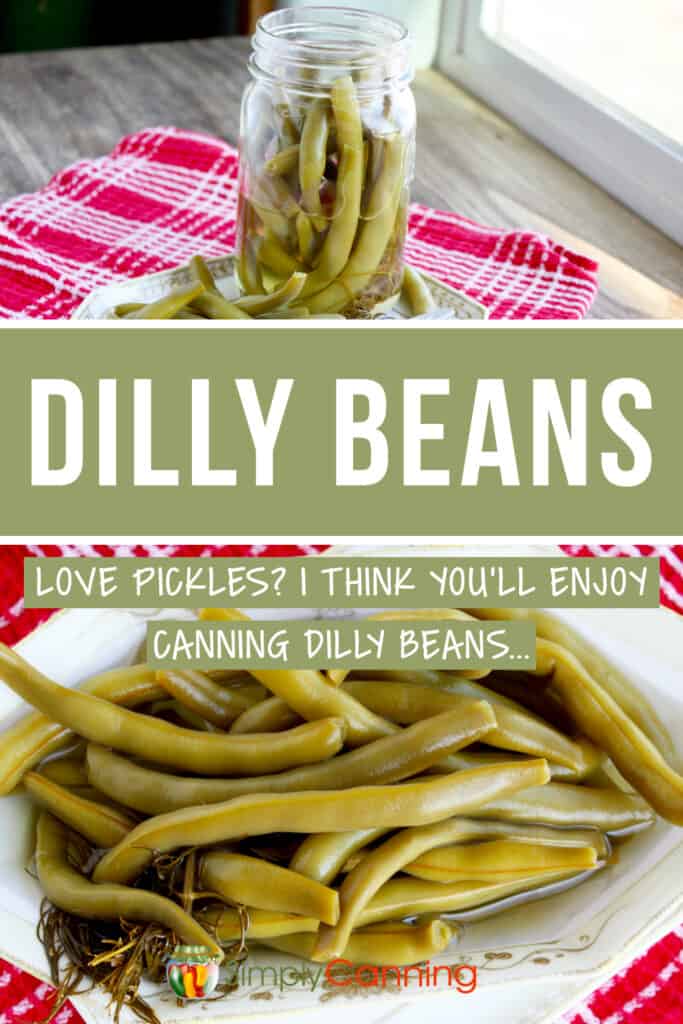
Dilly Beans Recipe for Canning
This page may contain affiliate links. More Information.
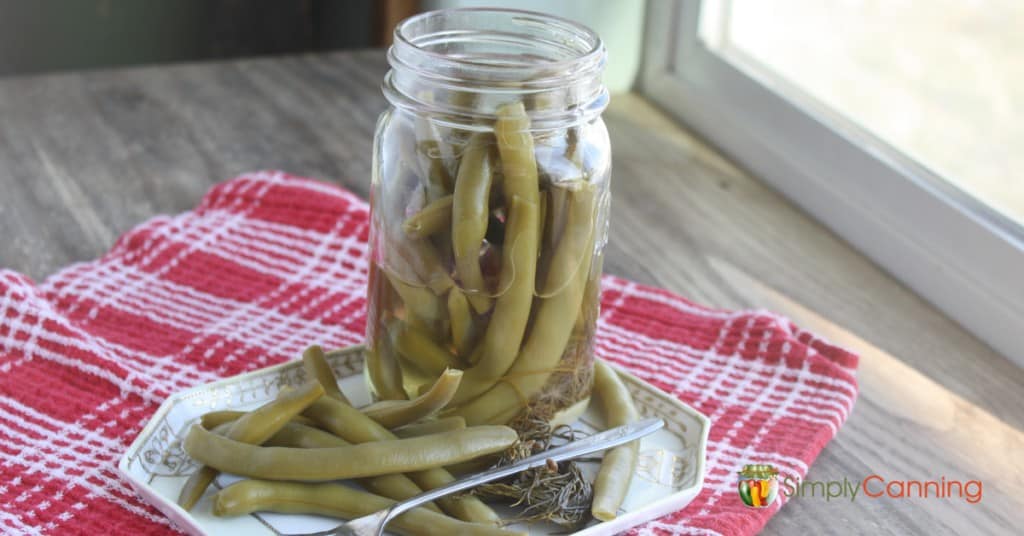
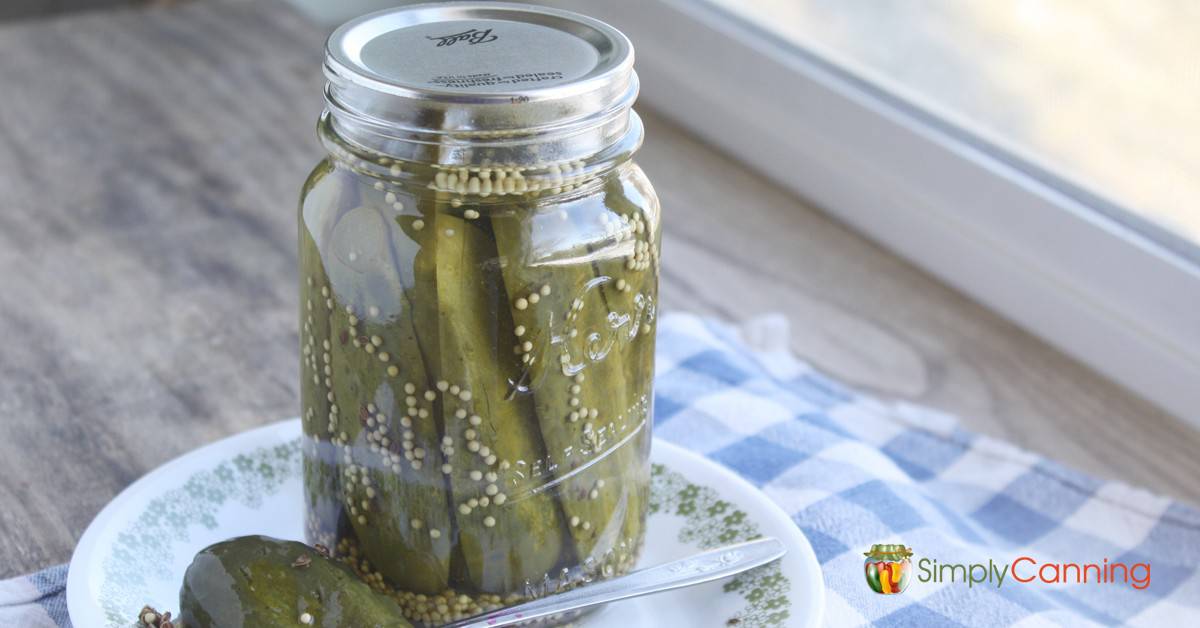
This dilly beans recipe (pickled green beans) is a hit with my pickle lovers.
Canning dilly beans involves blanching fresh green beans and packing them with dill seeds and garlic into sterilized jars. Prepare a vinegar-water-salt brine, pour it over the beans, and seal the jars. Process in a water bath or steam canner for the recommended time. So easy and adds some fun crunch to summer time meals.

Dilly Beans Canning Labels
Label your jars with pretty printable Canning Labels! Check them out.
Quantity
This recipe makes 4 pints. You’ll need approximately 2 pounds of fresh beans to fill 4 pint jars. This will partly depend on how tightly you pack your jars.
If you want to make this in half pints, just use the smaller jars and follow the processing instructions for pint jars. Do not reduce the processing time.
There are no processing directions for quarts and they are not recommended.

Dilly Beans Canning Recipe
These are some extended step by step directions for making the pickled beans.
Gather Your Canning Supplies:
Ingredients:
- green beans – enough to make 4 pints, about 2 pounds of beans
- 4 sprigs of fresh dill weed or 4 heads of dill.
- 4 cloves of garlic (optional)
- 1/4 cup canning salt
- 2 cups vinegar (white or apple cider vinegar.)
- 2 cups water
- 1 tsp. cayenne pepper (optional, but you can add it to make this is a spicy dilly beans recipe)
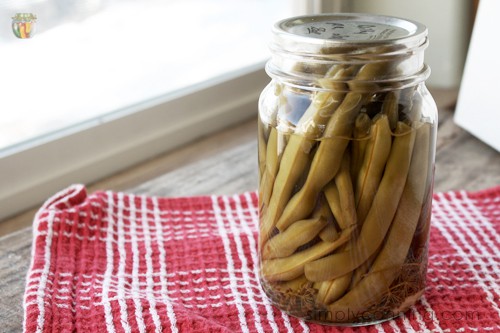
This is a raw packed product, which means the beans are packed raw and the brine heated and poured into the jars.
Dill seeds or Dill weed?
I made my home canned dilly beans with sprigs of dill weed since that is what I had available at the time. My garden dill had not gone to seed yet. But there were plenty of ferny branches! Fresh dill heads or dried dill seed can be substituted.
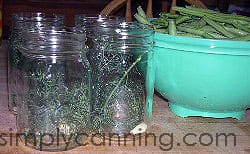
Add a good sized sprig of dill weed (or substitute one head of dill, or 1 tsp. dill seeds) and 1 garlic clove to each jar. If you like spicy, try adding 1/8 tsp. cayenne to each jar. (I personally like mild.)
Canning
To get started, prepare your canning equipment. Start the water in your canner heating and warm up the jars. The goal is to have the water in your canner hot but not yet boiling when the jars are going into the canner. If you have not used a water bath canner yet, I suggest you look at this page for some great tips for setting up and getting ready for any canning project.
Prepare your green beans.
Wash beans. Remove ends and snap (break or cut) to jar length. The size is personal preference.
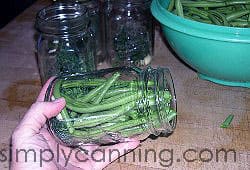
Pack each jar with beans lengthwise. I just think it looks nice to have them long and lengthwise. An easy way to do this is to tip the jar in your hand and fill it. This way, the beans stack nicely.
You can also cut your beans short and pack them that way. The goal is a jar of beans.
Prepare the Brine
Combine vinegar, water, and salt to make the pickling solution or brine. Bring this to a boil.
- White or apple cider vinegar works. Should be 5% acidity. Check the label.
- Here’s a tip: The best way to do this is in a tea pot. It makes it so easy to just pour the brine into each jar without having to use a ladle.
Turn the heat off your brine. Cover beans with pickling solution, leaving 1/4-inch headspace. I let the bubbling stop before I start pouring. Otherwise, it tends to splatter coming out of the spout of the teapot.
Remove Air Bubbles and Adjust Headspace
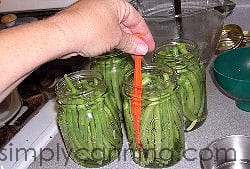
Remove air bubbles with a bubble tool, plastic knife or other small plastic utensil. Just push the tool gently between the dilly beans, moving things around just enough to let the air bubbles rise. There is a tool you can buy specifically for this purpose, but an orange peeler is what I always turn to. It just fits perfectly and is usually handy. A plastic knife would also work. Or a thin handle of a spatula. Just something thin and easy to get down in the jar.
Recheck your headspace, resettle the beans in the jar, and add some brine if needed.
Seal the Jars
Wipe rims clean. You don’t want any pickling solution or pieces of dill on the rim of the jar, as it may interfere with the sealing process.
Place your flat lids and screw bands on finger tight. This simply means don’t crank down hard. The lid just needs to be secure on the jar.
Then finally put that jar in the hot canner. When all jars are filled you are ready to process.
Canning Dilly Beans
Process according to the instruction in the recipe card below. I’ve included boiling water bath instructions, but this is also a great recipe for using a steam canner. Check here for more information on steam canning.
Process pints for 10 minutes, adjusting for altitude using the chart in the recipe card below. For more information on why this is important, see this altitude adjustments page.
Dilly Beans: Tips & FAQ
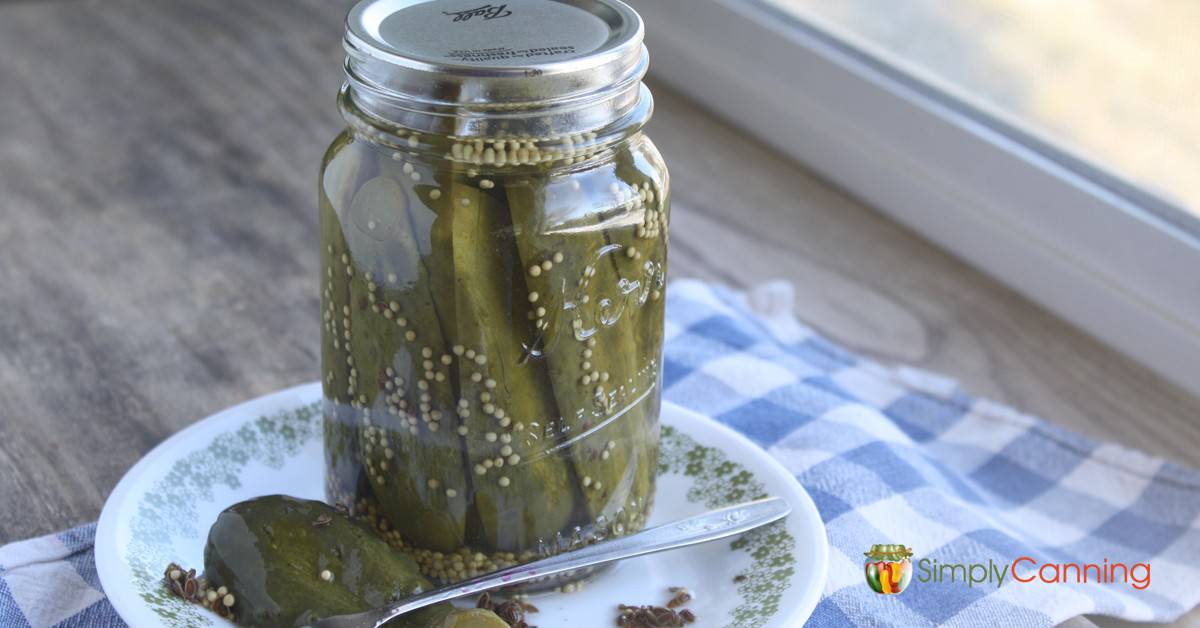
This recipe is for pickled green beans. Pickled products can be processed safely in a water bath canner because of the added vinegar, which adds acid, and makes it safe. Great Question! It means you are thinking. 🙂
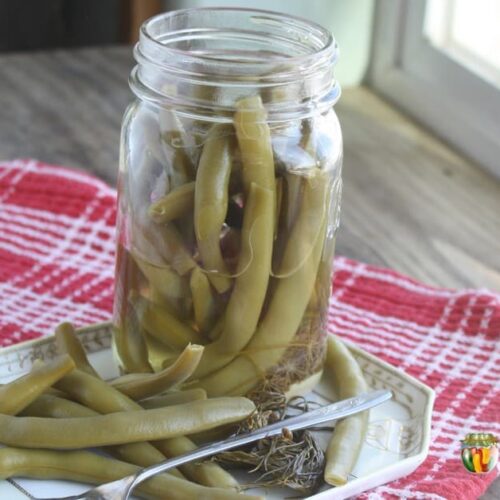
We just eat them right out of the jar like a pickle. So yummy. They are a condiment to eat with sandwiches or burgers. Or just an evening snack.
And here is a great idea from a reader Bill in Illinois:
“First love your Dilly Bean recipe….A twist that I like to do is when I get tired of eating them right out of the jar…I chop them finely and mix them in cream cheese…this makes a great cracker spread…sounds odd but it is very good…I just use saltines but I imagine it would be good on a wheat cracker as well.”
You can actually eat dilly beans right away…but you might be disappointed. The beans do need some time to pick up on the pickling flavors. I’ve never tested it, so I can’t say for sure how long you need to wait for best flavor I’d advise waiting at least a week…longer is probably better.
These canned pickled beans will last for at least a year under proper storage conditions, provided they were processed safely and sealed correctly. The quality of pickles will degrade after that. The beans start getting soft. If it’s been over a year, don’t put them in the trash yet! Just move them to the front and make a plan to use them soon. I’ve got more on home canning and shelf life here.
Yes. Peppers are generally interchangeable with home canning. If you don’t want the spice of a cayenne, just use a milder pepper. And remember the pepper is optional, you don’t need it at all if you don’t want it.
Recipe Card
Dilly Beans
Equipment
Ingredients
- 2 pounds Green Beans
- 4 sprigs Fresh Dill or 4 heads dill seeds
- 4 cloves Garlic
- ¼ cup Canning Salt
- 2 cups Vinegar white or apple cider – 5% acidity
- 2 cups Water
- 1 teaspoon Cayenne Pepper optional, but highly recommended if you like spicy!
Instructions
- Start by preparing jars and getting water in the canner heating. You want the canner hot, but not boiling, when the jars are ready to be processed.See full water bath canning instructions here.
Raw Pack only
- Wash and snap beans.
- Combine vinegar, water, and salt. Bring to a boil. Keep hot while you pack your jar.
- Add dill (1 head or 1 tsp. seed), 1 garlic clove, and 1/8 tsp. cayenne pepper per pint jar.
- Pack each jar with beans lengthways.
- Pour brine over beans, leaving 1/4” headspace.
- Remove air bubbles, wipe the rim clean, and place on seal and ring. Place jar in the warm canner. Proceed to fill all jars. Process according to the chart below.
Notes
- 0-6,000 – 10 minutes
- Above 6,000 – 15 minutes
Adapted from: The National Center for Home Food Preservation
Pin This to Find Later!
Resource – National Center for Home Food Preservation

I don’t digest garlic well. I’m wondering if there is something I could use instead or would the beans still taste good without it?
You can leave out the garlic with no problems. The taste will be different but still good.
HI
Dilly Beans/Pickled Green Beans are my favorite!!! My mama uses red pepper flakes instead of Cayenne Pepper.
Do you have a recipe for fermented cabbage thank you vicky
Hi, Victoria! Yes, here’s the recipe: https://www.simplycanning.com/sauerkraut-recipe/
-Rachel (Sharon’s assistant)