Canning Beets
This page may contain affiliate links. More Information.
Canning beets simplified: First, cook raw beets in order to peel and remove the stems. Next, cut to desired size, hot pack them in canning jars, and process in a pressure canner using the processing instructions below. Cool, store and enjoy later!
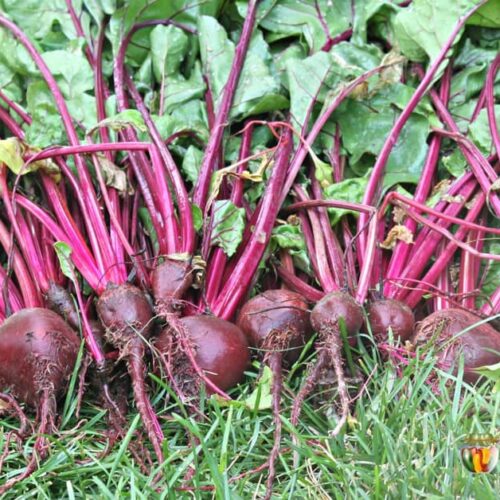
Though time-consuming, learning how to can beets is actually easy. Beets are a vegetable that you either love or hate. Personally, I love them. So very very much better than store-bought. If you are one who thinks beets taste like dirt, try homegrown (or farmers market fresh) beets. There is no comparison.

Step by Step Details, Canning Beets
Know Your Pressure Canner
If you’re not yet familiar with using a pressure canner, take a moment to check out “How to Use a Pressure Canner” before getting started on this project. It’s an informative guide that will help you understand how your canner operates and walk you through the necessary steps to set up for any canning endeavor.
Gather your canning supplies
- pressure canner
- canning jars
- canning seals and rings
- jar lifter and canning funnel
- large pot or blancher to cook beets
- bowls
- large spoons
- sharp knife
- towels and dish cloths
Ingredients
- Beets
- Canning Salt – optional

Preparing beets for canning.
The first thing you’ll need to do is peel the beets. It is not hard. You’ll simply cook the beets, allow them to cool enough to handle and slip the skins and tops off with your hands. Here’s how.
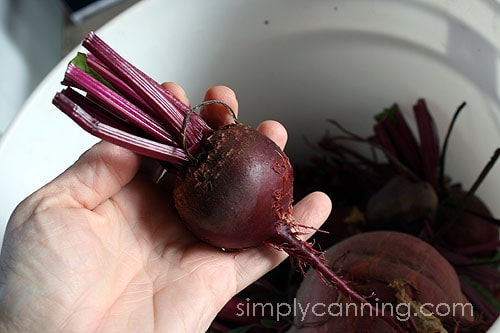
Wash your beets. Usually they’ll be full of dirt. Cut the stems to a minimum of 2 inches (a little more is ok) and leave the taproot intact. Leaving the taproot and some of the stems helps the beets to maintain their color. It won’t prevent all color loss, but it does help.
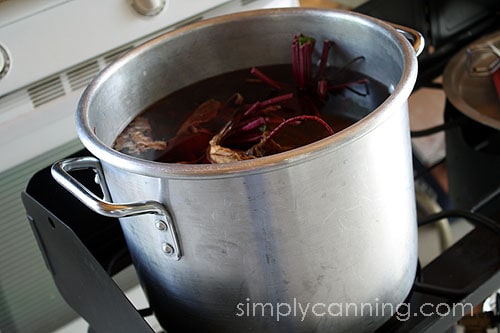
Cook beets in boiling water until beets are tender and skins will slip off.
This will take a while. 30 minutes for large beets. You’ll just need to watch. It always takes longer than I think it needs to so have patience. Shorter if your beets are small, longer if they are big. An easy way to see if your beets are ready is to scrape a spoon against the beets while cooking. When the skins scrape off easily they are done.
If you often have a variety of sizes of beets. Cook those of similar size together. The larger ones will take a little longer to loosen the skins.
Use this time to get your jars and pressure canner ready. Canner should have about 3 inches of hot water and jars should be clean and hot. See pressure canning for more detailed explanation.
Your beets are done when they are cooked through but still a bit firm.. They should peel easily.

Remove your cooked beets and place them in cold water. When the beets are cool enough to handle, use your hands to slip the skins off. You don’t want to completely cool the beets, just cool enough to handle and peel. This is a hot pack so the beets do need to be warm going into the jars.
The skins should just peel away with a little rubbing with your fingers. Use a knife for the stubborn spots. Cut off the tops and taproots at this point as well.
As you peel each beet you’ll cut them to size and place them right in your canning jars. Slice them to be 1/2-inch cubes or slices. I discovered using my french fry blade on my food processor! It works really well if you’ve got a lot. If you only have a few beets, it might not be worth the mess.
Filling the jars.
Now that the beets are all peeled you’ll pack your canning jars.
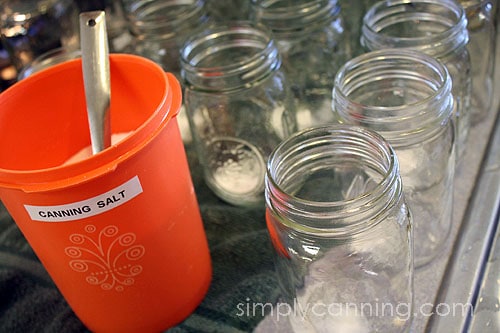
- Add canning salt to jars if desired. 1/2 teaspoon to each pint and 1 teaspoon to each quart. I highly recommend salt but it is only for flavor. Feel free to leave it out if you prefer.
- As you skin and slice your beets pack them into hot canning jars, leaving 1-inch headspace.
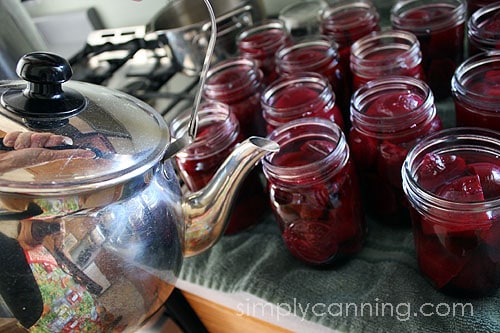
- Cover the beets with boiling water. Again leave 1-inch headspace. I usually use a tea kettle to pour the boiling water into the jars. You can also use a pot of water and a ladle… but the tea kettle makes much less mess. And I’m all about less mess!
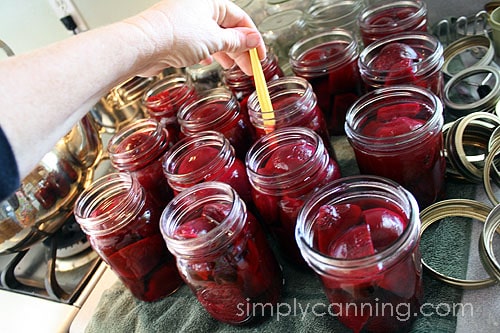
- Remove any air bubbles. There are plastic tools sold to do this step. But any plastic utensil might work. Maybe the handle of a spatula? I like to use a simple plastic orange peeler to push down into the jar and gently move things around. This releases any bubbles that may be trapped.
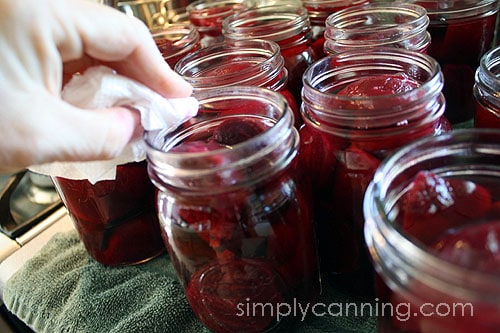
- Wipe the rims clean. This is important. You don’t want any food particles or residue to get between the jar and the lid. It may affect the seal. Just wipe with a damp paper towel.
- Finally, place your lids on your jars with a screw band. Snug is fine, you don’t have to crank down hard.
Processing beets in a pressure canner.
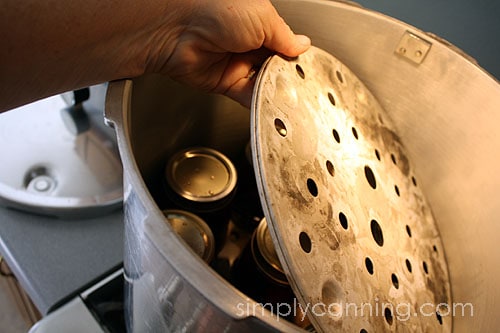
I usually do our beets in pints which you see here. For my husband and myself, one pint jar is all we need for a meal. And since I’m doing pints I can stack the jars in my canner to make two layers. This allows me to process double the amount at the same time! Love saving time this way. Be sure you have a rack between your layers if you choose to do this.
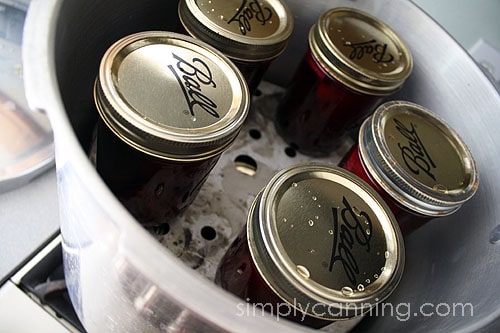
When you’ve got a full canner load you want to process in a pressure canner. Full printable list of steps is just below.
Don’t be surprised if you lose some color when you are canning beets. Click this link to find out more details on how to avoid losing color in both beets and carrots. . Leaving the taproot and stems when you boil your beets will help reduce this, but they almost always lose color when you process them. Unfortunately, there is not much you can do about it. It is just a fact of home canning.
Processing Instructions (Hot Pack)
Process pints for 30 minutes or quarts for 35 minutes, adjusting for altitude.
Adjustments for Pressure Canner
- Altitude – Dial Gauge – Weighted Gauge
- 0-1,000 ft – 11 pounds – 10 pounds
- 1,001-2,000 ft – 11 pounds – 15 pounds
- 2,001-4,000 ft – 12 pounds – 15 pounds
- 4,001-6,000 ft – 13 pounds – 15 pounds
- 6,001-8,000 ft – 14 pounds – 15 pounds
- 8,001-10,000 ft – 15 pounds – 15 pounds
Altitude adjustments are important.
The reason you need to adjust your pressure is that water boils at a different temperature at different altitudes. This makes it necessary to change either the time used (in water bath canning) or the pressure used (in pressure canning). You can find more details on Altitude Adjustments; Why? And How It Works if you are curious.
Sharon’s Tips for Canning Beets
Various Sizes of Beets?
If you have beets of various sizes, try to sort them according to size. Cook those of similar size together. The larger ones will take a little longer to cook, but the smaller ones will be overcooked if you try to do them all together. I’ll usually end up dividing the beets from my garden into two or three different batches of similar sizes.
If you have smaller baby beets (1–2″), it is nice to jar them whole. Larger beets I either slice or cut into chunks.
What Happened to the Color?
Don’t be surprised if your beets lose some color after processing. This is an unfortunate byproduct of home canning. Beets simply bleed off some color when processed. I’ve not discovered a good way to avoid it entirely. Overgrown beets tend to lose more color so pick them before they get too big. Not over-processing or speeding up the cooldown process and keeping your pressure at an even level will help tremendously too. Remember, commercially canned foods go through a different process entirely, so don’t expect the color to be the same…but DO expect the flavor to blow you away.
Did you know you eat and preserve your beet tops too?
Beet tops are edible both raw and preserved by canning. Check out how to can greens here.
Can you pack raw beets for canning?
No, Beets are always packed as a hot pack. This means the beets are precooked before they go in the jars. This is true for either plain canned beets or pickled beets.
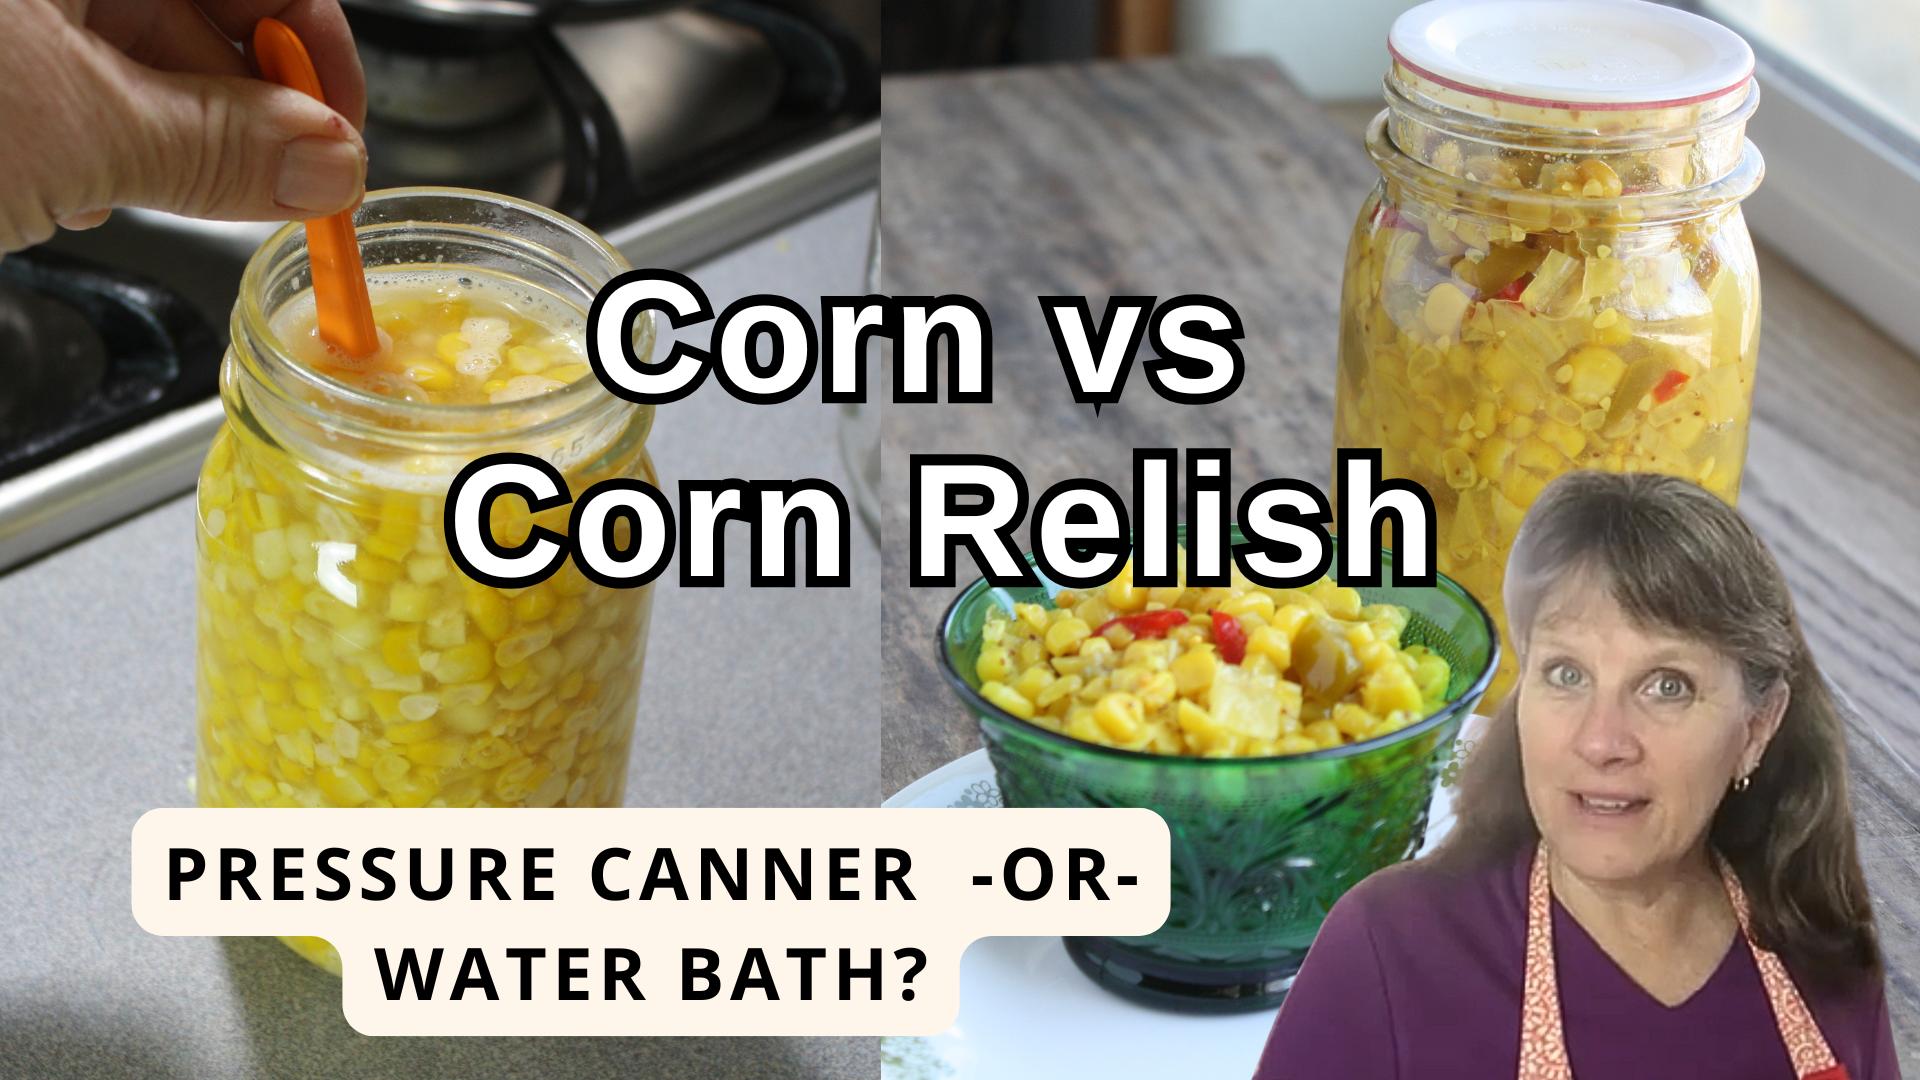
Can beets be canned in a waterbath?
The only way beets can be canned in a water bath is if you choose to pickle them. Pickled beets are super yummy and if you don’t have a water bath canner it is a great way to preserve them.
How long do you boil beets to remove the skin for canning?
You want to boil them just long enough to cook through and loosen the skin. This might be 15 minutes for small beets up to 30 minutes for large beets. The skins should scrape off easily and a fork should be able to stick into the beet.
Please Note
If you skipped here, this recipe card is the canning directions in brief step by step style. For more tips and specifics on each step check the article above.
Canning Beets
Equipment
Ingredients
- Beets
- Canning Salt optional
- Water
Instructions
- Start by preparing your jars and getting water in the canner heating. You want the canner hot, but not boiling, when the jars are ready to be processed. If you are new to using a pressure canner, see this article for full pressure canning instructions. This includes more detailed information and step-by-step instructions on how a pressure canner works.
Hot pack only
- Wash beets, keeping taproot and 2” of stem.
- Boil the beets until tender, about 30–50 minutes.
- Transfer beets into very cold or ice water.
- Remove skins, stems, and taproot.
- Slice or chop beets, or leave smaller beets whole.
- Pack into hot jar and add canning salt (1/2 tsp. for each pint, 1 tsp. for each quart).
- Cover with boiling water, leaving 1” headspace.
- Remove bubbles, wipe the rim clean and place on your seal and ring. Place the jar in the warm canner. Proceed to fill all jars. Process in a pressure canner according to the directions below.
Notes
Adapted from: The National Center for Home Food Preservation ; Colorado State Extension Service
Related Pages you might like.
Pickled Beets – Flavored with spices like cloves and pickled with vinegar this recipe can be done with a water bath canner.
Liquid loss in Home Canning Losing water in your jars? Find out why.
Canning safety Safe home canning is simply a matter of avoiding risks. Use safe canning methods.
I have pickled beets for a few years now and instead of boiling them I roasted them in the oven
Add a bit of vinegar to each jar to preserve the color. The instructions I was given suggests half a tbsp per pint size jar
That is an interesting idea. I Haven’t tried it but I might next time. Just to clarify for anyone reading, adding a bit of vinegar doesn’t mean you don’t have to use a pressure canner. You’ll still need to use the proper processing for plain beets. If you want to pickle beets in a waterbath here are some instruction… Pickled Beets.
I would love to blanch and freeze out beets but I was told it doesnt work bc they will become rubbery and tasteless. Do you really blanch yours like carrots? We just finished doing our carrots.
Yes, when I froze beets I did blanch them first. Honestly… we didn’t like them much. Canned is better in my opinion so unless I am just super busy and don’t have time to can… I don’t freeze them. I have not tried freezing beets without blanching them. I Probably should maybe we’d like them better. If I were you I’d try it both with blanching and without. Then you can tell if there is a difference to your taste. Blanching does help the quality of the food last longer in the freezer, but it’s not the end of the… Read more »
pressure your beets for 6-8 minutes instead of boiling for quicker results.
Good idea! The goal is cooked enough so you can skin them easily so pressure would work too.