Canning Venison: Cubed & Raw Pack
This page may contain affiliate links. More Information.
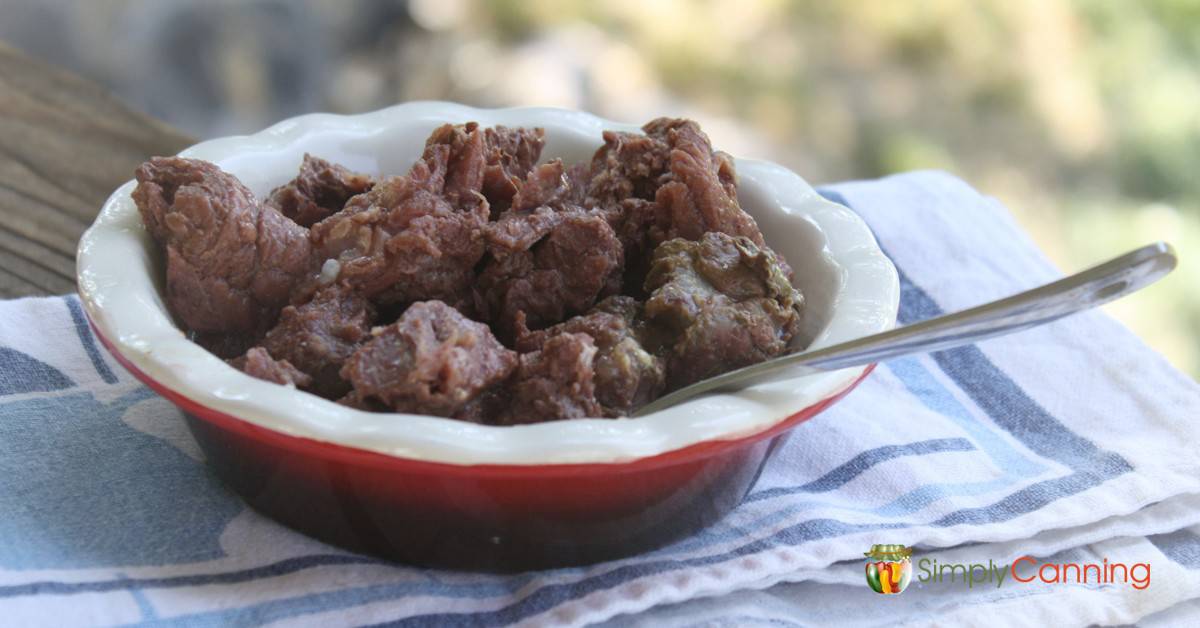
Canning venison is so easy, I wish I had started years ago. These directions will also work for canning meats such as beef, elk, or pork.
The first time I tried canning meat, I could not believe it was so easy. I thought surely there was something I am missing. Nope, nothing missing. And it tasted great!
Any meat must always be processed in a pressure canner.
This Page Includes:
- Canning Venison (Cubed & Raw Pack): Extended, Step-By-Step Directions
- Recipe Card
- {FAQ} How to Use Home Canned Venison
- {FAQ} Adding Butter to Canned Venison?
- {FAQ} Why are My Jars of Canned Meat Greasy?
- {FAQ} How Long Does Canned Venison Keep?
- {FAQ} Can You Can Venison in a Water Bath Canner?
- {FAQ} A Note About Liquid
- Members’ Extra
Canning Venison (Cubed & Raw Pack): Extended, Step-By-Step Directions
Gather Your Canning Supplies:
- pressure canner
- canning jars
- canning lids and rings
- jar lifter and canning funnel
- bowls
- large spoons
- sharp knife
- towels, dish cloths
Ingredients:
- venison (or other meat specified above)
- canning salt (optional)
How to Can Venison Cubed (Raw Pack)
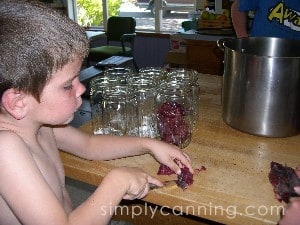
Cut away any bruised areas, gristle, and excess fat (if you are lucky enough to have any fat on your deer). My kids all helped in processing our meat. Here my 6yo is cubing meat for canning. And yes, he was closely monitored, of course. 🙂
Slice across the grain into strips about 1-inch thick.
Then cut into chunks the size you desire. You can divide into lengths to fit your jar, or cut into cubes.
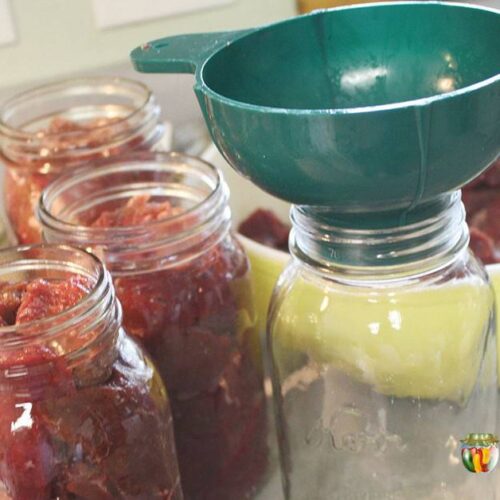
Pack into hot jars, leaving 1-inch headspace.
Add canning salt. I’ve seen it recommended that you add 2 tsp. per quart. I tend to like to only lightly salt our meat, so I only use 1 tsp. per quart.
Do not add liquid! This was the hardest part for me to get, but when you are canning venison, you really don’t add liquid. The meat will produce its own juice.
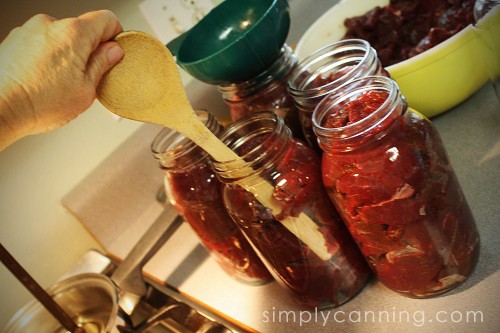
Use the handle of a spoon or something to get out some of the large air bubbles. You won’t be able to get it all out. But occasionally, you’ll notice a large gap. Just poke something in the jar to release those spaces. Fill jars, leaving a 1-inch headspace.
Wipe the rims of your jars clean. This is important. You don’t want any grease or meat particles left, or it will interfere with the seal. Just use a wet paper towel and wipe around each jar rim.
Place the lids and screw bands on finger tight.
Place jars in your preheated pressure canner. Do your best to make sure the jars are not touching each other. For my canner, this is a tight fit, so sometimes it takes a little maneuvering.
Follow pressure canning instructions using the processing times below.
Don’t forget to adjust the pressure requirements for your elevation using the chart below.
Canning Venison Processing Times:
- Quarts – 1 hour 30 minutes.
- Pints – 1 hour 15 minutes.
Recipe Card
Canning Venison (Cubed & Raw Pack): Tips & FAQs
How to Use Home Canned Venison
“I was given some venison and moose meat canned. What are the preparations to put it on the table,in a heated form? I’m really new to this. Any advice?”
Answer:
Bert, your meat can be used in casseroles and for things like chili or spaghetti sauce. Anywhere you would use cooked meat, you can just substitute the canned meat.
One of the ways I use meat is to just dump the jar in a pot. I heat it to a simmer, then add a bit of water or broth if it is too dry, then add some cornstarch or flour to thicken a gravy. Then I serve it with mashed potatoes and a side vegetable. You can also use those packaged gravy mixes too for convenience. I’ve used the brown gravy mix before.
Adding Butter to Canned Venison?
“Hello Sharon, I have a question regarding canning elk meat. I was wondering if you could put butter in with the meat for some flavor? I put butter in with roasts in the Crockpot and it always turns out very good.”
Answer:
Hi Brandon,
I would not put butter in your elk before you can it. Now I realize that meat is going to have some fat in it inherently, and elk usually does not have very much, but recommendations are to not add any fat or oils to your food before canning.
You can certainly add it when you open the jar to use it though. You are right–adding that extra fat does help wild meats. I also often add bacon grease instead of butter, or if I have bacon ends and pieces, I sometimes add that instead.
Sharon
Why are My Jars of Canned Meat Greasy?
“Hi Sharon, I bought some of your canning books and today I canned some chunks of beef in qt. jars. I thought I did everything right, but when I opened the canner to take them out there was a little bit of oily water on top. Does this mean my jars were not tight enough? I tightened them as much as I could with my hands. but I am not as strong as I used to be. They all made that ping sound… are they sealed?
Answer:
Hi Toni,
It is not unusual for the water and jars to end up greasy or oily. As the jars and food heats up in the canner, it swells, and this sometimes pushes some of the liquid in your jars out. Just remove the rings and wash your jars off and store. They are safe as long as you know you processed correctly and the lids sealed.
Sharon
How Long Does Canned Venison Keep?
“How long will canned venison keep?“
Answer:
As all home-canned goods, canned venison is best used within a year. (Again, this is just a quality issue, not so much a safety issue. If you must can a LOT of venison and don’t use it as fast as you thought, just make sure and pull the older jars to the front so you remember to use them first.)
Can You Can Venison in a Water Bath Canner?
“Can you can venison without a pressure canner? Like in a water bath canner instead?“
Answer:
No, no, no! Canning venison (or any meat, for that matter) without a pressure canner IS NOT safe.
A Note About Liquid
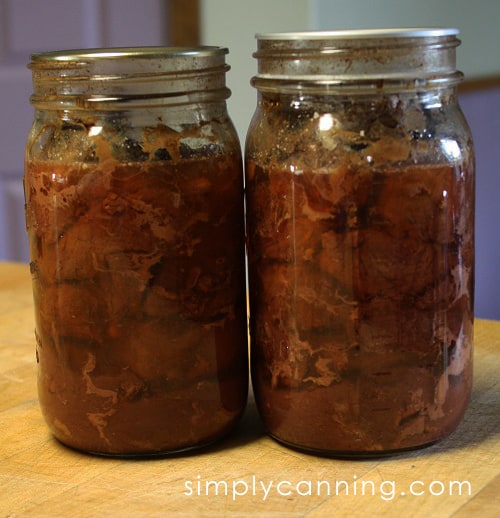
Not adding liquid was the most surprising part of canning venison for me. You really don’t add liquid. The meat will produce its own juice.
Sometimes, the juice will not fill the jar or completely cover the meat. That is okay.
If you are concerned about this, try looking at canning venison hot pack directions. You’ll get a more consistent appearance with more liquid in the jars with that method.
Related Pages
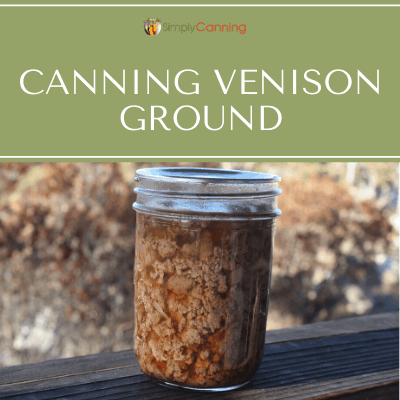
Ground Venison
Home canned ground venison can be used for tacos, chili, casseroles, and more.
Canning Meat
Canning meat creates shelf-stable food for emergencies or quick meals

Canning Venison: Cubed, Hot Pack
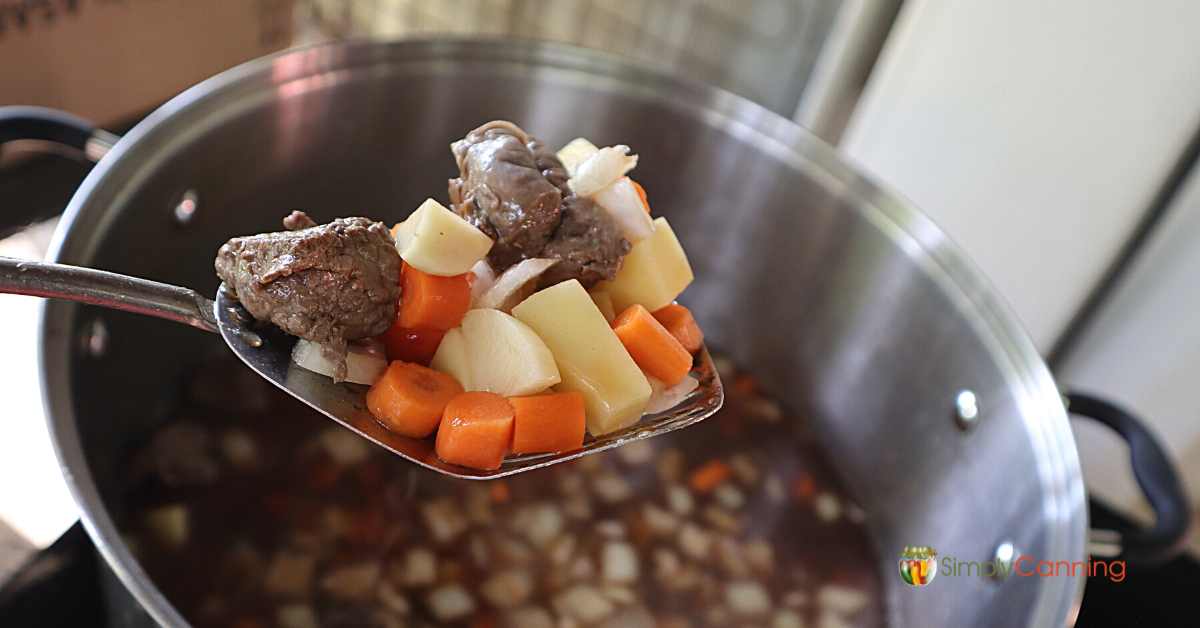
Canning venison using a raw or hot pack? Either way, you must use a pressure canner.
Pin This to Find Later:
Source: The National Center for Home Food Preservation, Wisconsin Extension
Page last updated: 7/9/2021



Hi I’m wondering if I can put powdered garlic powdered onion powdered Sage powdered smoked paprika in with my venison when I can
You can season this as you like with any dried seasoning. But remember that processing does intensify some seasonings. I have no personal experience but I’ve read that sage is one that doesn’t do well with canning. It changes the flavor.
I have a quart jar that is only half full. Is that OK to can with the other jars?
No, you are better off just using it up for dinner. You should not can half full jars.
Great article! If I do the raw pack method could I add a little beef broth to each jar I have in the fridge to give it flavor? Or will the deer produce Too much of its own juice to allow that?
Janell, all testing resources I see say “do not add liquid”. Personally I don’t think a couple Tablespoons of liquid would hurt, but you would not want very much broth. However… I also don’t think a couple Tablespoons of broth are going to add any flavor for you. You’d be better off adding a bouillon cube to your jars. You can also add a garlic clove, or a little bit of onion. Some dried spices are also allowable. Don’t add fresh herbs though. Or just do a hot pack and add your broth there. I’m learning that I kind of… Read more »
I put a one inch square of beef fat in the bottom of my quart jars but no salt. If you use the seasoning packets for tacos sometimes it gets too salty. Been doing this for a few years
My wife cans venison every year without a pressure canner and we’ve never had a problem with it you just need to make sure you cook it long and hot enough.
Michael. I’m glad you have not had any issues yet. But I’d strongly suggest you reconsider. Botulism is the risk... and it can be very serious. The risk is so easily avoidable.
Always check your site for canning directions. I share you with my friends that ask for help. Greatly appreciate you emails also!
Thank you Kathryn! And if anyone else wants in on the emails she is recommending check out this page… Simply Canning newsletter.
Hello, my husband got 2 deer this past fall. It was butchered, wrapped and then frozen. Can this meat be canned?
Hi, Julia!
Great question – yes, frozen meat may be canned. This page provides more details: https://www.simplycanning.com/how-to-can-meat/
-Rachel (Sharon’s assistant)
Hi! We are just beginning to get into canning. One of our favorite recipes is venison braised in apple cider.
Can we add apple slices peeled to our cans of venison?
That is an interesting idea. I know it is ok to add onions, so I see no reason why adding a few slices of apples would be a bad idea. FYI I know of no testing on this recipe. You’ll have to try it and see how the quality turns out. The apples will be pretty well cooked and might end up mushy. You could also add some apple juice as a liquid if you do a hot pack.