How to Can Chili Con Carne (with meat and beans)
This page may contain affiliate links. More Information.
Ever wished you could open a jar of your own homemade chili on a cold winter day? It’s possible when you learn how to can your own chili in jars!
This article will teach you how to can your own chili (chili con carne – with beans and meat). You’ll soak the beans first, then cook your meat, vegetables, and flavorings before combining together in a flavorful chili mixture that is pressure canned in pint jars.

Extended Directions and Expert Tips for Canning Chili
Yield
This recipe makes about 9 pint jars. The original recipe from NCHFP doesn’t include processing times for quarts, so it isn’t recommended. I’m guessing this is because the beans make for a thicker mixture that probably won’t heat through the same way in a larger size.
Know your Canner
Before you start this project, if you are not familiar with using a pressure canner I recommend reading How to use a pressure canner. It will familiarize you with how your canner works and what steps to take to get set up for any canning project.
Because this recipe contains meat and beans, it must be pressure canned for safety.
Ingredients:
- 3 cups Dried Beans (pinto or red kidney)
- 5 ½ cups Water
- 5 teaspoons Salt (separated)
- 3 pounds Ground Beef
- 1 ½ cups Onion(s), chopped
- 1 cup Peppers, chopped (your choice of type, but also optional)
- 1 teaspoon Black Pepper
- 3-6 Tablespoons Chili Powder
- 2 quarts Tomatoes
Instructions for Making & Canning Chili
- Wash beans and put them in stock pot with cold water, enough to cover 2-3″ above beans. Soak for 12-18 hours. I usually let the beans soak overnight, because that’s the easiest way to make sure they’re ready later.
- Drain and discard soaking water. Combine beans with 5 1/2 cups fresh water, adding the 2 tsps salt.
- Bring to boil. Reduce heat & simmer for 30 minutes. Drain and discard water again.
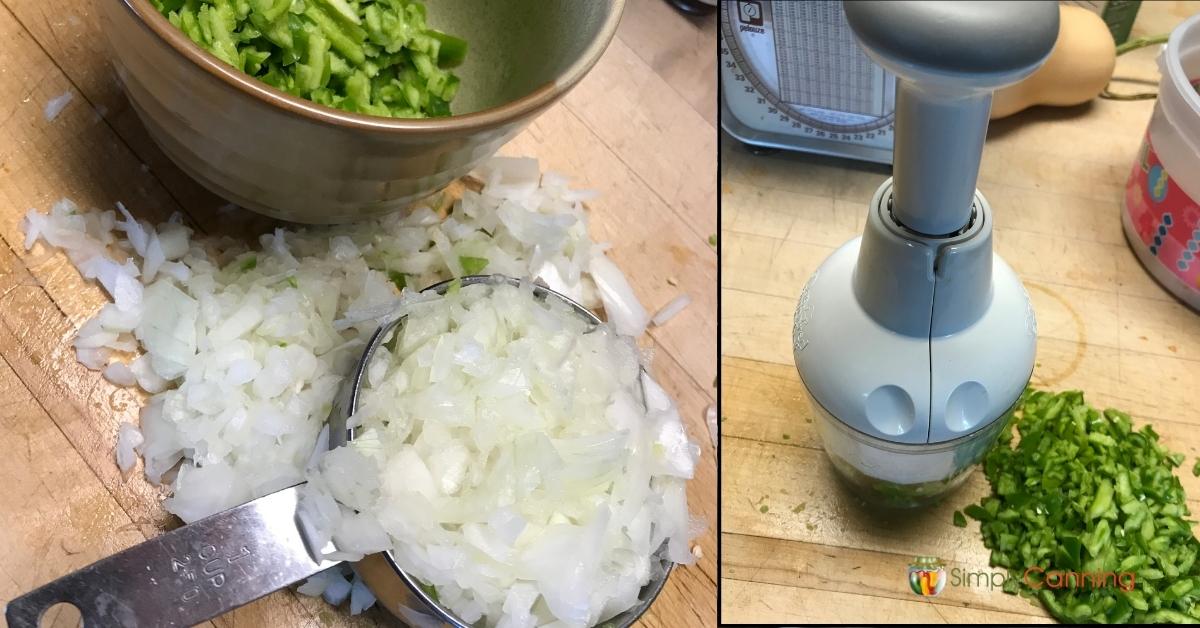
- Chop onions and peppers. I used my hand held pampered chef food chopper pictured above. There are many brands available. You can also use an electric chopper to make things quick and easy.
- Tip! Don’t over chop. Remember this will cook and depending on how chunky you like your veggies you don’t want them chopped too small.
- In large pan or skillet, cook ground meat with chopped onions and peppers. Drain off fat.
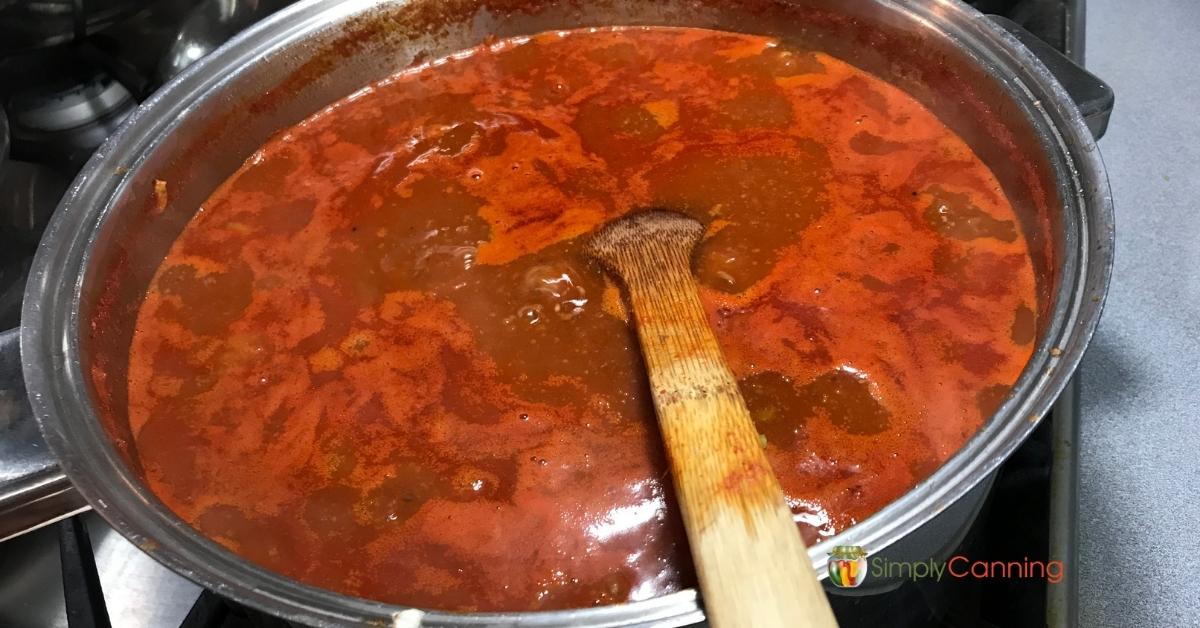
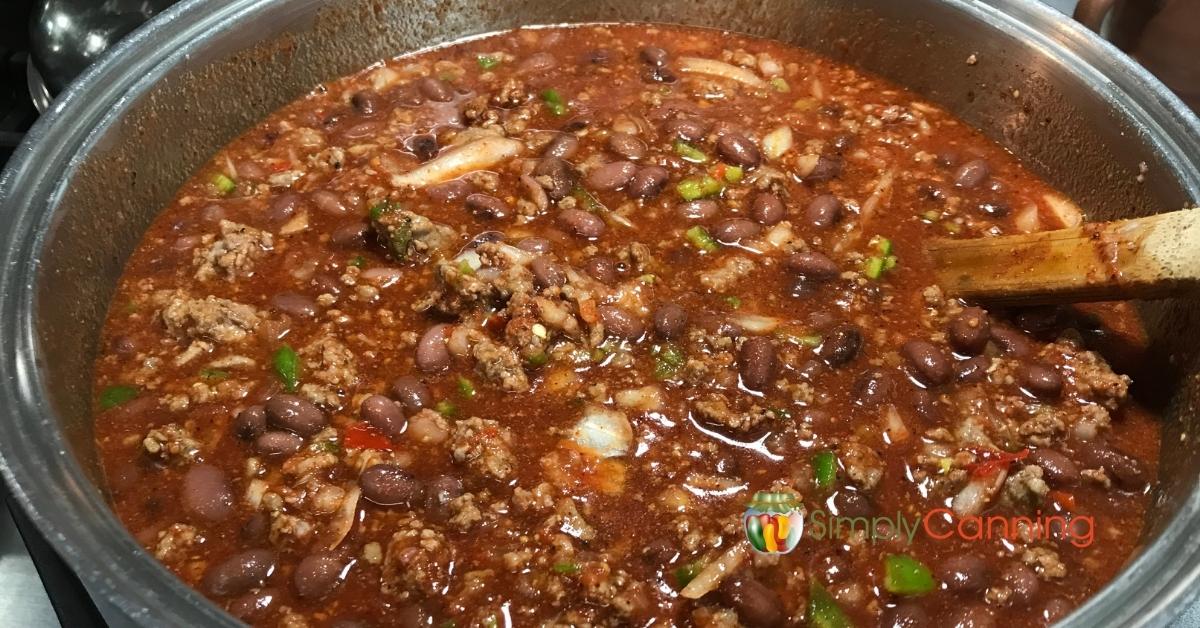
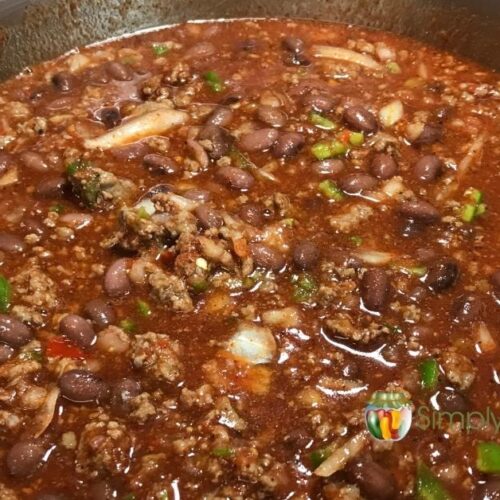
- Add 3 tsps salt, along with other seasonings, tomatoes, and drained cooked beans. Simmer 5 minutes.
- Do NOT thicken. This is important for safety reasons, so the heat can reach deep enough into the jars.
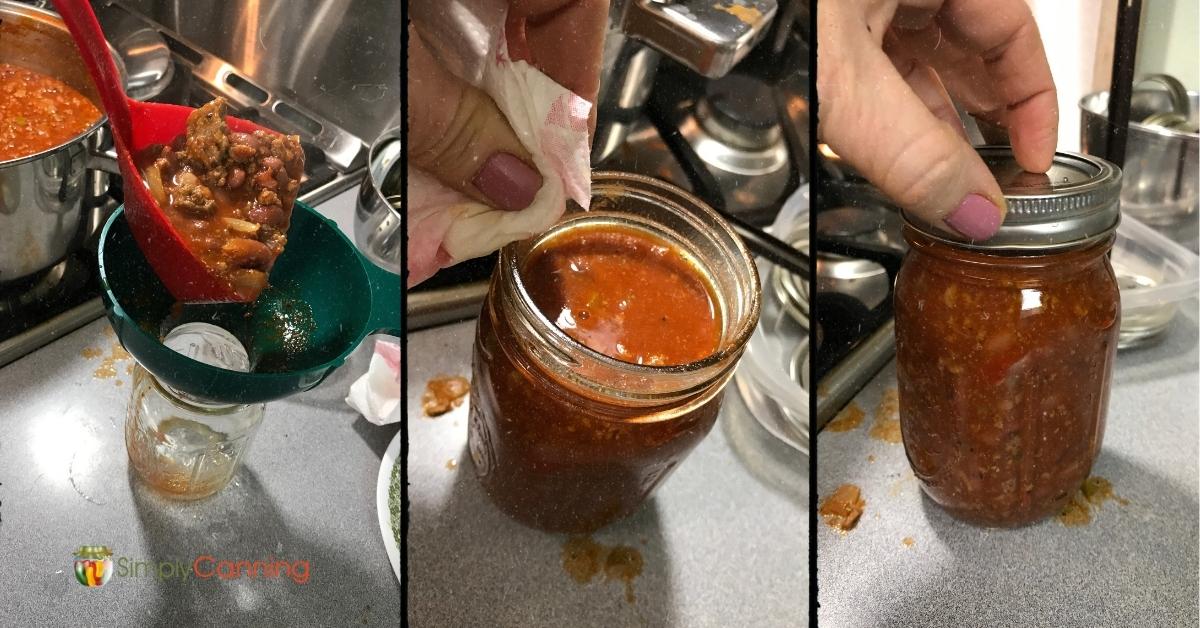
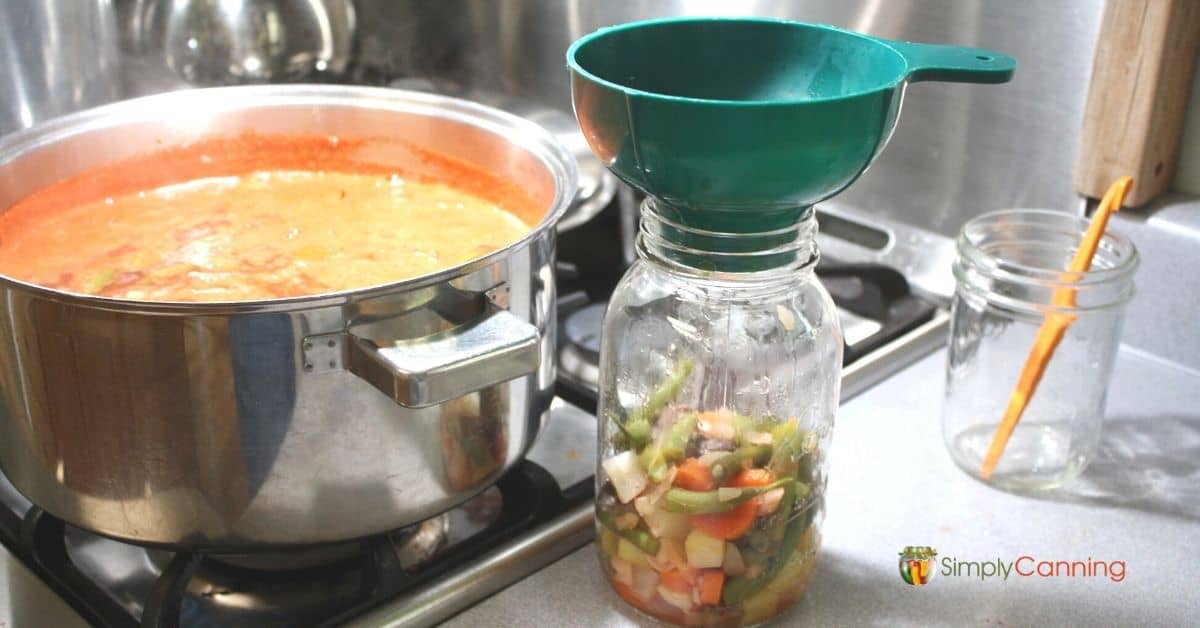
- Ladle hot chili into hot jars, leaving 1” head space.
- Remove bubbles, wipe the rims clean, and place on seals and rings.
- Place jars in a warm canner.

- When all jars are filled, process according to the instructions and chart in the recipe card below. Be sure to adjust for altitude as needed.

Adaptations
This recipe can be adapted with a few minor tweaks. But remember the pressure canning process is specific to this recipe as written with the following few things that can be adjusted.
Can I can my own homemade chili recipe?
Canning your homemade chili is fine, but the recipe should adapted to conform to home canning. If your homemade recipe is close maybe you can adapt it slightly. This adapting will need to include how you prepare your ingredients. The beans need to be prepared as written in the directions.
Can I Substitute Another Seasoning?
Dry seasonings are generally adjustable. So if you’d like more chili powder it is fine to add more. If you are trying to control salt and want to use less, that is fine as well. You can also add things like garlic powder, cumin, dried oregano or other seasonings as long as they are dried and not fresh.
Can I use hot peppers?
Yes, absolutely. If you like hot hot hot chili, substitute some jalapeño or other spicy pepper for the bell peppers. Just don’t change the amount of peppers. It is a straight across substitution.
You can also leave out some of the veggies if you like. For instance if you don’t want peppers at all but just like onion. That is fine. Do not change the amounts of other ingredients. Just leave out the pepper and keep the amounts of the rest the same.
Can I use already canned tomatoes?
Yes, if you’ve got home canned tomatoes or commercially canned tomatoes you can use them in this recipe. You can also use fresh tomatoes. Just chop them and measure them out the same.
Adjusting the Beans from This Recipe?
Beans do impact the processing time of a recipe. For this recipe don’t adjust the amount of beans. If you’d prefer no beans, there is a recipe from Ball Blue Book, which contains just a spicy meat mixture without any beans. Bernardin also has a recipe for chili without beans.
Adding beans later works perfectly if you want more beans. Simply open a jar of chili and a jar of canned beans, combine them and you’ve got chili with extra beans.
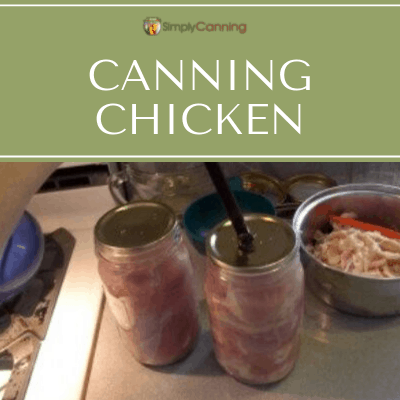
Even easier, you could can the ingredients separately and then create your chili later. Having the basic ingredients canned separately in pint jars makes pulling together a chili recipe later quick and easy. Take a jar of canned ground meat plain, then combine with your choice of canned beans and canned tomatoes, then add veggies, seasonings and other ingredients to make a fast chili when you open the jars.
Can I Substitute Another Ground Meat for Ground Beef in This Recipe?
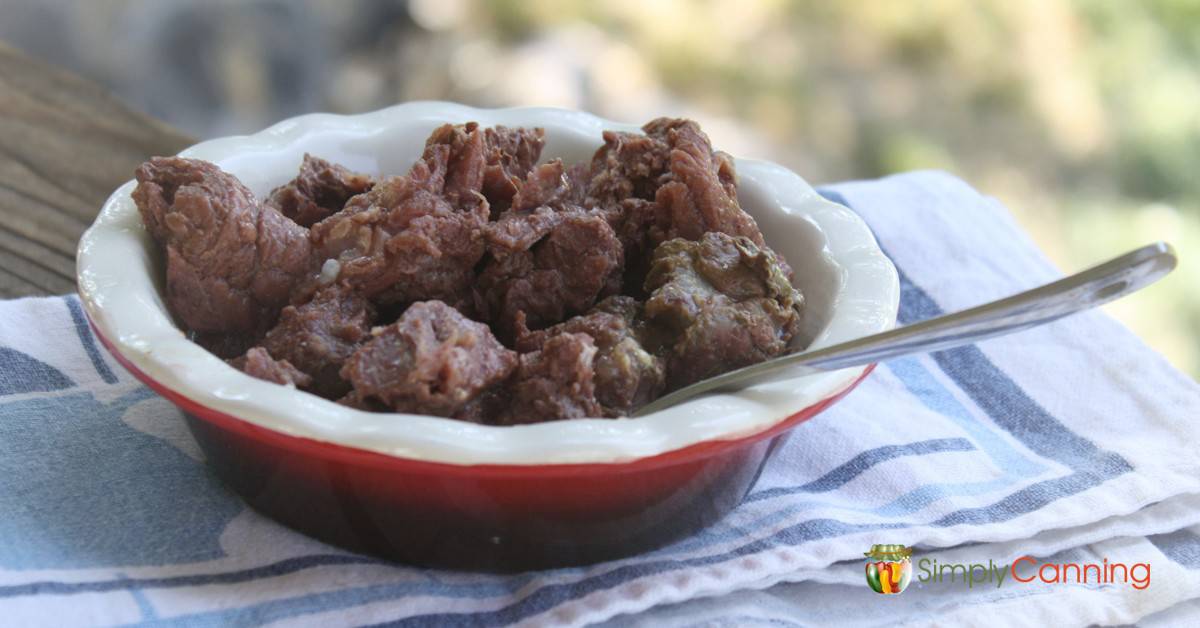
This recipe is fine for beef or venison. You can not substitute in ground chicken or turkey since those are not recommended for canning purposes.
Frequently Asked Questions
No. Chili is a low-acid food and must be processed in a pressure canner. You can however make this recipe and freeze it instead.
If you want to extend your chili later, you can stretch it by stirring in additional beans or vegetables after you open the jar to serve it. (and maybe adding a bit more spice too).
My mother in law (who raised 8 children!) was known to add rice to her chili. I’m sure it was to make it stretch!
You can use whatever type of onion you have handy for this recipe. So red, white, yellow, or sweet onions would all work fine!
It is generally recommended that you keep canned chili, and other home canned goods, for about 1 year max. After that, it becomes more of a quality issue than a safety issue.
Before You Go…
Do you want to enjoy more fast, winter time meals? Chili isn’t the only type of meal you can put in jars! Here’s a recipe for canning beef stew too.
Recipe Card
This printable recipe card is the recipe in brief! I’ve got more details, explanations and tips in the article above. If you skipped here, you might want to take a look at the other details included above too. Learn how to adapt this to your taste.
Canning Chili
Equipment
Ingredients
- 3 cups Dried Beans pinto or red kidney
- 5 ½ cups Water
- 5 teaspoons Salt separated
- 3 pounds Ground Beef
- 1 ½ cups Onion(s) chopped
- 1 cup Peppers chopped, your choice of type (optional)
- 1 teaspoon Black Pepper
- 3-6 Tablespoons Chili Powder
- 2 quarts Tomatoes crushed or whole
Instructions
- After soaking beans step as listed below is complete, start by preparing your jars and getting water in the canner heating. You want the canner hot, but not boiling, when the jars are ready to be processed. If you are new to using a pressure canner, see this article for full pressure canning instructions. This includes more detailed information and step-by-step instructions on how a pressure canner works.
For a Hot Pack
- Wash beans and put them in stock pot with cold water, enough to cover 2-3" above beans. Soak for 12-18 hours.
- Drain and discard soaking water. Combine beans with 5 1/2 cups fresh water, adding the 2 teaspoons salt.
- Bring to boil. Reduce heat & simmer for 30 minutes.
- Drain and discard water again.
- In large pan or skillet, cook ground meat with chopped onions and peppers. Drain off fat.
- Add 3 teaspoons salt, along with other seasonings, tomatoes, and drained cooked beans. Simmer 5 minutes. Do NOT thicken.
- Ladle hot chili into hot jar – leaving 1” headspace.
- Remove bubbles, wipe the rim clean, and place on seal and ring.
- Place jar in the warm canner. Proceed to fill all jars.
- Process according to below directions.
Notes
Adapted from: Source: National Center for Home Food Preservation
reSources
- National Center Home Food Preservation
- Ball Blue Book
- Benardin Canning
We enjoy both pinto and kidney beans. Is it ok to use a mix of these beans in this recipe? Thank you, Sharon! Looking forward to canning this chili!
Yes pinto or kidney is fine.
Can I process this in quart size jars and for how long?
No, There is no quart size chili recipe that has been tested for canning. At least to my knowledge. This is only for pints.
Good afternoon from Middle Georgia. You have come to the rescue with this most delicious recipe. We were blessed with a nice harvest of venison and this is perfect for winter ( a most unusual chilling season of snow here) or for a filling and tasty taco salad for summer. Thank you!
You are very welcome! It works great with venison. :).
It says do not thicken but there is very little juice in my mixture. Where is the juice coming from that you say not to thicken?
The recipe includes water and tomatoes. That is where your liquid will come from.