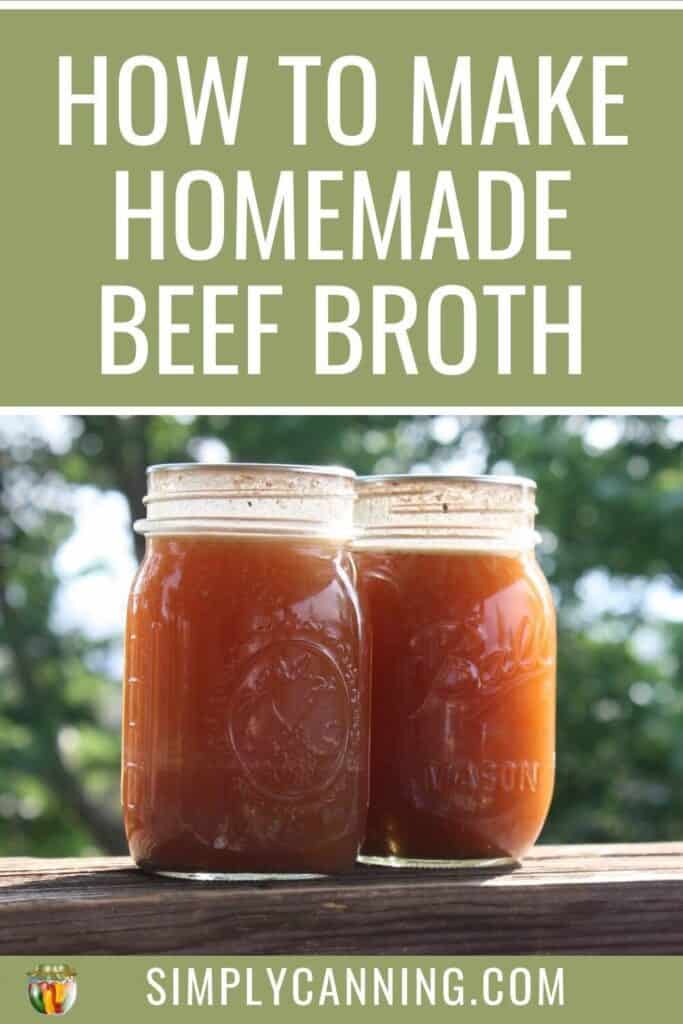
How to Make Beef Stock 3 ways; optional canning instruction.
This page may contain affiliate links. More Information.
Learn how to make beef stock. Canning this stock is easy and give you handy homemade jars in your cupboard available anytime! So much healthier than the salt-laden, commercial version. Use as a base for your stews, chili or other casseroles.
The first step is making your stock, and then freezing and canning directions will follow.
What is the difference between beef broth and beef stock?
Many people (including me) use the terms stock and broth interchangeably. However, the general consensus is, broth is made from the meat, whereas stock is made from the bones. Stock will give you a stronger flavor and has that nutritious gel. Broth is a lighter flavor. This page teaches how to make stock from beef bones.


This Page Includes:
- How to Make Homemade Beef Stock
- Making Homemade Beef Stock in a Pressure Canner/Cooker
- Making Homemade Beef Stock in a Slow Cooker
- Making Homemade Beef Stock in an Electric Roaster
- How to Freeze Stock or Broth
- Canning Beef Broth or Stock: Extended, Step-By-Step Directions
- Recipe Card
- {FAQ} What About Venison Stock?
- {FAQ} Is Beef Broth the Same as Bone Broth?
- {FAQ} How Can I Make Beef Broth Taste Better?
- {FAQ} How Do You Use Beef Broth in Place of Beef Bouillon?
- {FAQ} How Do You Make Gravy from Beef Broth?
- Members’ Extra

How to Make Homemade Beef Stock
Some stores will carry soup bones. You can also use bones from roasts, steaks, or other cuts of beef instead. Use about 4 pounds beef bones to 7 quarts water.
This is an estimate, it doesn’t need to be exact.

You can get the bones for your stock from a local butcher or meat department. You might have to ask for soup bones. The butcher should know what you men. The larger marrow bones are the best for stock. Knuckle bones (from the leg joints) short ribs or beef shank (leg portion) can also be used. I’ve seen these ribs and shanks in packages already cross cut and perfect for broth or soups.
Roasting beef bones for broth or stock.
Roasting is an optional step. Some insist it makes for more flavorful stock.
Roast your beef bones on a tray in a single layer at 425 degrees F for 20-30 minutes, or use the broiler setting on your oven. You just want to brown the meat and bones to bring out the flavor.
When you’re done roasting the beef, rinse the pan out with a little water. Add this water to your broth. Those drippings add much flavor.

Making homemade beef stock in a stockpot.
Place bone-in meat or just bones in a large stockpot. Cover with water. Bring to a boil. Lower heat to maintain a simmer.
If you have meat on your bones, simmer until meat is cooked. This might be about 1 hour depending on the size of your meat pieces. Use a slotted spoon or tongs to remove meat pieces. Remove the meat from the bones and save for other uses. (It’s great for enchiladas, casseroles, etc.) Return the bones to your pot to continue cooking for your stock.
Should I add vegetables?
You can add vegetables too for extra nutrition. Carrots or celery are good options. Chop some medium onions or some garlic cloves adds much to the flavor as well. Vegetables are optional. Remember you’ll be straining out the vegetables for the final product. And remember to peel your root crops.
You can also add fresh herbs at this step. Fresh thyme, or fresh parsley for instance. These will be strained out at canning time but add nice flavor.
A long slow cook is the ideal!
Cover your bones, vegetables and drippings with clean water. Remember about 4 pounds bones to 7 quarts water. That is a big batch, you’ll need a large stock pot. If you have less bones or want a smaller batch just use smaller portions.
Simmer on low for several hours. The more you simmer, the better. 4–6 hours (or more)! Your liquid content will reduce. There is no set amount of reduction. Up to half is fine.
Strain out the solids.
When you are done simmering, remove vegetables and bones. Discard. Strain broth to remove all solids.
I have a colander that I use. You can use cheesecloth or a fine mesh sieve if you want a very clear broth. I don’t mind little bits, so the colander is good for me.
Keep in mind this is just little bits of food. You don’t want to leave chunks of meat or vegetables in your broth. If you do you should consider it soup… not broth. The canning process is different for each. You can read more about canning soup here.
Cool the broth, and remove excess fat.
Allow the broth to cool, and then place it in the fridge to cool completely. The next morning, there will likely be a layer of fat floating on top. The thickness of this layer will depend on how much fat was in your meat. Remove that fat with a slotted spoon. I’ve got more on knowing how much fat to remove here. The article is about chicken broth, but the same principal applies to beef.
Now you have a nice, nutritious, homemade broth for recipes or canning projects.
Three other cooking options for making your beef broth.
The above instruction is how to make beef broth by simmering for hours. But there are other options for the actual cook time for your broth.
Follow the same basic steps and ingredients as above. Meaty beef bones, vegetables optional. Roasting it first is optional as well. Above I teach how to cook in a stockpot on the stove. Below you can find how to cook in a:
- Pressure Canner
- Slow Cooker
- Large Roaster
Making Homemade Beef Stock in a Pressure Canner/Cooker
Skip the long simmer, and use your pressure cooker or canner to speed things up. This is just cooking the broth, not canning it yet. So a pressure cooker is fine for this step. Remember when canning you want to use a canner.
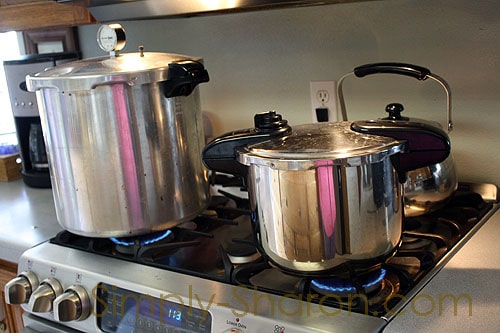
Pressure cooker on the right… not for canning.
Pressure cook your ingredients at 10 lbs pressure for 1 hour. This saves a lot of time. It is debatable as far as what this pressure does to the nutrition of the broth. It is still much better than that commercial broth full of salt and preservatives.
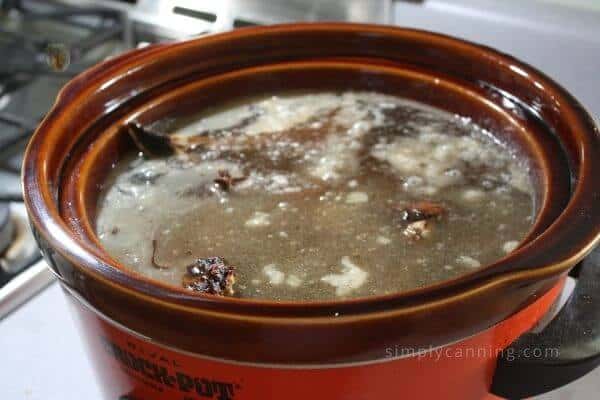
Making Homemade Beef Broth in a Slow Cooker
You can also use a slow cooker. Again follow the same basic instructions as above to prep and combine your broth ingredients. But don’t use your stove top to cook it. Instead do a long simmer with your crockpot or slow cooker.
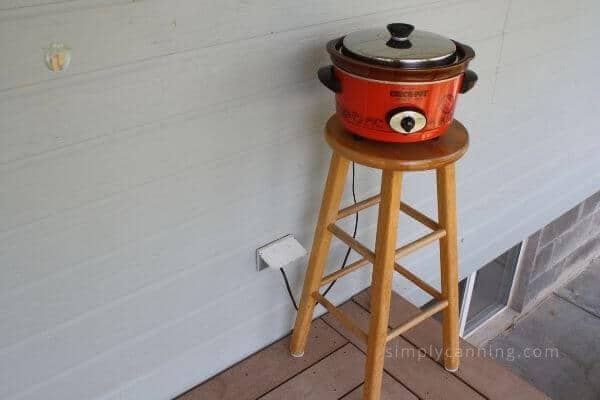
It can cook all day and not add heat to my kitchen. Make sure animals can’t get to it!
If you only have a few bones, this is a great way to make a smaller batch of broth. This is the option I go to more and more often. The broth turns out so full of gelatin from the bones that it sets up when you cool it. Super, super healthy! Place your bones and other ingredients in a slow cooker, cover them with water, and cook them overnight or for a full day. You can even cook them two days if you’re busy. Ask me how I know! 🙂
Making Homemade Beef Broth in an Electric Roasting Pan.
You can use an electric roaster too! Simply simmer your broth ingredients in a large roasting pan.
When I tried this, I set the roaster to just under 250°F, but your roaster may be different. It should be hot enough that it’s just barely bubbling. That low simmer is what you want.
Can You Freeze Beef Broth Instead of Canning It?
So before we get to the canning instructions I want to mention that you don’t have to can it. You can also freeze it.
After you’ve strained your broth or stock, simply cool and place in freezer containers. I like to use plastic freezer containers. But you can also use freezer bags.
Some people like to use glass jars… I don’t prefer that because of the risk of breakage. If you do use glass be sure and leave enough head room for expansion.
Another good option if you want small amounts is to use ice cube trays. These might be good for small single serving needs.
Freeze in amounts you’d commonly use for recipes. I usually do 1 or 2 cup amounts.
Canning Beef Broth or Stock: Extended, Step-By-Step Directions
Now for the canning part! Once you’ve done the following steps…
- Made your broth with your preferred method.
- Strained it.
- Cooled it.
- Removed the excess fat.
You’ll want to reheat it and can it up. This can be done in quart or pint jars depending on how you’ll use it. You can do smaller jars as well but process it for pint size. Don’t go any bigger than quarts.
Canning broth or stock is remarkably simple!

Supplies
- pressure canner
- canning jars
- canning seals and rings
- jar lifter and canning funnel
- large pot or blancher
Ingredients
- Beef Broth or stock
- Canning salt (optional)
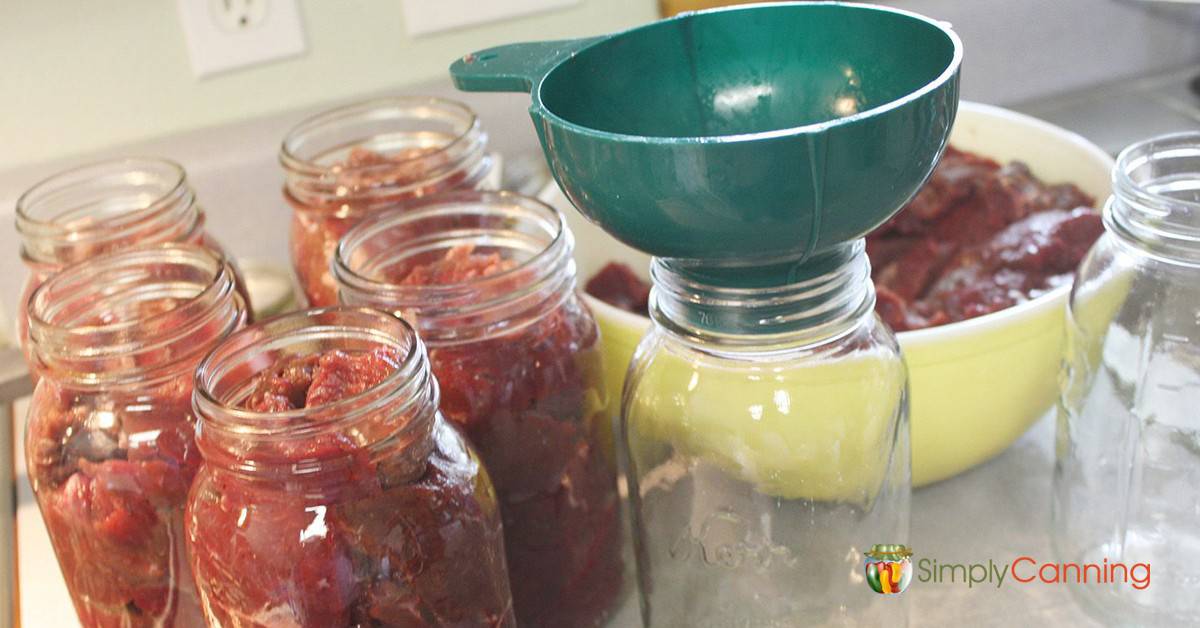
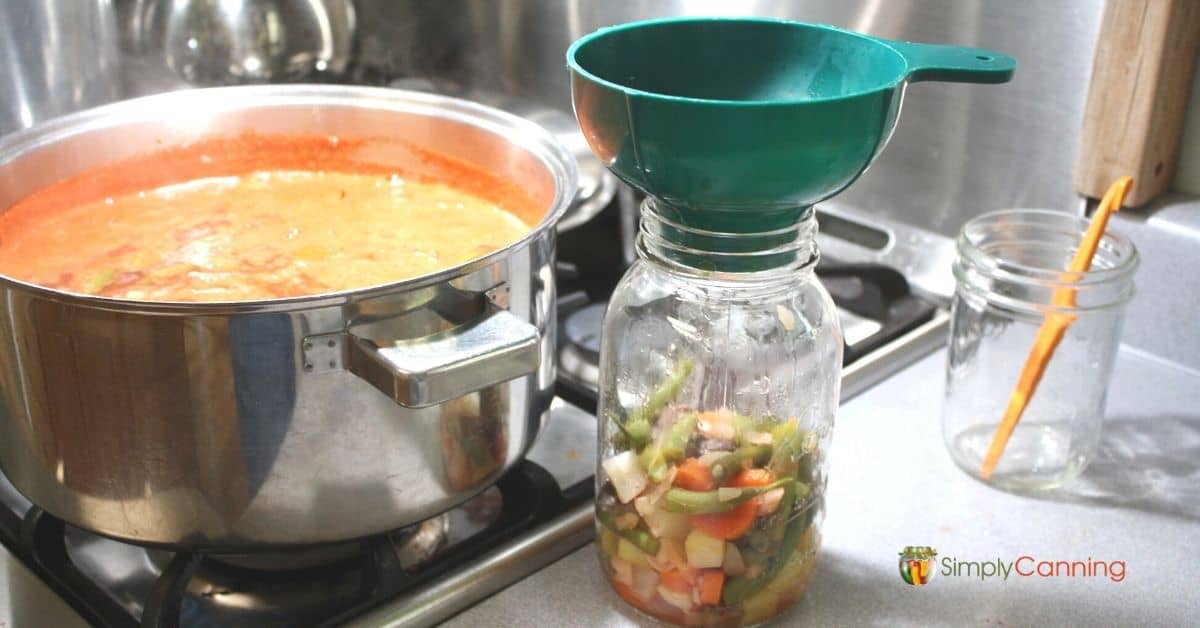
Bring broth to a boil, and then pour hot broth into hot jars, leaving 1″ headspace and adding salt (1 tsp. per quart or 1/2 tsp. per pint) if desired. Process according to chart below, adjusting for altitude.
If you have not used your pressure canner before you might want to check this article for a step by step explanation. How to use a pressure canner.
Recipe Card
Canning Broth or Stock
Equipment
Ingredients
- Broth or stock
- Canning Salt optional
Instructions
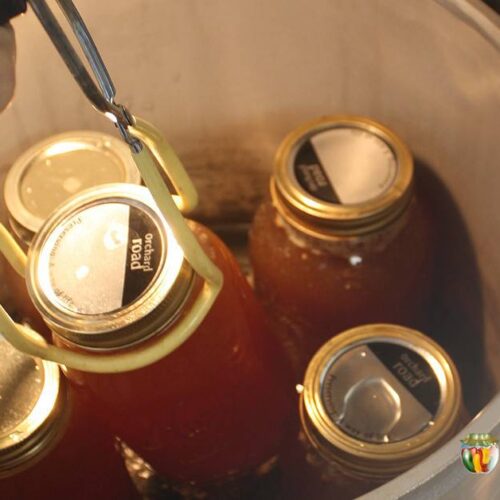
- Start by preparing your jars and getting water in the canner heating. You want the canner hot, but not boiling, when the jars are ready to be processed. If you are new to using a pressure canner, see this article for full pressure canning instructions. This includes more detailed information and step-by-step instructions on how a pressure canner works.
Hot Pack only
- Bring broth to a boil.
- Pour hot broth into hot jar, leaving 1” headspace.
- Add salt (1 tsp. per quart or 1/2 tsp. per pint) if desired.
- Wipe the rim clean and place on seal and ring.
- Place the jar in the warm canner. Proceed to fill all jars.
- Process according to directions below.
Notes
Source: The National Center for Home Food Preservation, Wisconsin Extension
How to Make Beef Broth Tips & FAQs
What About Venison Stock?
I don’t recommend using venison bones when making broth. According to the University of Wisconsin, “Note: Because of concerns related to Chronic Wasting Disease, it is not recommended at this time to can bone-in venison or to make broth or stock from deer bones.”
I do not know how old this quote is, as there is no date on the article. But I’ve seen this mentioned in many other places as well. I used to live in Colorado. CWD was an issue in our area, so I made the decision that I don’t want to risk it.
If you really want to make venison broth, do the research regarding Chronic Wasting Disease. It is a disease deer get that affects the spine. Not something I’d want in my stock.
Is Chicken stock made the same way?
I tend to make chicken stock more often than beef. But oh when I’ve got the beef stock on hand it is so much better than bouillon. I’ll add it to a roast in the crockpot, or make rice using broth or stock instead of water. It adds so much rich flavor.
Is Beef Broth the Same as Bone Broth?
Bone broth is simply broth made from the bones. In this case it is beef bones. But bone broth can also refer to chicken broth made with chicken bones. :).
How Can I Make Beef Broth Taste Better?
Dried spices can be added to your broth. Parsley, Thyme, Pepper corns, or Bay leaves are always a good option. The peppercorns and bay leaves need to be removed before you fill the jars. Keep in mind that some spices are intensified in the jar. I’ve read that sage in particular is not a good idea.
You can also add a bit of onion, or garlic to your jar safely. A beef bouillion cube is a good idea as well.
How Do You Use Beef Broth in Place of Beef Bouillon?
Simply use the same quantity. So if your recipe calls for 2 cups water and bouillon, just use 2 cups beef broth. Remember that commercial bouillon is super salty. So you might need to adjust your salt content to taste.
Questions from my inbox:
“Hi, love your site, very informative. My question is – does pressure canning broths lose any nutrients? I make beef bone broth and how I put the jars upside down after filling them on the counter for 12 hours. They do seal, but I feel that I need to pressure can them. What are your thoughts on this? Thank you.”
Answer:
Hi Janice, I’m so glad you asked this question. Absolutely, if you want to store your broth on a shelf, you do need to use a pressure canner to preserve it. Meat and broth are low-acid, so botulism is a risk. Even if the jars seal, that does not mean the contents inside the jar are sterilized.
If your jars have been out for 12 hours I would NOT consume them. Think of it like leaving leftover meat out on the counter for that long. That is what you’ve done. Here are some articles on home canning safety that might be of help. Next time please do use a pressure canner.
Now for your question. Pressure canning will affect the nutrients in your broth. The pressure canner reaches a high level of heat. I have not done research to know just how much you will lose. I have to say that homemade bone broth is still going to be much more nutritious than any commercially canned products, so I do still make and preserve my own.
You don’t lose all nutrition, just some. And it is still better than the salt laden commercial versions. I’ll have to look into this more and see if I can find any research that gives more nutrition information.
Freezing is another great option as well. You’ll maintain more of the nutritional benefits of homemade bone broth if you freeze it.
Related Pages:
Homemade chicken stock includes pressure canning instructions and preserving tips.
Homemade Chicken Soup: Here’s a recipe that’s safe for home canning.
Pin This to Find Later!
Source: The National Center for Home Food Preservation, Wisconsin State Extension
Page last updated: 6/30/2021