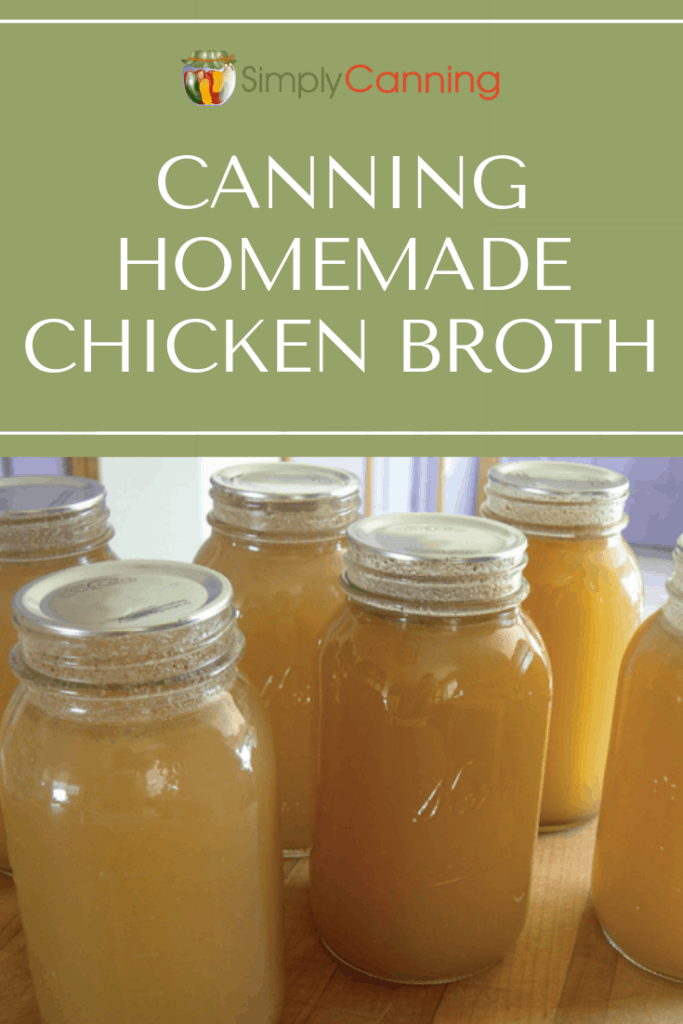
Canning Chicken Broth
This page may contain affiliate links. More Information.
Canning Homemade chicken broth uses the same process used for canning turkey broth. So if you’ve got a turkey carcass after a holiday meal… Remember, the day after Thanksgiving is Turkey Broth Day!
Learn how to can chicken broth made from scratch. Prepare and simmer chicken broth. Fill jars with hot broth, leaving headspace. Seal jars and process in a pressure canner. Cool, check seals, and store in a cool, dark place.

First on this page are detailed step by step directions with lots of extra tips and options. Below you’ll find a brief printer friendly recipe.
Many people (including me) use the terms homemade chicken broth and stock interchangeably. Some folks say they are different, some say they are the same. From what I have read, they are different. (You can read more about that below.)

Homemade Chicken Broth from Whole Chicken or from the Bones
Chicken pieces: Any chicken parts will do. I prefer to remove the skin but it is not necessary. Approximately 6 pounds will be enough for a batch in my large stock pot. I usually get at least 7 quarts out of this.
Chicken bones or carcass: Saving the bones from a roast chicken dinner is the most common way to get broth bones. This gives you all the bones in the carcass. Back and neck bones are especially good for broth.
But if you have fried chicken for dinner, save the thigh, drumstick and breast bones. You’ll need more than just a few so keep a gallon size freezer bag in the freezer. Add bones to the bag as you gather them. When the bag is full, you’ll have enough for a batch of stock.
If you’ve got family members who love to chew on the bone ends, (I’ve got a said person) remind them that you would like to make broth, don’t naw on the bones. Just pull the meat off please.
Vegetables and seasonings are optional. This could include 2-3 stalks of celery (chopped in large chunks), 2 onions (quartered), or 2-3 carrots (peeled and chopped in large chunks).
How to Prepare Chicken for Making Broth
The first thing you want to do is cook your chicken and remove the meat if you have not already. If you are using bones leftover from a roast chicken dinner or have you are good to go. Skip down to the options for making your broth from the carcass or bones. Or keep reading for how to cook the chicken easily to prep for broth making.
Cooking whole chicken pieces first if needed.
If you are starting with raw chicken, boiling it is one easy way to cook the chicken to remove it from the bones. Place chicken pieces in a stock pot. Fill with water just to cover the meat. Bring to a boil. Add vegetables and seasonings if you are going to use them. Lower the heat and simmer until chicken is done. This may be about 1 hour, but it will vary a lot depending on how much chicken and how thick your pieces are.
Use a slotted spoon or tongs to remove chicken pieces. Let the chicken pieces cool until you can handle them well enough to remove the meat. Remove the meat from the bones and save for other uses. (It’s great for chicken enchiladas, chicken casseroles, etc.)
Roasting the bones or carcass.
This step is optional but roasting these bones gives your stock a wonderful flavor. Just lay them out on a baking tray, and roast at 400 degrees until you see them start to brown. You can also roast the vegetables if you like.
Remember roasting is optional. If you are new to making broth and it overwhelms you, then don’t. Just skip to the next step (put the bones in a pot of water) and don’t worry about it. You’ll still get lovely broth much better and healthier than store bought broth.
Adding bones and ingredients to the pot.
Cut or break any large bones into shorter pieces if at all possible. (This might not be the case, and that’s okay.) Be careful not to burn yourself.
Don’t be too fanatical about this step. If you are handling a thigh bone that won’t easily break, it is not a big deal. Just toss it back into the pot. The purpose is to allow the water more access to the nutritious marrow in the bones.
3 Options to Cook the Bones in Water to Make Broth
Use a stock pot to make chicken broth.
Add water, bones and other ingredients to a stock pot. Cover with water. Bring your stock pot to a boil, reduce the heat and simmer the carcass or bones on very low heat. The more you simmer, the better. minimum of 4-6 hours (or more)!
Using a pressure canner or cooker to make your broth.
Add water, bones and other ingredients to a pressure canner or pressure cooker Be sure and only fill to the fill line of your pot. Pressure cook at 10 pounds pressure (or high for a pressure cooker) for 1 hour. Release pressure naturally and continue the broth canning recipe.
Pressure canners or cookers saves a lot of time and brings out more of the nutrition from the bones. It is debatable as far as what this pressure does to the nutrition of the broth. It is much better than that commercial broth full of salt and preservatives.
Crockpot method for making homemade chicken broth.
The final option and the one I go to more and more…use your Crockpot. I’ll go into detail on this method below.
If you only have a few bones, this is a great way to make broth. This is the option I go to more and more often. The broth turns out so full of gelatin from the bones that it sets up when you cool it. Super, super healthy!
Place your bones in a Crockpot and cook them overnight. You can even cook them two days if time is busy. Ask me how I know! 🙂 Just keep it hot.
With this method, I’ve even cooked the bones for one day, retrieved the broth, added new water, to the carcass, and cooked the bones again another day. It works.
The only downfall is you are limited to how much you can make at a time. I’ll usually do this and just freeze or use this broth right away as it doesn’t make a full 7 quarts to fill a canner. You can process it in pints to fill a canner more easily. Either way is great.
Preparing the Broth for Canning
Remove chicken pieces and vegetables. Discard. Strain broth to remove any small bones and pieces left in the broth. I have a colander that I use. You can use cheesecloth if you want a very clear broth. I don’t mind little bits of meat, so the colander is good for me.
Allow the broth to cool, and then place in the fridge to chill completely. The next morning, there will be a layer of fat floating on top. It is easy to remove that fat with a slotted spoon before storing your broth.
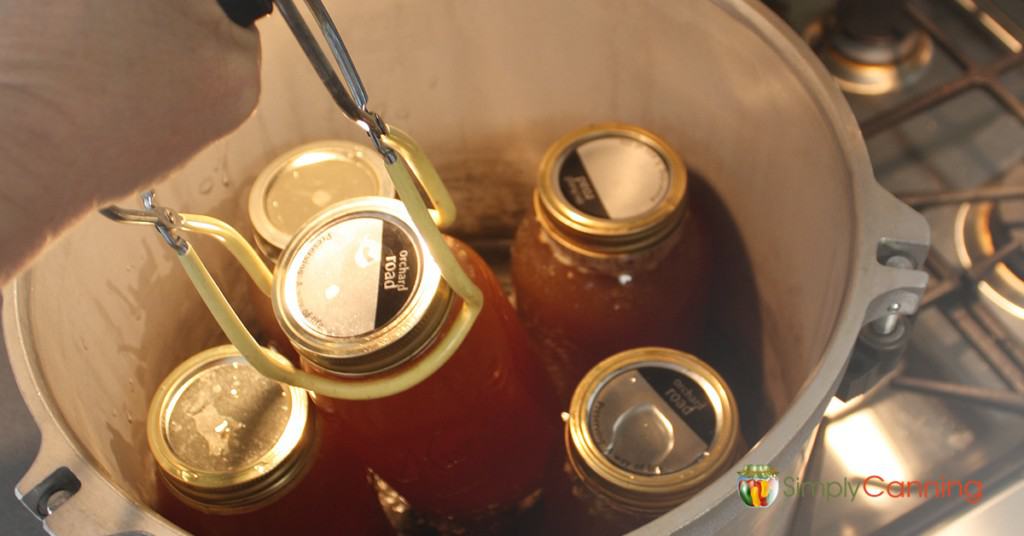
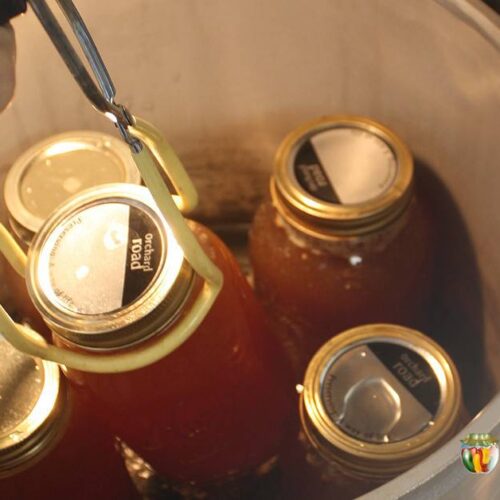
Canning Homemade Chicken Broth
Start by preparing jars and getting water in your canner heating. If you are not familiar with how a pressure canner works, check this page.
Pour hot broth into hot jars. (If desired, add 1 tsp. salt per quart or 1/2 tsp. salt per pint.) Wipe the rims clean, remove any air bubbles, and place on your lids and rings. Leave 1 inch headspace. Process using pressure canning instructions.
Processing Time:
(Remember, always adjust for your altitude using chart below.)
- Pints – process for 20 minutes
- Quarts – process for 25 minutes
See printable recipe card below.
What is the difference between canned chicken stock and chicken broth?
What’s the difference between stock and broth? Here’s my understanding of the difference:
- Homemade Chicken Stock is made from the bones of a chicken carcass, or less meaty chicken parts. The neck, back, and wings are examples. Or it uses the carcass from a roasted chicken meal. This turns out to be a darker, richer color and flavor.
- Homemade Chicken Broth is made from meatier chicken pieces with the meat on. The meat is removed (saved for casseroles, etc.) and the bones further cooked. It has a lighter color and flavor.
Both homemade chicken broth and stock benefit from adding vegetables to the stock when you cook it. It is not required, but since I’ve started adding those veggies, my broth is soooo much nicer! I highly recommend giving it a try. Easy chicken stock (and yummy too).
As with most home canned foods, It’s recommended that you use this up within a year. Quality starts declining after that. If you’ve got jars that are older than a year, don’t throw them away, just make a plan to use them up soon.
Both! I actually do both. Freezing will maintain some of those bone broth benefits that we all love. Canning does destroy some of that. (still way healthier than store purchased!). But canning has the advantage of not using up freezer space and being ready to use without the thawing step.
Canning Chicken Broth
Equipment
Instructions
- Start by warming your jars and getting water in the canner heating. You want the canner hot, but not boiling, when the jars are ready to be processed. Rinse canning seals and rings to clean. Boiling not needed. If you are new to using a pressure canner, see this article for full pressure canning instructions. This includes more detailed information and step-by-step instructions on how a pressure canner works.
Hot Pack only
- Bring your broth to a boil.Broth
- Pour hot broth into hot jar, leaving 1” headspace.
- Add salt (1 tsp. per quart or 1/2 tsp. per pint) if desired.Canning Salt
- Wipe the rim clean and place on canning seal and ring.
- Place the jar in the warm canner. Proceed to fill all jars.
- Process according to directions below.
Notes
Source: The National Center for Home Food Preservation, Wisconsin Extension
Source: The National Center for Home Food Preservation
I made the broth but did not skim off the fat before canning. Are the jars going to be edible when I go yo use them?
As long as they sealed it will be fine. The risk is the grease interfering with the seal. You might not get the jars to seal when you process. Or there is a potential to come unsealed on the shelf. Be sure and store those jars without the rings so if they do come unsealed you’ll know it. Also you should bring them to the front of the cupboard and use them up first. But as long as that seal is tight and you know you processed correctly they should be fine.
I am confused with this “recipe”. My understanding from extension offices & nchfp that you can not can or make broth from leftover turkey. That your option is to freeze. And if the carcass is frozen from your holiday meal, your option is to make soup or stew but do not can.
Thank-you 😊
After you open a jar, how long will it be safe to use with putting what you didn’t use?
Randall, I”m a little uncertain of what you mean. But once you open a jar to use it, you want to treat it like any other foods. I’m good with leftover food for a few days to a week depending on the food type. Jam or jelly would be longer than soup for instance. Does that answer your question?
I am able to get a lot of chicken feet, backs, and necks. Using these parts has made for a very thick stock/broth. I find roasting them not only imparts a richer flavor but also helps draw out the marrow. Adding an acid; ACV or lemon juice also helps bring out the minerals and break down the bones. I simmer on low until the bones crumble in my fingers for about 12 or more hours. In some cultures, the bone “paste” is eaten as it still contains minerals. In addition to the bones, when we cook our veggies we cut… Read more »
Adding the chicken feet, backs and necks and a lot of collagen to your broth, and may be more gelatinous than just the stock.
can i just put the hot broth straight from crock pot into jars for canning?
Technically yes, though you’ll need to strain the broth before you put it into the jars and make sure it’s hot going into them. The primary reason you wouldn’t can it immediately would be that you need to skim off excess fat. If you have a very lean broth, I suppose you wouldn’t need to do this, but that probably isn’t likely for chicken or turkey broth. You can read more about this topic here: https://www.simplycanning.com/canning-chicken-stock/
-Rachel (Sharon’s assistant)
Can I keep chicken carcasses in my freezer until I have enough to make a decently sized batch of broth or will that mess with the nutrition/taste?
Yes, Laura, that would be fine. 🙂
-Rachel (Sharon’s assistant)
Thank you for this! The directions say “Pour hot broth into hot jars”, but is it okay to add the broth to the jars straight from the fridge and then put the jars in the pressure canner? Or do the contents of the jar need to be warm? Total newbie here! Sorry if it’s a silly question!
Not silly at all! The broth must be hot. The processing time is geared for hot broth in hot jars. It is pretty easy to simply heat it up to a boil and fill your jars from there. Keep asking questions! 🙂
I also wondered if I can make more than just 4 quarts of soup at a time. If I’m going to all that work I’d like to make a full canner of 7 quarts of chicken soup. Is there a reason why directions are only for 4 quarts. Thanks
OH absolutely. Fill up that canner.
I inquired about this from Bernardin one time and they told me I could start processing cold jars in cold water and both would hotten up together.
Hi Flossy, I’m not sure who you spoke with at Bernardin but I’ve never heard this recommended from any reliable resource. (I’m not saying Bernardin isn’t reliable!). So I have to stick with my recommendation that you start with a hot canner, jars and broth.
I want to save this to my pintrest?
Hi Sandy, if you hover over the image at the top of the article. A Pinterest button appears. Click that and you can pin away! Thank you for asking! I recently made a change in this and you are not the first to ask. So I really need to make it more available. I’ll work on it. 🙂