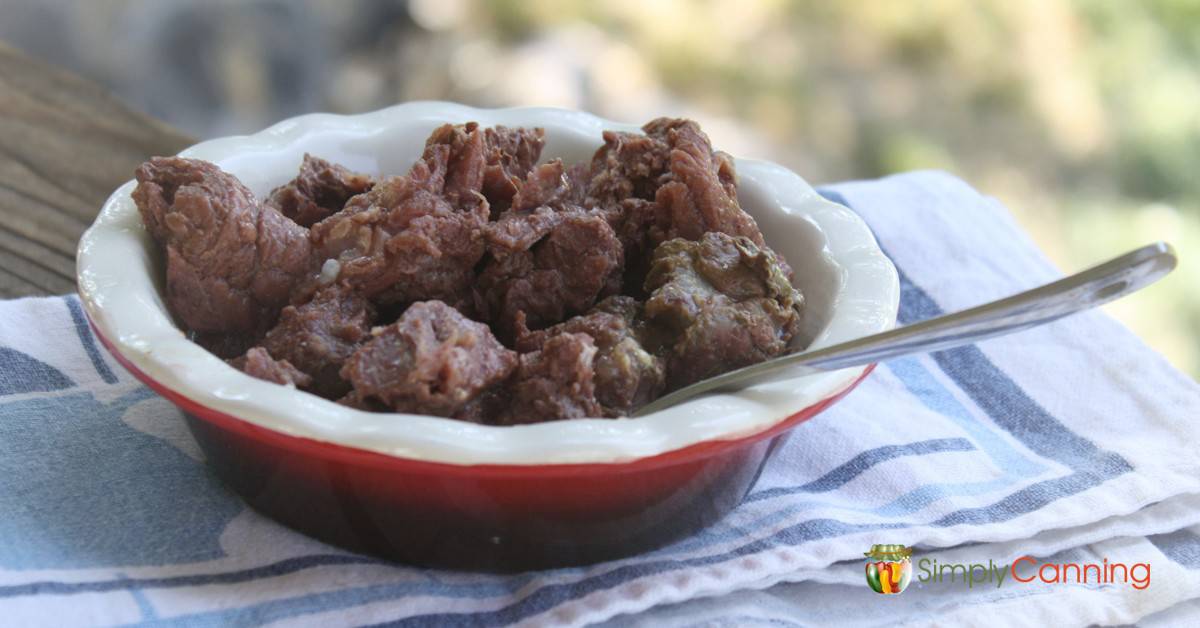
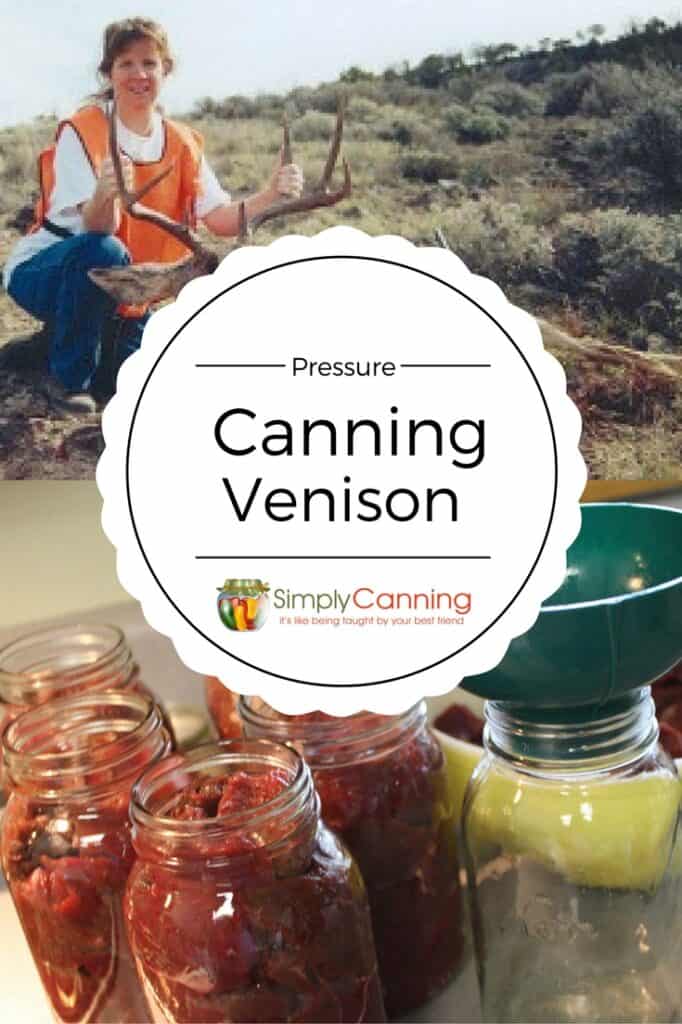
Canning Venison: Cubed & Raw Pack (beef too)
This page may contain affiliate links. More Information.
Canning venison is so easy, I wish I had started years ago. The first time I tried canning meat, I could not believe it was so easy. I thought surely there was something I am missing. Nope, nothing missing.
These directions will also work for canning meats such as beef, elk, or pork. Canning chicken or other poultry is different. Any meat must always be processed in a pressure canner.
What follows is a full step by step video, but the same information is found in the article below the video as well. If you like this tutorial, check out my full Canning Meat Course.

Canning Venison (Cubed & Raw Pack): Extended, Step-By-Step Directions
Gather Your Canning Supplies:
Ingredients:
- venison (or other meat specified above)
- canning salt (optional)
How to Can Venison Cubed (Raw Pack)
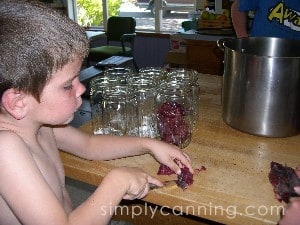
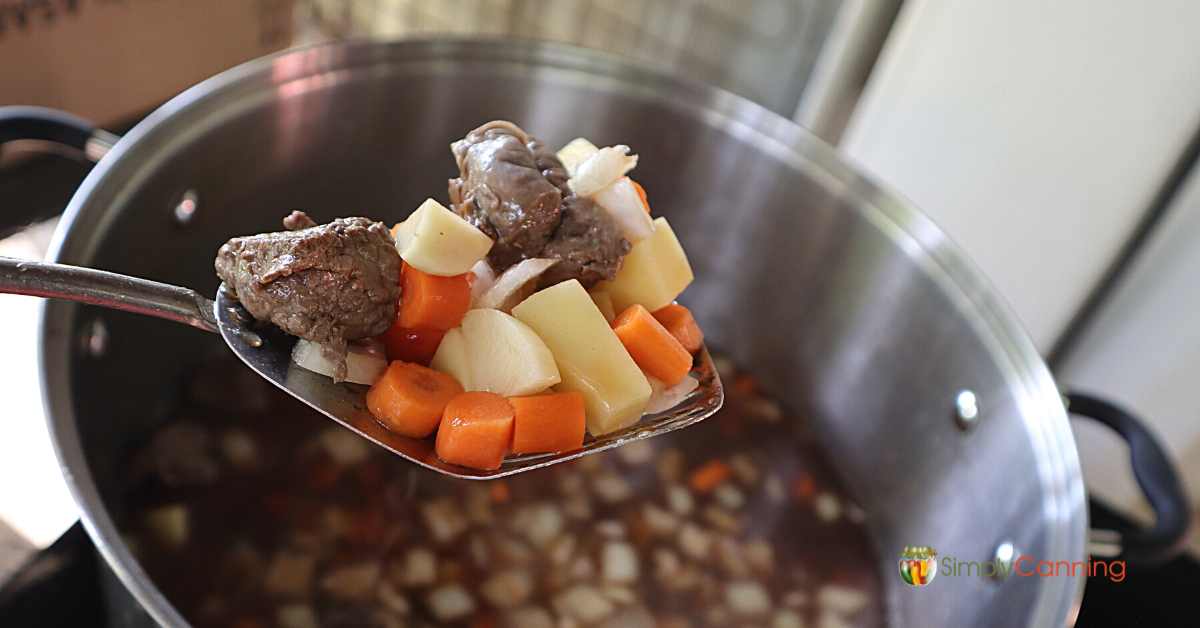
- Trim away any bruised spots, gristle, and extra fat—if you’re lucky enough to have any fat on your deer.
- Slice across the grain into strips about 1-inch thick. Then cut into chunks the size you prefer. You can divide into lengths to fit your jars, or cut into cubes.
Canning Instruction
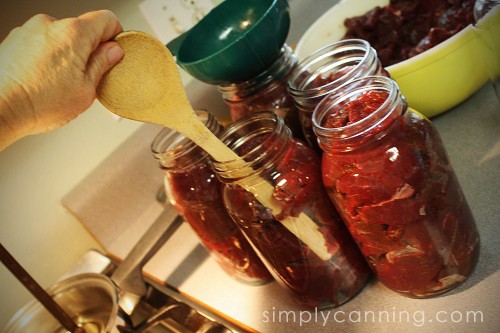
- Pack the meat into hot jars, keeping about 1 inch of headspace at the top.
- Add canning salt if you like. I’ve seen recommendations for 2 tsp. per quart, but I prefer to lightly salt our meat and usually use just 1 tsp. per quart.
- No need to add liquid—the meat will release its own juices as it cooks.
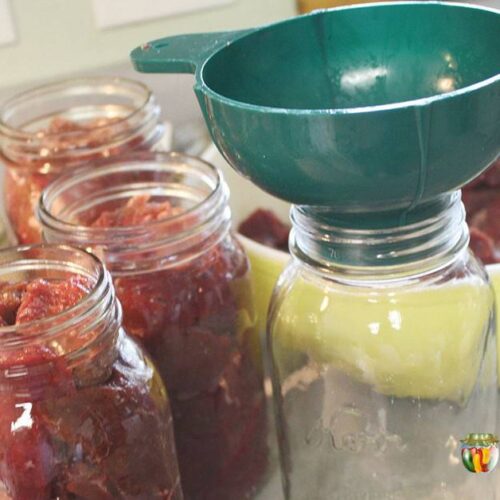
- Use a bubble tool to release large air bubbles. You won’t get them all, but this helps prevent big gaps in the jar. (if you don’t have a bubble tool you can use the handle of a kitchen utensil.)
Tip: Gently press around the edges of the meat to help release air pockets. - Wipe the rims of your jars clean with a wet paper towel. This is important—any grease or meat particles can interfere with the seal.
Tip: Some people like to use a bit of vinegar instead of water. Works great! - Place the lids and screw bands on, finger-tight.
- Put the jars in your preheated pressure canner.
- Process using the processing times below. Don’t forget to adjust pressure for your elevation using the chart provided.
Recipe Card
Canning Cubed Meat – Raw Pack
Equipment
Ingredients
- Meat Cut into cubes or strips.
- Canning Salt Optional. Use 1/2 to 1 teaspoons per pint or 1–2 teaspoons per quart.
Instructions
- Start by preparing your jars and getting water in the canner heating. You want the canner hot, but not boiling, when the jars are ready to be processed. If you are new to using a pressure canner, see this article for full pressure canning instructions. This includes more detailed information and step-by-step instructions on how a pressure canner works.
For a Raw Pack
- Trim excess fat or gristle from the meat.
- Slice meat across the grain into 1” thick pieces. Cubes or strips are fine.
- Add canning salt to each jar.
- Pack raw meat into jars, leaving 1” headspace. Don’t add liquid.
- Remove bubbles, wipe the rim clean, and place on seal and ring.
- Place the jar in the warm canner. Proceed to fill all jars. Process according to below directions.
Notes
Adapted from: The National Center for Home Food Preservation, Wisconsin Extension
Canning Venison (Cubed & Raw Pack): Tips & FAQs
How to Use Home Canned Venison
“I was given some venison and moose meat canned. What are the preparations to put it on the table,in a heated form? I’m really new to this. Any advice?”
Answer:
Bert, your meat can be used in casseroles and for things like chili or spaghetti sauce. Anywhere you would use cooked meat, you can just substitute the canned meat.
One of the ways I use meat is to just dump the jar in a pot. I heat it to a simmer, then add a bit of water or broth if it is too dry, then add some cornstarch or flour to thicken a gravy. Then I serve it with mashed potatoes and a side vegetable. You can also use those packaged gravy mixes too for convenience. I’ve used the brown gravy mix before.
Adding Butter to Canned Venison?
“Hello Sharon, I have a question regarding canning elk meat. I was wondering if you could put butter in with the meat for some flavor? I put butter in with roasts in the Crockpot and it always turns out very good.”
Answer:
I would not put butter in your elk before you can it. Now I realize that meat is going to have some fat in it inherently, and elk usually does not have very much, but recommendations are to not add any fat or oils to your food before canning. You can certainly add it when you open the jar to use it though. You are right–adding that extra fat does help wild meats.
Why are My Jars of Canned Meat Greasy?
“Hi Sharon, I bought some of your canning books and today I canned some chunks of beef in qt. jars. I thought I did everything right, but when I opened the canner to take them out there was a little bit of oily water on top. Does this mean my jars were not tight enough? I tightened them as much as I could with my hands. but I am not as strong as I used to be. They all made that ping sound… are they sealed?
Answer:
It is not unusual for the water and jars to end up greasy or oily. As the jars and food heats up in the canner, it swells, and this sometimes pushes some of the liquid in your jars out. Just remove the rings and wash your jars off and store. They are safe as long as you know you processed correctly and the lids sealed.
Sharon
How Long Does Canned Venison Keep?
“How long will canned venison keep?“
Answer:
As all home-canned goods, canned venison is best used within a year. (Again, this is just a quality issue, not so much a safety issue. If you must can a LOT of venison and don’t use it as fast as you thought, just make sure and pull the older jars to the front so you remember to use them first.)
Can You Can Venison in a Water Bath Canner?
“Can you can venison without a pressure canner? Like in a water bath canner instead?“
Answer:
No, no, no! Canning venison (or any meat, for that matter) without a pressure canner IS NOT safe.
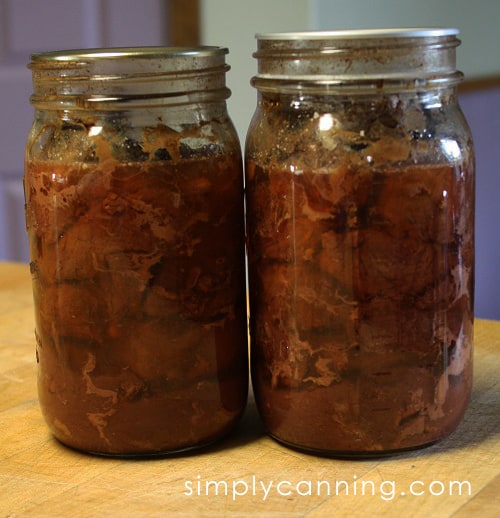
A Note About Liquid
Not adding liquid was the most surprising part of canning venison for me. You really don’t add liquid. The meat will produce its own juice.
Sometimes, the juice will not fill the jar or completely cover the meat. That is okay.
If you are concerned about this, try looking at canning venison hot pack directions. You’ll get a more consistent appearance with more liquid in the jars with that method.
Pin This to Find Later:
Source: The National Center for Home Food Preservation, Wisconsin Extension
Sharon thanks for all the help, advice and support over the years! You are whom I turn to with questions and answers. Canned for three generations now and still loving it.
Aw, thank you Jennifer!
Can I recan my venison if some of my lids did not seal?
Hi Dana, It depends on what went wrong and how long it has been since processing. If you followed proper processing in the first place and you noticed it right away (within 24 hours) then yes you can reprocess. Your meat might be over cooked though. Personally I would just package in freezer bags and put it in the freezer.
Hi I’m wondering if I can put powdered garlic powdered onion powdered Sage powdered smoked paprika in with my venison when I can
You can season this as you like with any dried seasoning. But remember that processing does intensify some seasonings. I have no personal experience but I’ve read that sage is one that doesn’t do well with canning. It changes the flavor.
I have a quart jar that is only half full. Is that OK to can with the other jars?
No, you are better off just using it up for dinner. You should not can half full jars.
Great article! If I do the raw pack method could I add a little beef broth to each jar I have in the fridge to give it flavor? Or will the deer produce Too much of its own juice to allow that?
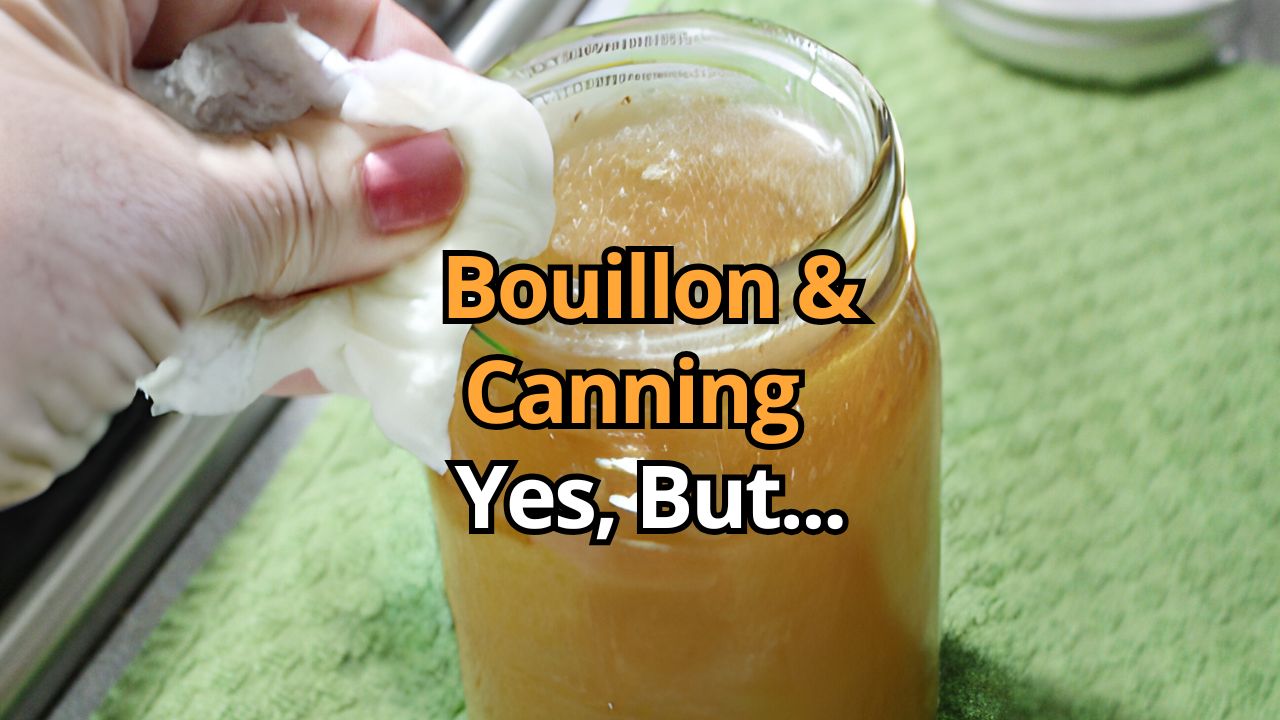
Janell, all testing resources I see say “do not add liquid”. Personally I don’t think a couple Tablespoons of liquid would hurt, but you would not want very much broth. However… I also don’t think a couple Tablespoons of broth are going to add any flavor for you. You’d be better off adding a bouillon cube to your jars. You can also add a garlic clove, or a little bit of onion. Some dried spices are also allowable. Don’t add fresh herbs though. Or just do a hot pack and add your broth there. I’m learning that I kind of… Read more »
I have canned venison for many years and have added a tablespoon of many different “rubs” or spice combinations, such as McCormick’s Montreal Steak and Brazilian Steakhouse seasonings, as well as Blackstone Steakhouse & Whiskey Burger seasonings, and they all are delicious, depending on what you end up using them for. These are great as Venison Tips w/ gravy over noodles or mashed potatoes, in Venison Stew, & in Venison Stroganoff. I think this added flavor elevates these dishes!
I put a one inch square of beef fat in the bottom of my quart jars but no salt. If you use the seasoning packets for tacos sometimes it gets too salty. Been doing this for a few years
My wife cans venison every year without a pressure canner and we’ve never had a problem with it you just need to make sure you cook it long and hot enough.
Michael. I’m glad you have not had any issues yet. But I’d strongly suggest you reconsider. Botulism is the risk... and it can be very serious. The risk is so easily avoidable.
Always check your site for canning directions. I share you with my friends that ask for help. Greatly appreciate you emails also!
Thank you Kathryn! And if anyone else wants in on the emails she is recommending check out this page… Simply Canning newsletter.
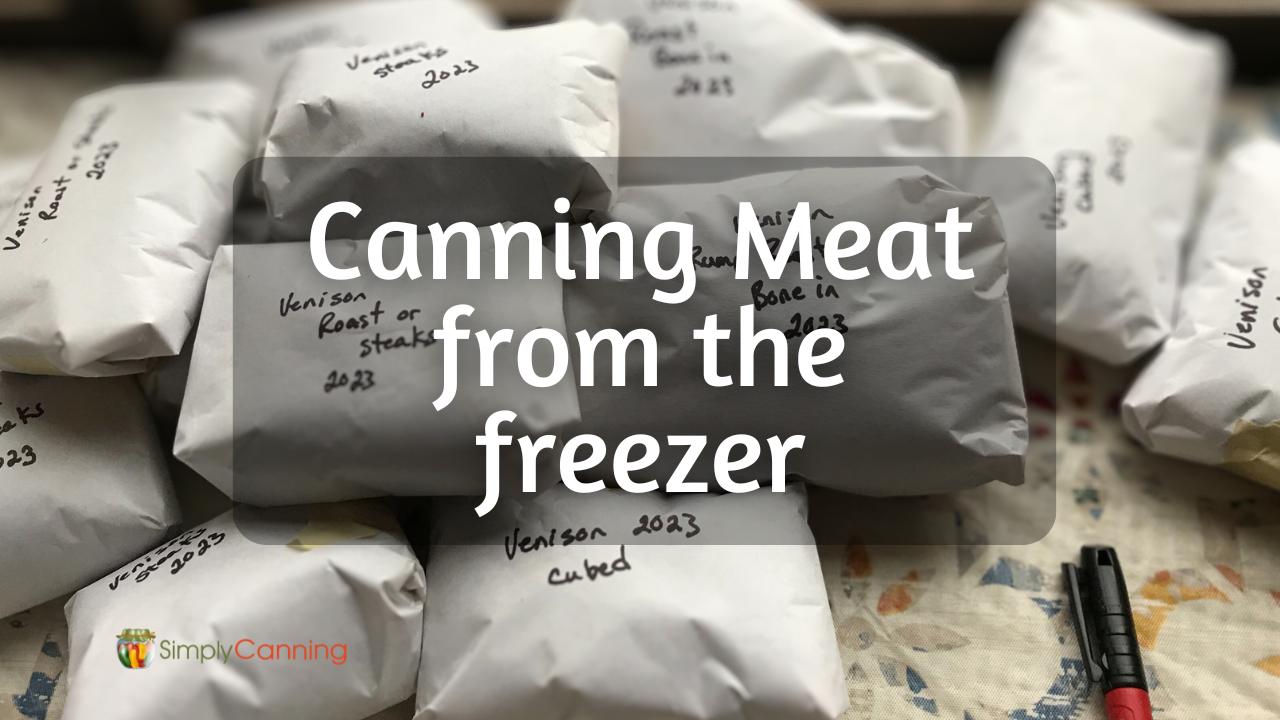
Hello, my husband got 2 deer this past fall. It was butchered, wrapped and then frozen. Can this meat be canned?
Hi, Julia!
Great question – yes, frozen meat may be canned. This page provides more details: https://www.simplycanning.com/how-to-can-meat/
-Rachel (Sharon’s assistant)
Hi! We are just beginning to get into canning. One of our favorite recipes is venison braised in apple cider.
Can we add apple slices peeled to our cans of venison?
That is an interesting idea. I know it is ok to add onions, so I see no reason why adding a few slices of apples would be a bad idea. FYI I know of no testing on this recipe. You’ll have to try it and see how the quality turns out. The apples will be pretty well cooked and might end up mushy. You could also add some apple juice as a liquid if you do a hot pack.