How to Can Butternut Squash
This page may contain affiliate links. More Information.
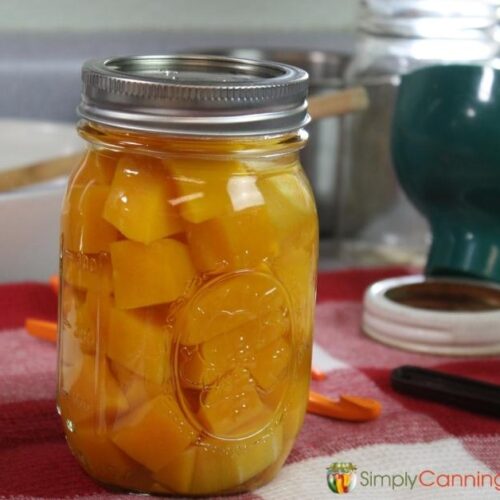
Canning butternut squash in the pressure canner is safe, as long as you can it in cubes and not mashed.
In this pressure canning recipe, you’ll learn how to prepare raw butternut squash, heat it, then pack hot into jars for pressure canning and why you really do need to use a pressure canner. By the end, you’ll have jars of cubed butternut squash waiting on your shelf for whenever you need it!
Quantity
You’ll need about 2¼ pounds of squash to fill one quart canning jar. So that would mean to fill your canner you’ll need.
- 7 quart jars = 16 lbs of squash
- 9 pints = 10 lbs of squash

Extended Directions for Pressure Canning Butternut Squash
Learning how to can butternut squash is so easy and straightforward, it might surprise you!
Know Your Canner
Before you start this project, if you are not familiar with using a pressure canner I recommend reading this: How to use a pressure canner. It will familiarize you with how your canner works and what steps to take to get set up for any canning project. Using a pressure canner is important because squash is a low-acid vegetable.
Prepare Your Squash
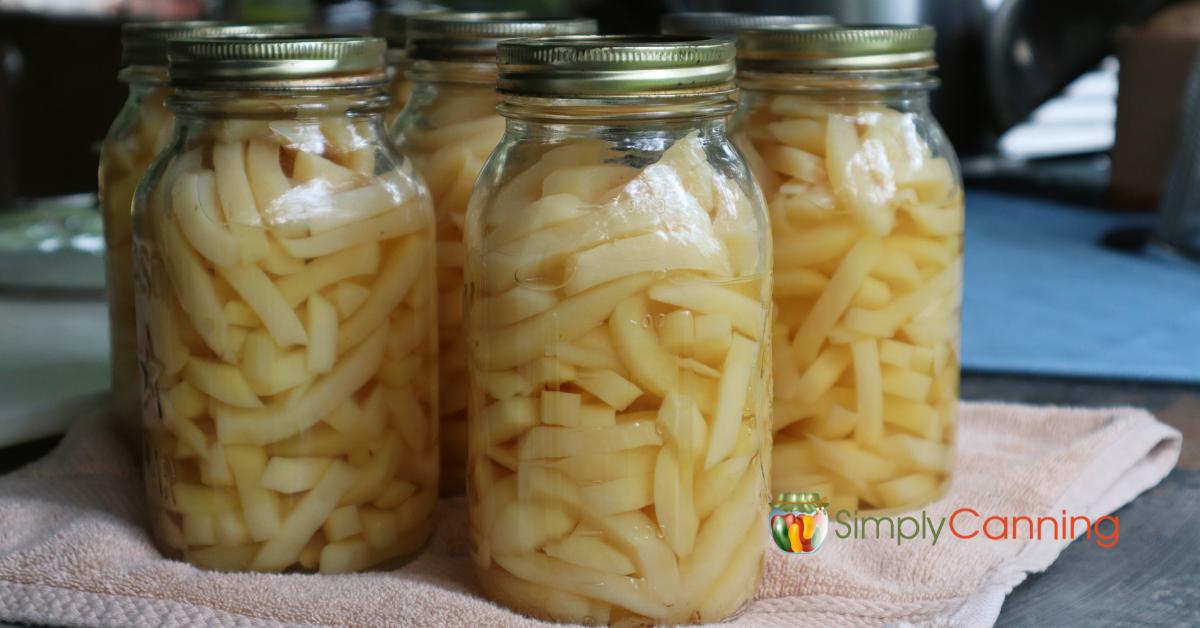
Begin by washing your squash. Cut it open and scoop out the seeds. Peel and cut the squash into 1-inch cubes.
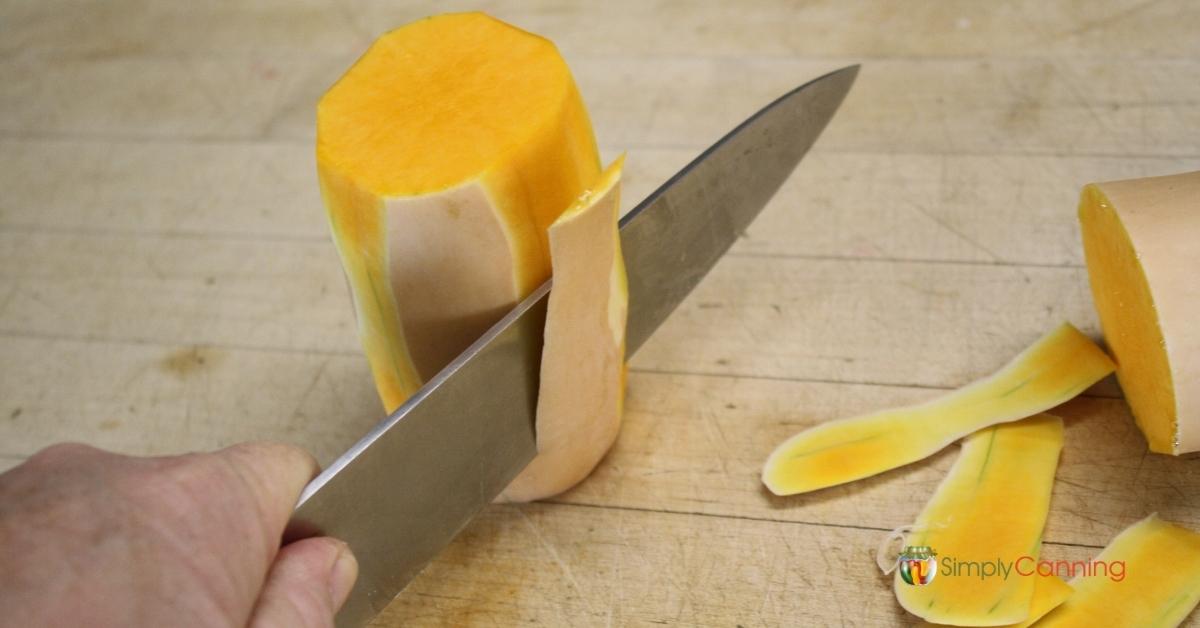
There are many different ways you could peel the squash. I cut off the seed-filled bulb end and then just ran my knife down the sides to remove the skin from the fleshy side. I then cut the seed filled portion in half to scoop out the seeds.
Finally cut all the flesh into smaller pieces.
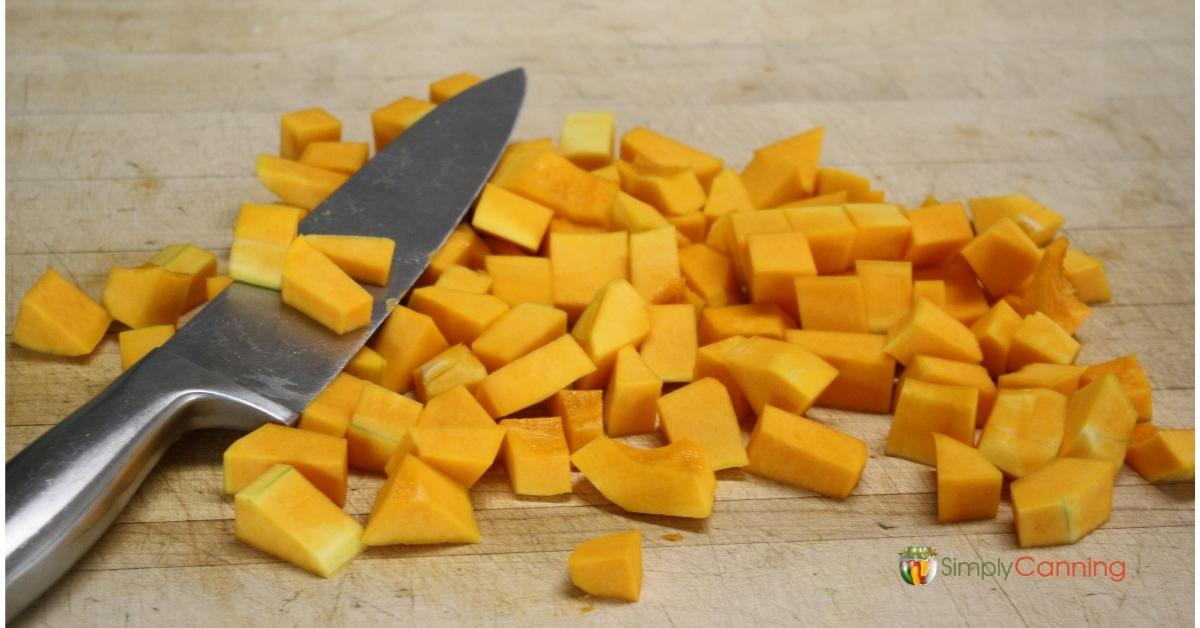
You could also use a vegetable peeler since the skins are not as tough as other winter squash. Pumpkin’s hard rind was particularly tricky to get peeled.
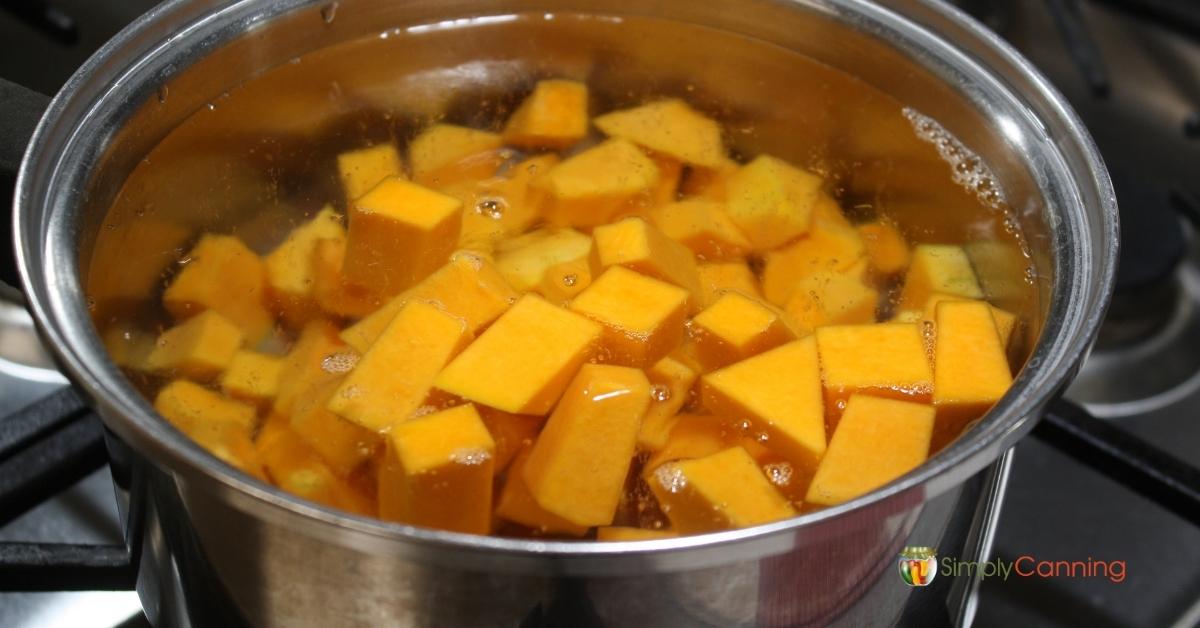
Once your squash is cut into pieces, put them in a pot with fresh water and boil 2 minutes. Do NOT mash or puree! The cubes need to remain whole.
Filling Jars
Add salt to your jars if desired: 1 teaspoon per quart or 1/2 teaspoon per pint. This is entirely optional. The original recipe doesn’t include it but I find salt adds to the flavor.
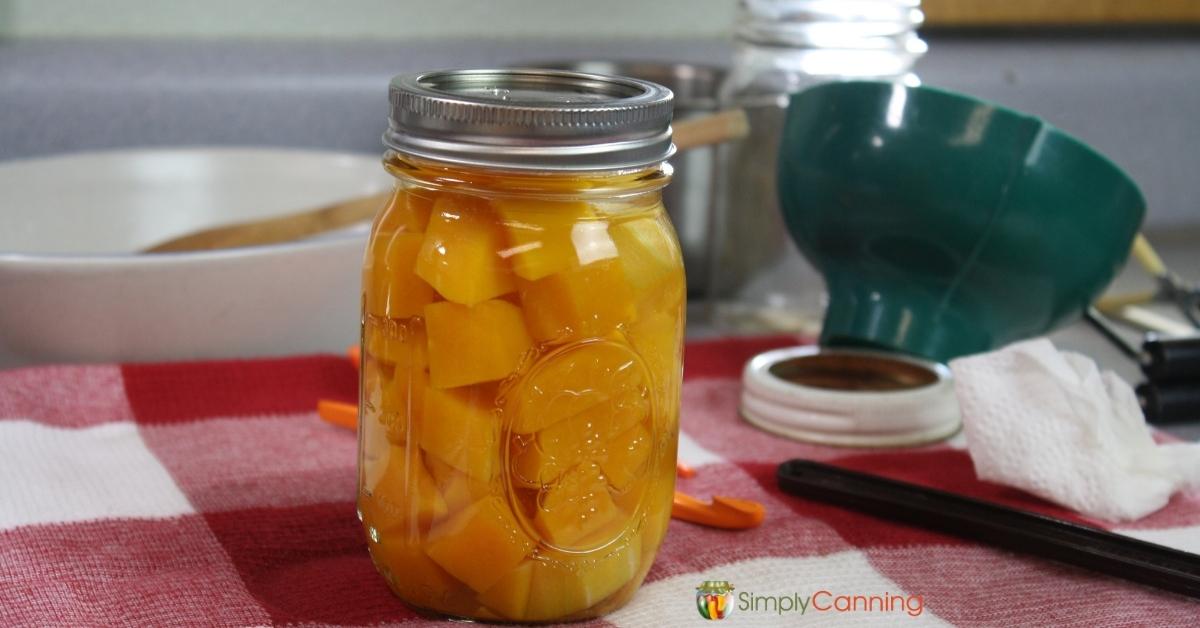
Fill jar with squash cubes and hot cooking liquid, leaving 1-inch headspace. A slotted spoon works great for this.
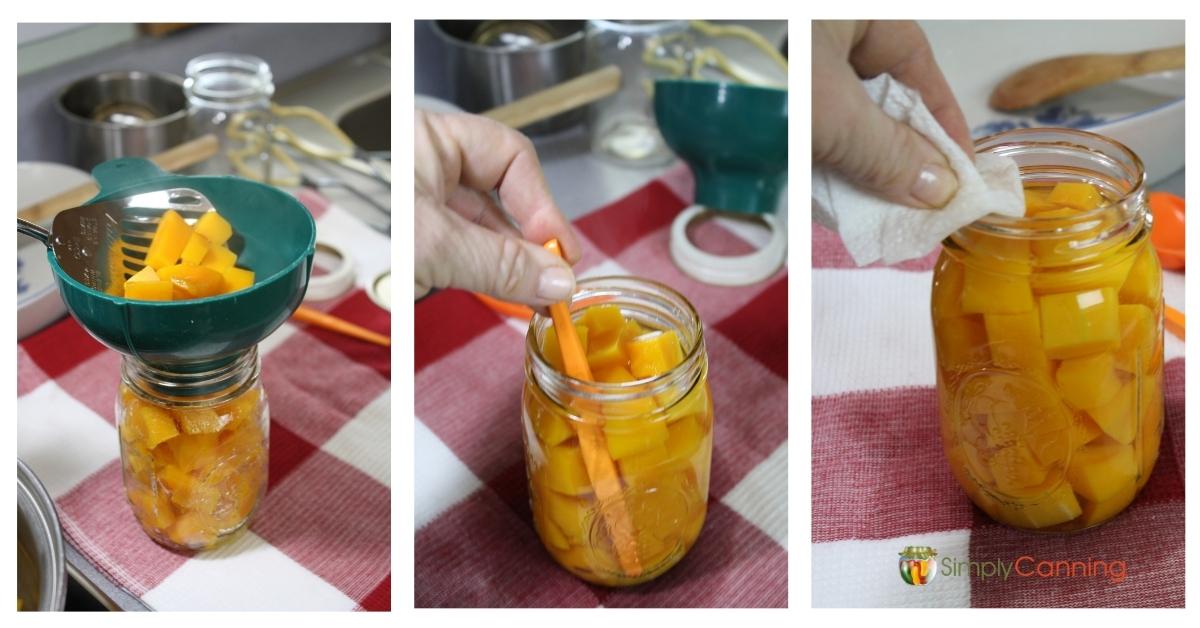
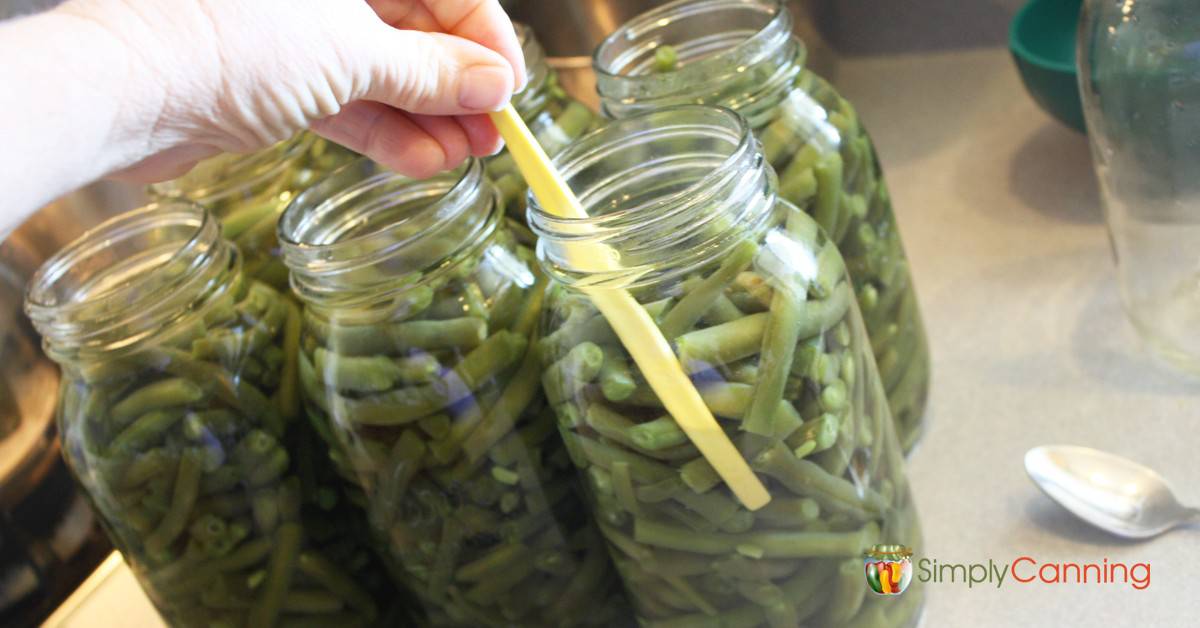
Remove air bubbles using a bubble tool or other plastic utensil. Simply run it down in the sides of the jar, move things around a bit to allow any trapped bubbles to float to the surface.
Check your headspace again and add water if needed. Occasionally, releasing the air bubbles changes the headspace levels.
Wipe rims of jars clean. You don’t want any food residue to interfere with that seal adhering to the jar. Place on your lid and screw band.
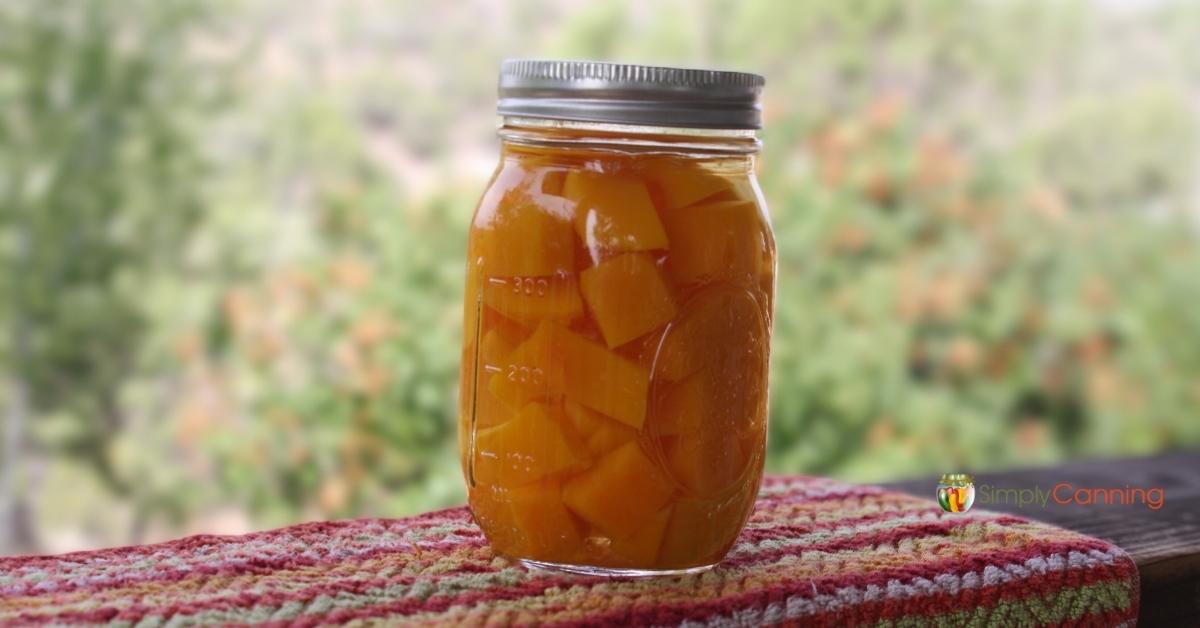
When all jars are in the canner, process according to the instructions in the recipe card below. Don’t forget to adjust for altitude as needed – read more here.
What About Cold or Raw Pack Butternut Squash?
I’ve searched online and everything I see from tested sources says to hot pack, not cold or raw pack, butternut squash. Remember the density of the food matters as much as how long you process. Tested home canning instructions are assuming your squash is hot and blanched for the correct time. If you raw pack those pieces will not be the same.

What About Canning Summer Squash?
The recipe on this page is the same recipe used for canning all types of winter squash and pumpkins. Freezing butternut squash is another great alternative.. Do not use these directions for summer squash or zucchini. Canning Summer squash is a much different process. You can read more about the best way to can squash (both summer and winter) on this post with several recipe options.
What about Dry Canning Butternut Squash
There is this new craze going about in the canning community. Many people are doing a type of dry canning where you’ll use pressure canning instruction… BUT they leave out the water. They are calling it dry canning. Please do not do this. I’ve got more here on why this is not a good idea. What is Dry Canning Vegetables?
More Frequently Asked Questions
Butternut squash must be canned in a pressure canner because it’s a low-acid food at risk of botulism growth. Read more about the danger of botulism & how to easily avoid it here.
You’re looking for a hard, stringless squash for canning, and I’d guess something that’s sweeter and with a richer flavor would hold up better to canning than a watery type of squash too. Just be sure what you are working with is a winter squash. Summer squash is very different and should not be canned with this method.
It’s preference! I’ve done both. The textures will be different. Freezer squash will have a denser texture. And you can freeze in either cubes or mashed.
Yes, canned squash does get a bit mushy. But it’s super convenient to have it already cooked on the shelf, since raw squash takes a while to steam or bake before mealtime. Use it mashed, make a butternut squash soup, or heat and sprinkle on some cinnamon for a nice side.
Before You Go…
Looking for something to do with zucchini or summer squash instead? It’s not safe for canning plain like winter squash, but you can still make it into something like relish.
Recipe Card
This is a printable recipe card. It has the basic step by step instructions. If you skipped here remember, I’ve got more details and extended tips in the article above.
Learn How to Can Butternut Squash
Equipment
- Slotted Spoon optional but very helpful.
Ingredients
- 16 lbs Butternut Squash
- Water
- Salt optional
Instructions
- Wash squash. Cut open and remove seeds.
- Peel and cut squash into 1” cubes.
- Put in a pot with fresh water and boil 2 minutes. Do NOT mash!
Packing the Jars
- Add salt to your jars: 1 teaspoon per quart, 1/2 teaspoon per pint.
- Fill jar with squash cubes and cooking liquid. Leave 1-inch headspace.
- Remove air bubbles and check your headspace again. Adjust if needed.
- Wipe rims of jar clean with damp towel or paper towel.
- Add your canning lids and rings, finger tight.
- Place the jar in the canner. When all jars are filled, process according to the instruction and chart in the notes area below.
Processing with a Pressure Canner
- Put the lid on the canner leaving the weights off. Bring to a boil. Watch for steam to start coming out the vent pipe in the lid.
- Allow the steam to ‘vent’ for 10 minutes then put the weights on. Use the proper weight for your altitude (check the chart) This is when pressure will start to build.
- When the pressure reaches your requirements, start your time.
- Process for the full time indicated, adjusting the heat as needed to maintain the correct pressure for the entire time.
- When processing time is completed turn off the heat. Do not remove weights yet. Let the canner sit undisturbed until pressure comes back to zero. Do not try to speed up the cooling process.
Cool Down Time
- Remove the weight and wait 5 minutes.
- Open the lid to allow steam to escape. (carefully don’t let it hit your face or arms!) Leave the lid setting on top of the canner slightly ajar and wait 5 minutes again.
- Take the lid off the canner and remove your jars. (optionally you can wait another 5 minutes if the contents appear to be bubbling so hard it is coming out of the jars)
- Put the jars a few inches apart on a thick towel and allow them to cool to room temperature undisturbed. 12 hours is suggested.
- When the jars are cool, remove the metal bands, check the seals, wash jars, dry completely, and store in a cool dark place.
Notes
- Pints are processed for 55 minutes.
- Quarts are processed for 90 minutes.
- 0-2,000 11 lbs
- 2001-4,000 12 lbs
- 4,001-6,000 13 lbs
- 6,001-8,000 14lbs
- 0-1000 ft 10 lbs
- Above 1000 15 pounds
SimplyCanning.com/how-to-can-butternut-squash/
https://nchfp.uga.edu/how/can_04/pumpkin_winter_squash.html
Source
NCHFP – https://nchfp.uga.edu/how/can_04/pumpkin_winter_squash.html