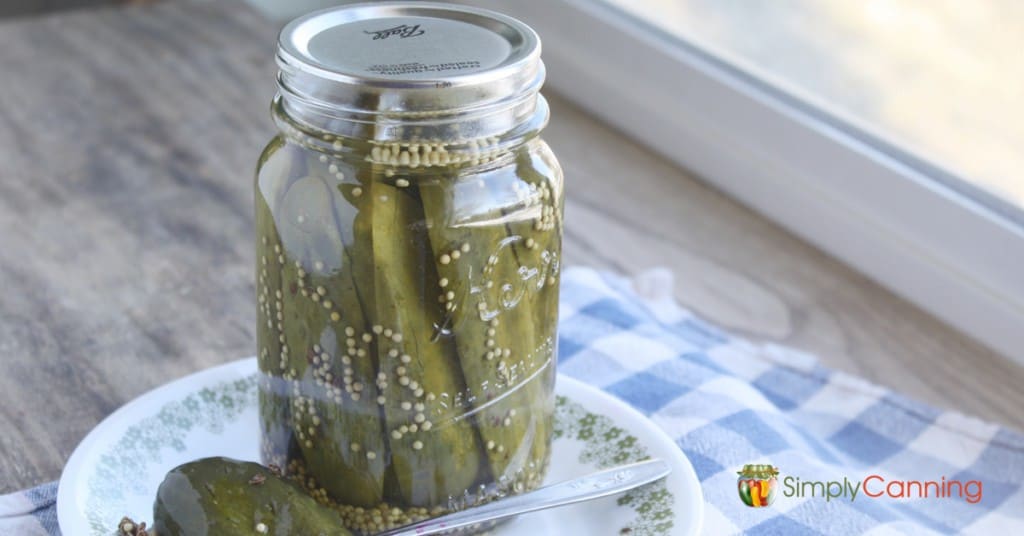
Crunchy Dill Pickles! Because nobody likes mushy pickles.
This page may contain affiliate links. More Information.
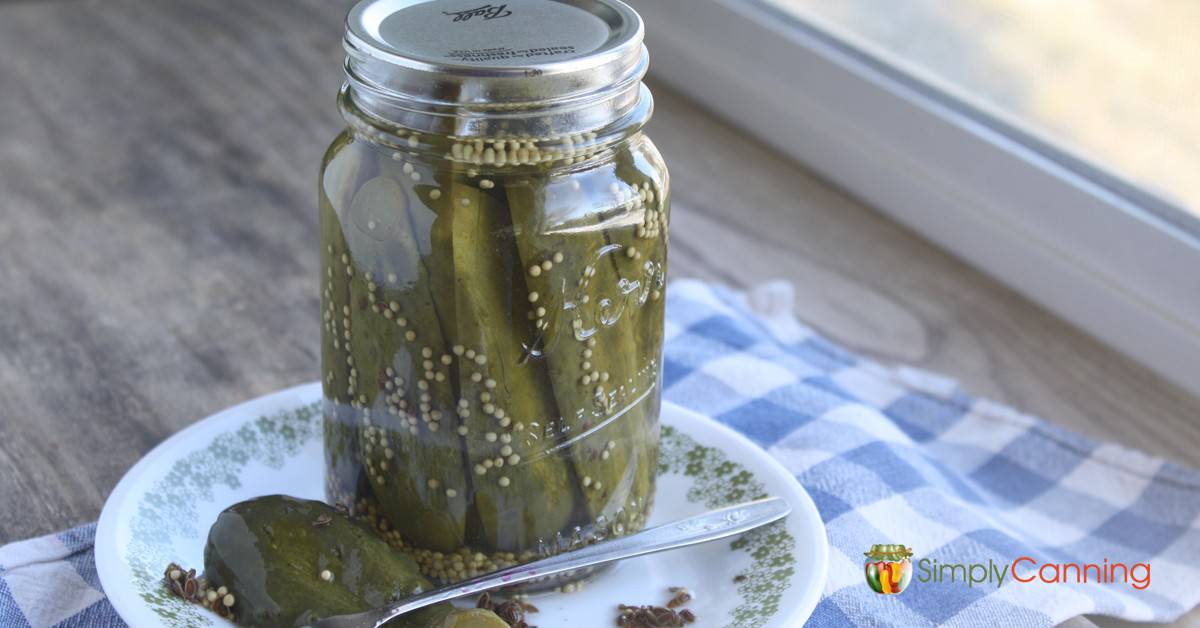
Are you pickle challenged? I was. I will fully admit to being pickle challenged. I made dill pickles using the pickle recipe from the Ball Blue Book. They were tasty, but soft and soggy.
I vowed to NEVER make pickles again. A few years later and I’ve got it figured out. Crunchy dill pickles are a thing again!
Here is a video with some tips I discovered to keep dill pickles crisp. As well as an article below with more crunchy tips.
If you like this canning video… you might like our Full Pickling Course.
This Page Includes:
Low Temperature Pasteurization Process (what is it?)
I don’t want to always count on pickle crisp being available. (That self-reliant part of me goes deep!)
I found my solution! I learned how to can pickles using the low-temperature process that I saw on the National Center for Home Food Preservation website, and it works for me.
That names sounds technical but it isn’t hard at all. Basically it is a lower heat and a longer time. Yes this is a tested method, your pickles will be properly preserved and ready for shelf storage.
The trick with this pickle recipe method is that it uses a lower temperature process. The caution is that you must carefully monitor the temperature.
If you want to do this, use a thermometer and time things carefully. In addition, use this processing method ONLY with a tested recipe that specifically says low-temperature pasteurization treatment.
Here is the pickle recipe and directions I used.
Guess what? It worked. I am now happily filling my jars and ending up with nice, crunchy dill pickles. I’m happy. My family is happy! Give it a try!

How to do a Low Temperature Pasteurization Process and get crunchy dill pickles.
Remember to use a thermometer and monitor your time carefully. And remember, only use this with a pickle recipe that specifically states that it is compatible with this method.
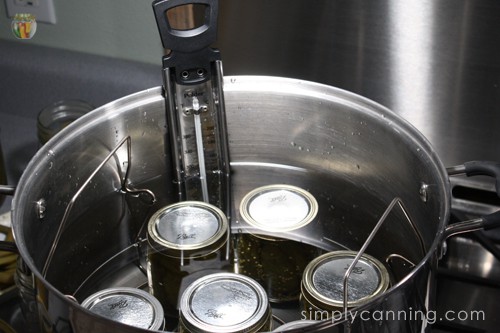
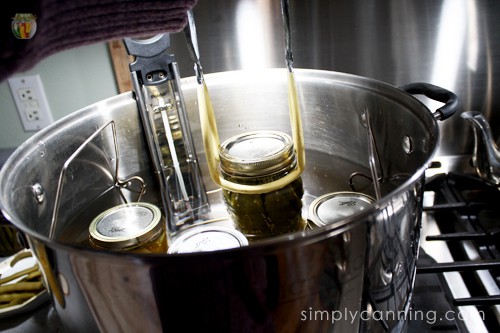
Have your canner ready and half full of warm water, about 120 to 140 degrees F. Also have a kettle or other pot of hot water ready.
Place your filled jars in the half-full canner. Now add hot water to 1 inch above the tops of the jars. Turn on your heat and warm water to 180 to 185 degrees. This is not quite boiling so don’t expect it to boil.
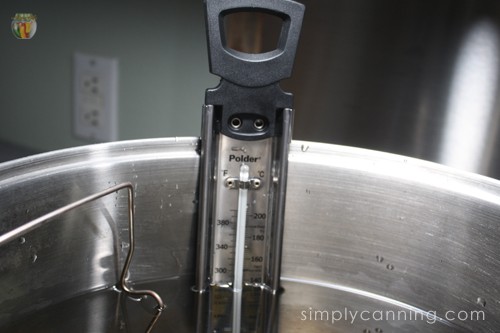
Use your thermometer and be sure this is maintained for 30 minutes. This is longer than the time indicated in the regular water bath processing instructions. And it is important to use a thermometer. Don’t guess. This is the thermometer that I use.
When 30 minutes is done, turn off your heat and remove your jars to a counter to cool. Check the seals after the jars are completely cooled. I usually leave mine until the next day and check, label, and store them.
Other tips to avoid soggy dill pickles
In addition to the low temperature process there are other things you can do to help get crunchy pickles.
Pick your cucumbers small.
I actually go for about the size of my thumb. You know the baby dills you can buy at the store. That is what we like. You don’t have to go that small. BUT don’t let your cucumbers get big and seedy. If you miss some on the plant (it happens) just reserve the overgrown cucumbers for relish.
Slice off the blossom end of your cucumber.
Cut off the blossom end of your cucumber right away. That blossom has enzymes in it that start the decomposition process of the cucumber when it is picked. By taking off a little slice you slow that process down. Thus…. more crunch.
I actually just take a small knife out the garden with me and slice off the tips as I’m harvesting. You could just do your harvest, bring the cucumbers in and cut off all the tips. But don’t put them in the fridge for later. The sooner the better.
Crunchy dill pickles with pickle crisp.
I have used a product called Pickle Crisp successfully. It is a granule that you add to each jar. The nice thing about this is you can use it for other veggie pickles as well.
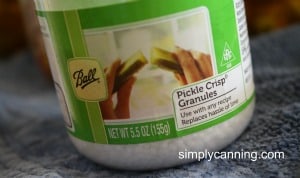
Put out by Ball, you can usually find it where you buy canning supplies.
Pickle Crisp can be found at Amazon here.
Mind the water!
When I shared this article on my Facebook page, several people made comments about different types of water influencing the texture of dill pickles.
“I have never cut off blossom ends & they are fine. I haven’t proven it, but sometimes I think the treated water from a tap is sometimes the culprit. I had better success when I used private well water. Just a thought!” -Cathy S.
“yes the water does make a difference. When my mom would make her pickles, she would have me bring her water from my well. She said it made a difference.” -Sandy L.
“Good water is so important for sure. I don’t know if the chlorine and fluoride are a problem in pickling but it makes sense. I have had trouble when making jelly and using reverse osmosis water. I made syrup instead of jelly. I switched to using just filtered water from a water vending machine instead of the reverse osmosis machine and haven’t made syrup again.” -Si B.
“Cathy, if you are in an area with a lot of limestone, well water contains a lot of minerals including calcium – You soak cucumbers in lime water to make them stay firm. Lime is limestone, that is heated, then slacked with water.. so I can see how well water would work better.” -Robert W.
Add a grape leaf to your jar.
Now, I have not ever tried this one. But you can add a small grape leaf to your jars. There are ‘tannins’ in the leaves that help maintain the crunch. Again it has to do with the enzymes. I’ve read that if you remove the blossom end you don’t need to add the grape leaves. I always remove the blossom end and have never tried the grape leaves.
Ice your pickles
Some recipes call for icing your pickles or soaking in ice water. Sometimes with salt water. This will also help firm up your pickles.
(happy dance!)
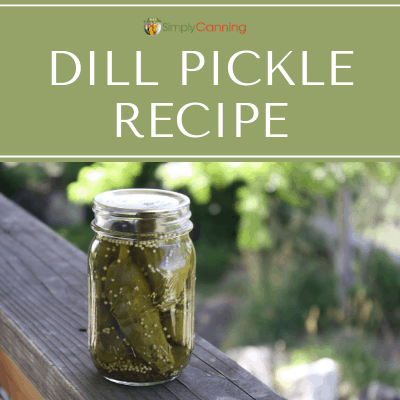
Pickle Recipe
Tired of soggy pickles? This easy dill pickle recipe produces crunchy pickles…finally! Learn the trick at SimplyCanning.com
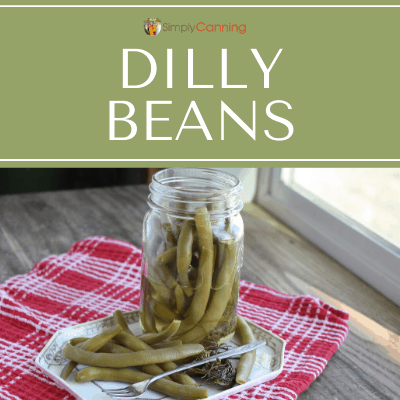
Dilly Beans
Dilly beans (AKA pickled beans) give you some variety in the pantry. Learn how to make and preserve dilly beans with this recipe.
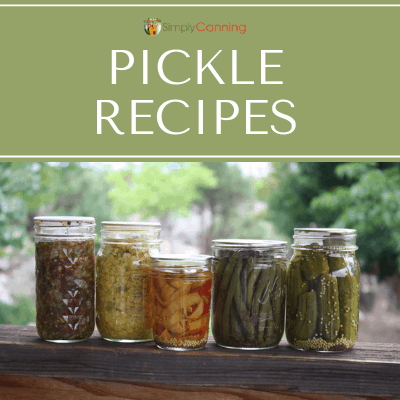
Pickle Recipes
The acidic environment in pickling prevents bacterial growth and thus makes the food safe to process in a water bath canner. Find pickling recipes for lots of different veggies here!
Pin This for Later

Source: The National Center for Home Food Preservation
Would this also work for pickled peppers?
Hi James, the Pickle Crisp I mentioned at the beginning of the article will work for any pickled item. The Low Temperature Pasteurization will only work with recipes that specifically mention that process. The only time I’ve seen it recommended is with the dill pickle recipe I mentioned. Here is a link to get that recipe if you want. Dill Pickles