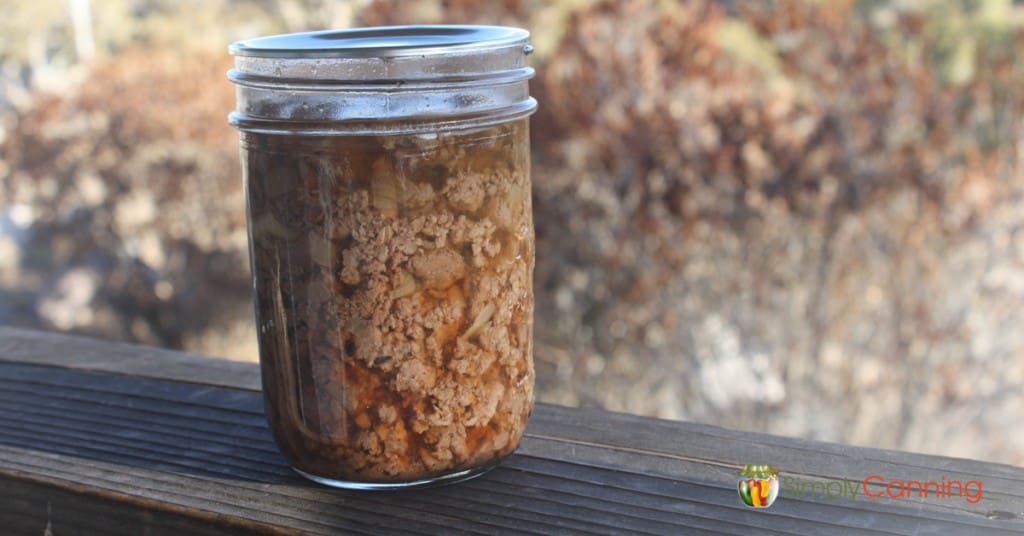
Canning Venison Ground (How to can deer meat)
This page may contain affiliate links. More Information.
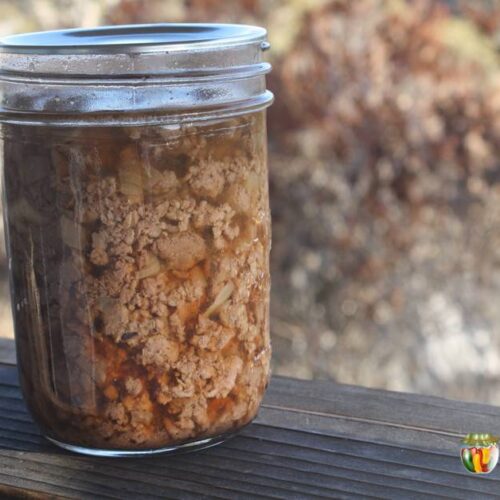
These directions are for canning ground venison (deer meat) that’s lightly cooked, then packed loose in the jar before canning. When you’re canning ground venison, you should do a hot pack. The venison is lightly cooked before putting it into the jars.
The directions on this page will work for canning ground beef, pork, elk, or venison.
Canning meat is so easy, I wish I had started years ago. My husband and sons butcher our deer with me, helping as a wrapper and canner. But you can also do this with deer you’ve taken to the butcher.
Canning venison in a cubed form for stews is another great method. Check this page for how to can cubed venison (or beef!).

Canning Venison Ground: Extended, Step-by-Step
Preparing the Meat. Our grinder Recommendation
We have the supplies and equipment to grind and can our own deer meat.
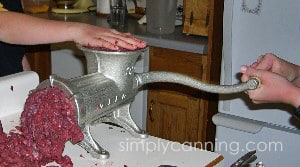
We have a hand meat grinder that we used to use every year. That meat grinder works great but…it is WORK. We used this method for years. A traditional activity each year was the competition between my 3 older sons (the youngest was just too little to turn the thing). The boys all competed with each other to see who could grind faster and longer. A great game for teen boys to use up some energy while Mom and Dad cheer them on.
One year, we finally broke down and purchased an electric meat grinder. This is great for me! I don’t have the energy to grind by hand. When my guys are not available, I can still take out some meat to grind for jerky. The hand grinder does not get used very much anymore, but we still keep it, just in case we ever need it.
If you don’t have this equipment, you can take your meat to a processor and have them cut or grind the meat to your preferences.
For us, doing it ourselves saves on costs and we know just what we are getting and how our meat is handled. Part of having tasty wild game is proper preparation of the meat.
The first time I tried canning venison, I could not believe it was so easy. I thought surely there was something I was missing.
Nope, nothing missing. Our meat tasted great.
Remember, any meat (including ground venison) must always be processed in a pressure canner.

How to Can Ground Venison
The first thing to do is gather your canning supplies.
- pressure canner
- canning jars
- canning lids and rings
- jar lifter and canning funnel
- bowls
- large spoons
- sharp knife
- towels and dish cloths
- cutting board
- heavy skillet to brown meat
- pot to make broth
Then, gather your ingredients.
- ground venison (or other meat specified above)
- liquid to pack your meat (you can choose tomato juice, broth, beef stock, or plain boiling water)
- canning salt
- onions, peppers, and garlic (optional)
When you are canning ground meat remember you do need to brown it first. This is a hot pack. You should not pack this raw.
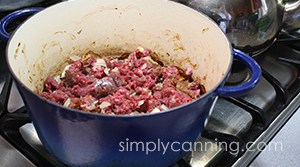
Brown meat and vegetables in a heavy skillet. I like my cast iron Dutch oven best. It is heavy to nicely brown the meat, while the sides keep the splattering to a minimum. When I’m canning venison, I brown a lot of meat, so this works well for me. You could also use a regular skillet. Whatever works!
Add onions, peppers, or a clove of garlic if desired. (Onion, peppers, and garlic are optional ingredients.)
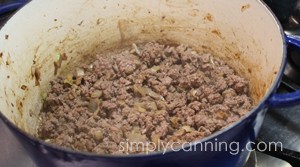
Cook until veggies are tender. The amounts of the onion, garlic, and/or peppers can be adjusted for your taste preference. In fact, you can preserve just the meat if you prefer not to add the onion. You can also shape the meat into meatballs or patties and lightly brown, instead of making ground meat pieces.
Drain and discard any grease that collects. Grease or fat is rarely an issue with venison, but if you are canning beef or some other meat, there may be some grease buildup.
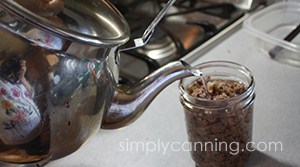
Add your choice of liquid to the pan. I usually use plain water or beef broth. You can also use tomato juice. I’ll sometimes add some beef bouillon to the jars when I’m using plain water.
Add liquid until browned meat is just about covered. The amount will depend on how much meat you are canning. Bring meat and liquid back to a boil.
Processing in a pressure canner.
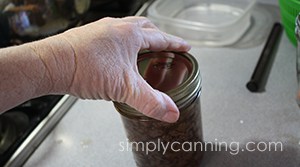
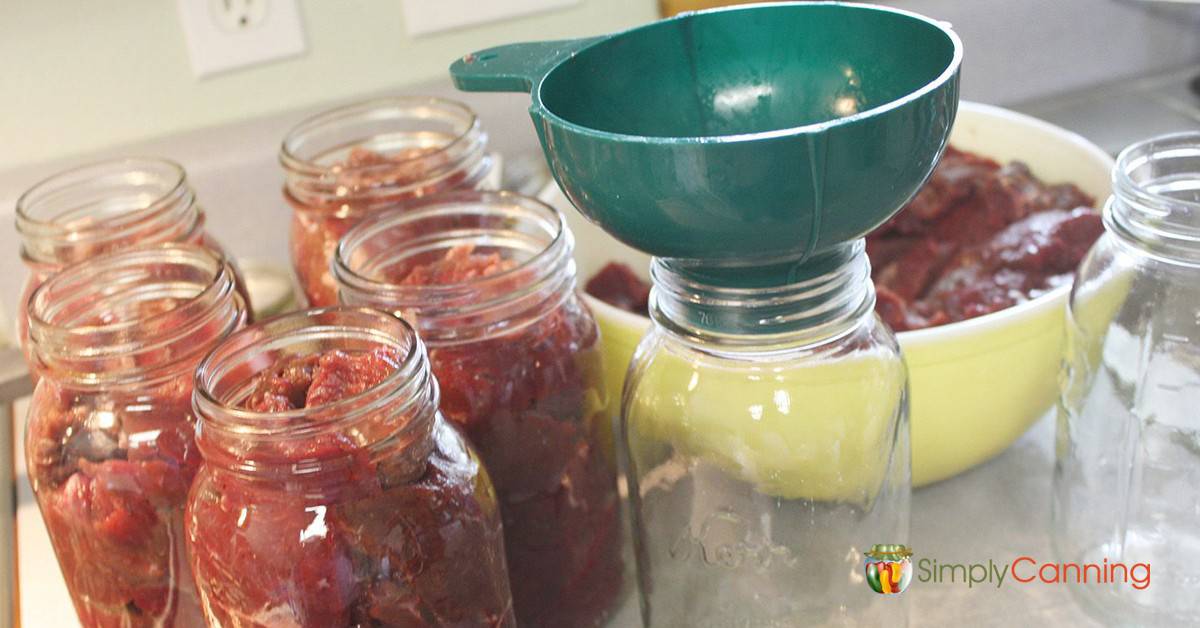
Pack hot meat into hot jars, leaving 1-inch headspace.
Expert Tip: Use Wide Mouth Jars for Canning Meat!
I recommend using wide-mouth jars for meat because it tends to leave a residue on the jars. My dishwasher does not remove this residue so I end up washing by hand. The wide mouth makes cleanup much easier
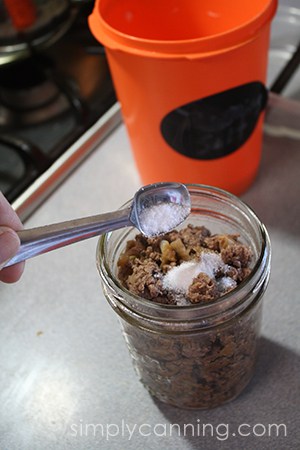
Add canning salt to each jar if desired: 1/2 teaspoon of salt per pint or 1 tsp. per quart.
I say “if desired” because, for those who need the low sodium, it is safe to leave the salt out. But honestly, it helps the flavor so much, I really do recommend adding even just a little bit of salt.
Add enough hot broth or other liquid to cover. Leave 1-inch headspace.
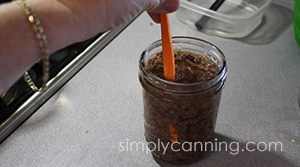
Remove air bubbles with a bubble tool or plastic orange peeler.
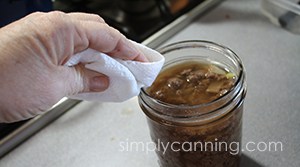
It is especially important to wipe the rims clean when you are canning ground venison. If your jar rims get greasy, it may interfere with your seals. So take a paper towel and wipe off the rims of the jar now. I’ve seen it suggested to use vinegar to wipe them off as it gets the grease off well. But I’ve always just used hot water.
Now place your lid on the jar and secure it with a screw band.
Place jars in your preheated pressure canner.

Follow pressure canning instructions, using the processing times below.
Don’t forget to adjust the pressure requirements for your elevation.
Processing times for canning ground venison.
Process Quarts: 1 hour and 30 minutes
Process Pints: 1 hour and 15 minutes
Don’t forget to adjust for altitude using the chart below!
For more information about why adjusting for altitude is so important, visit the Altitude Adjustments page.
Recipe Card
Canning Ground Meat
Equipment
- Skillet a heavy one
Ingredients
- Ground Meat i.e., ground beef, pork, elk, or venison
- Canning Salt
- Water broth or tomato juice (i.e., liquid to pack)
- Onions and/or peppers and/or garlic, optional (small amount)
Instructions
- Start by preparing your jars and getting water in the canner heating. You want the canner hot, but not boiling, when the jars are ready to be processed. If you are new to using a pressure canner, see this article for full pressure canning instructions. This includes more detailed information and step-by-step instructions on how a pressure canner works.
For a Hot Pack
- Brown meat lightly with vegetables (if using veggies). Remove excess fat.
- Or shape into meatballs or patties and lightly brown. Remove excess fat.
- Add liquid (broth is best!) to almost cover meat.
- Bring back to a boil.
- Add canning salt (1 tsp. per quart or 1/2 tsp. per pint) if desired.
- Pack meat mixture into hot jar, leaving 1” headspace.
- Remove bubbles, wipe the rim clean, and place on seal and ring.
- Place jar in the warm canner. Proceed to fill all jars.
- Process according to below directions.
Notes
Adapted from: Source: The National Center for Home Food Preservation, Wisconsin Extension
Canning Ground Venison tips and FAQ’s
Testimonial
“I wanted to thank you for all the wonderful instructions/advice you give on your site. You really helped me to conquer my fear of canning meat. It is as easy as you say! I canned ground venison last year and this year I’m doing that and cubed venison. We think it tastes even better after it’s canned! You’re a very kind woman for taking your time to help the rest of us. God bless! Donna 🙂“
Since it was sealed, is it still safe to eat?”
“When pressure cooking ground venison, I didn’t cook it near as long as it should have. Pints – 20 min. when it should have been 1hr. 15 min. Stupid mistake. All the jars were sealed, and when I opened one, it was brown the whole way through. Since it was sealed, is it still safe to eat?”
Sharon’s Answer:
No, unfortunately, I would not consider them safe. Even though they sealed, there is still a chance of botulism. Botulism you can’t see, taste, or smell. So if it is there, you won’t know it until you get sick. I’d just count this as a lesson learned and don’t eat those jars. Here is a page with more on Canning Safety.
Can You Can Raw Ground Venison (Raw Pack)?
“Can I can ground venison through a raw pack? Does it need to be cooked to render off the fat? I raw pack 1/2 of all of my venison…never ground though. Thanks, Ron”
Sharon’s Answer:
Ron, ground deer meat must be lightly cooked before packing in the jars. When I brown it, I just lightly brown it. It is not to render off fat (deer meat doesn’t really have that much), but more to ensure the ground meat doesn’t clump together in the jar. If you were to try a raw pack, you’d end up with chunks all stuck together. This would affect the processing time as the density of the meat makes a difference in the heat transfer throughout the jar.
You want to lightly brown it, put it in your jar, and then add either plain water or a broth of some sort. Usually, I just add plain water and salt, because it is more versatile when I go to use the jars. But I’ve done a broth, and it is very good that way too. You can even add a tomato broth if you choose.
Canning Frozen Meat that’s Been Thawed
“I need to open up some freezer space and was wondering if I can can the venison that was already frozen. TIA Judy – P“
Sharon’s Answer:
Hi Judy, Yes, canning venison that has been frozen is fine. Just be sure the venison is fully thawed before processing. Learn more about canning meat from the freezer here.
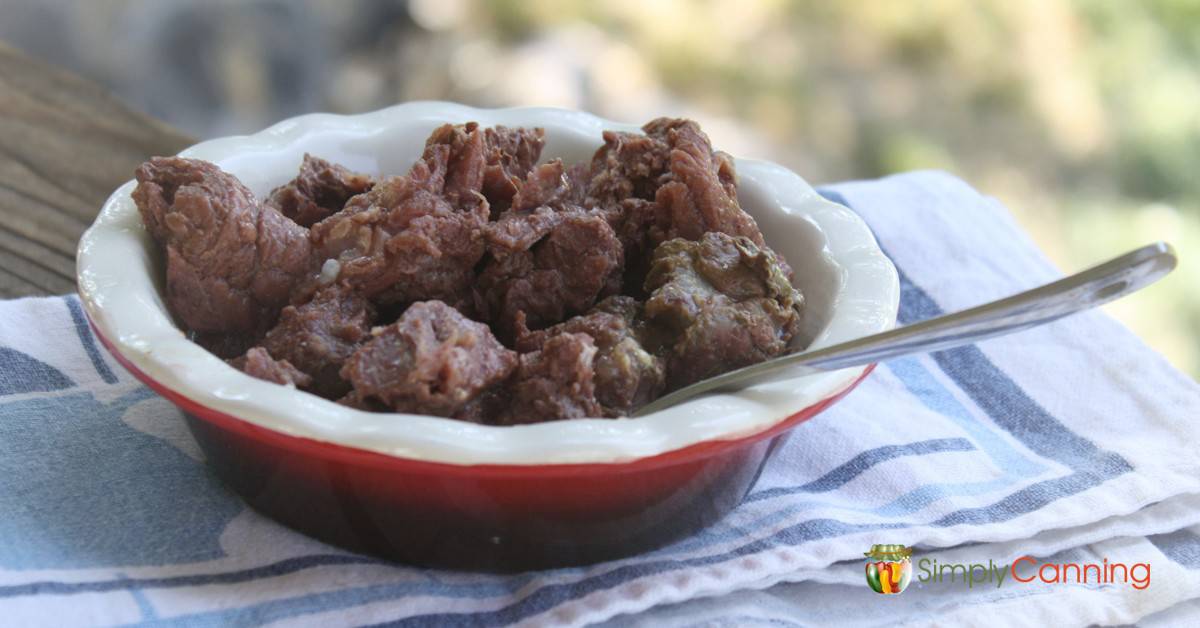
What Does Canned Ground Venison Taste Like? Does Ground Venison Taste Gamey?
A lot will depend on the hunter, how the meat was handled just after the kill, and what the animal itself was eating. The meat coming out of the jar is only as good as the meat going in. However, home canning actually reduces any gamey flavor that might be there, and it helps tremendously with any tough meat cuts. Save the tenderest cuts for steaks, and put the rest in jars.
How Do You Use Canned Ground Venison?
Chili, tacos, spaghetti sauce, casseroles… Just about anywhere you would use regular cooked ground meat, you can use ground venison.
Quick tip: If you still have raw ground venison, you could do what we tried – make jerky with the Jerky Blaster!
Canning Meat index page – more recipes
More than venison. Chicken, broth, soup, fish, and more. Canning meat allows you to create shelf-stable food for emergencies or quick meals.
Canning Venison: Cubed & Raw Pack
These canning venison directions work for meat, beef, pork, or elk too. Get to canning your own meat at home!
Canning Venison: Cubed, Hot Pack
Canning venison using a raw or hot pack? Either way, you must use a pressure canner.
Pin This to Find Later!
Source: The National Center for Home Food Preservation
awesome! i was just going to ask that question! You are my go to site for canning recipes, Thanks ! Joe
I would Love to can some taco meat. But you have mentioned in previous posts about adding spices that have clumping agents in it how would I know if my prepackaged taco mix has that?
You would have to look at the ingredients on the package. I actually use a homemade taco seasoning mix for making tacos. It is a mix of chili powder, salt, cayenne pepper… some other things. A mix like that would be acceptable as long as it does not have flour, or cornstarch or other thickeners.