Peach Plum Nectarine Jam
This page may contain affiliate links. More Information.
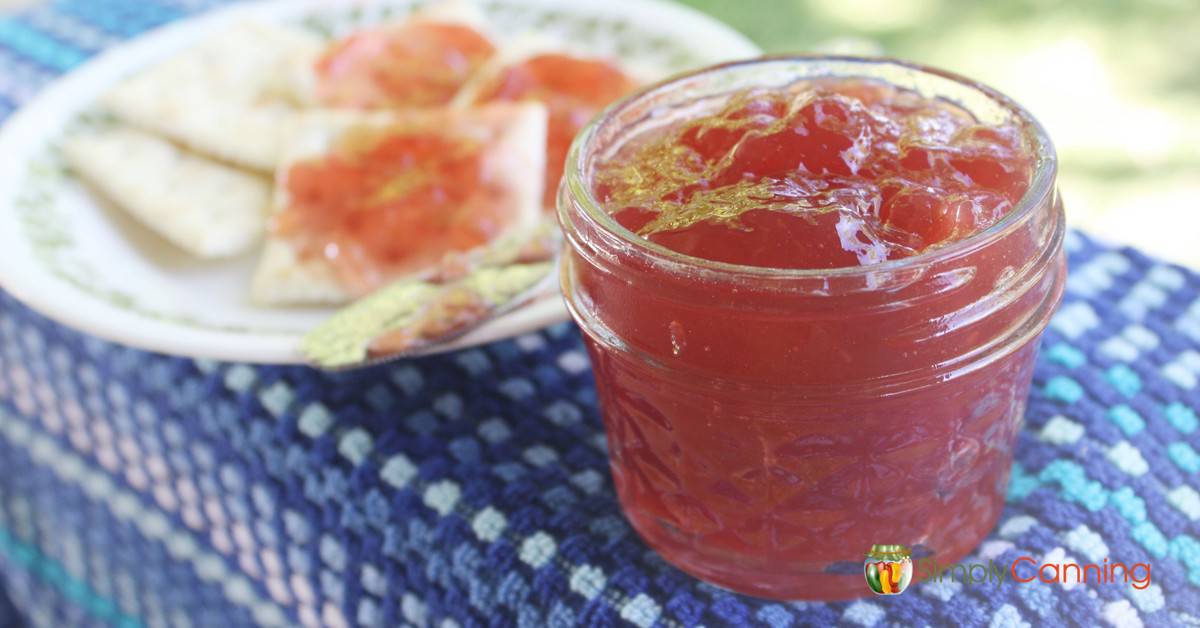
Stone Fruit Jam Recipe…. Otherwise known as Peach Plum Nectarine Jam.
One summer I was gifted a couple of bags of fruit — peaches, nectarines, and plums. The fruit was getting overripe fast, so I knew I had to use it up quick. Jam is always a good bet.
I didn’t have enough of any single fruit to make a full batch, so I combined what I had and — voilà — stone fruit jam. My own creation, and it turned out great.
I ended up using about 4 peaches, 4 nectarines, and 7 plums, which gave me 7 cups of fruit. I settled on 3 cups of sugar, and added 3 tablespoons of lemon juice to keep the color nice and help with the gel.
Since this was my own creation, I wasn’t sure if it would have enough natural pectin to set up. I figured if it didn’t work, I’d just call it stone fruit syrup — syrup is always a good bet too! No fear, it turned out great. Jam it is. 🙂
Know Your Canner
This recipe is appropriate for either a water bath OR a steam canner. (Not to be mistaken for a pressure canner.) I highly recommend steam canning if you’ve got a steam canner, but if not, a water bath is totally fine.
These tutorials will introduce you to both canning methods and help you choose the method that suits your needs best.
Gather your canning supplies
Equipment
- water bath canner
- canning jars
- canning lids and rings
- jar lifter and canning funnel
- large pot or blancher
- bowls
- large spoons
- sharp knife
- towels and dish cloths
Ingredients
- 7 cups chopped fruit. Combination of Peaches, Plums and Nectarines.
- 3 cups sugar
- 3 T lemon juice.
(See the recipe card below for full details including headspace, processing times, and altitude adjustments.)
How to make Peach Nectarine Plum Jam
Start by preparing jars, and get water in your canner heating. You want it to be hot but not boiling when the jars are filled and ready to go
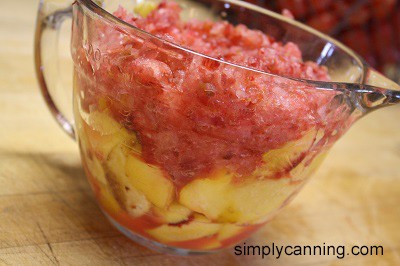
Prep the fruit
First wash your fruit. Especially if they are not organic fruit.
I peeled both the peaches and the nectarines. This is a preference. You don’t have to peel if you don’t want to. I find both peach peels and nectarine peels unappealing in the jam. The plum peels are so thin you don’t know they are there.
A Note on Pectin and Lemon Juice
Stone fruits aren’t known for being high in natural pectin, which is why I wasn’t sure this jam would set without adding commercial pectin. Spoiler: it did! The lemon juice is what makes that possible — it helps any naturally occurring pectin in the fruit bind together and form a gel.
Of the three fruits here, plums have the highest natural pectin content, and most of it is concentrated in the skins. Leaving the skins on was a deliberate choice — and honestly an easy one, since plum skins are thin and practically disappear into the jam during cooking.
Peaches and Nectarines
Peel, remove the pit and chop coarsely. I just peeled with a knife since they were very ripe and easy to peel. Another option is to blanch and remove the skins that way. See my canning peaches page for directions on how to peel your peaches.
Plums
I ended up using a food processor to chop up the plums. I was not convinced it would break up and mash as easily as the peaches and nectarines. Just chop — don’t liquefy.
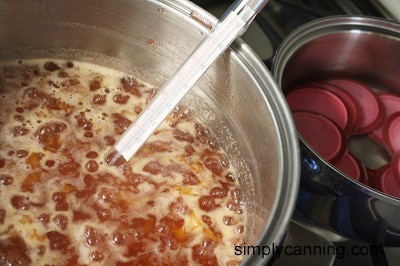
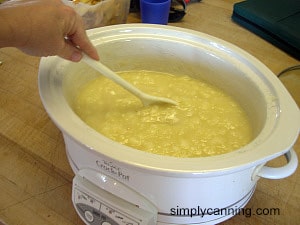
Cook the Jam to your Gelling Point
Combine all the fruit and lemon juice in a large stock pot and bring to a boil. Use a potato masher if needed to mash up the fruit and draw out the juices.
Boil for about 20 minutes or so, stirring constantly. As it boils it will thicken and the texture will change. Test the temperature with a candy thermometer. You need to get to your ‘gelling point’. Gel will develop at different temperatures depending on your altitude. This post has a great explanation of gel point and a chart for you to find yours. (opens in a new window so you can get back here easily)
A few tips
These are hard-won lessons from my own kitchen:
- When you think the jam is ‘almost ready, don’t leave it for ‘just a minute’. It WILL burn. Ask me how I know.
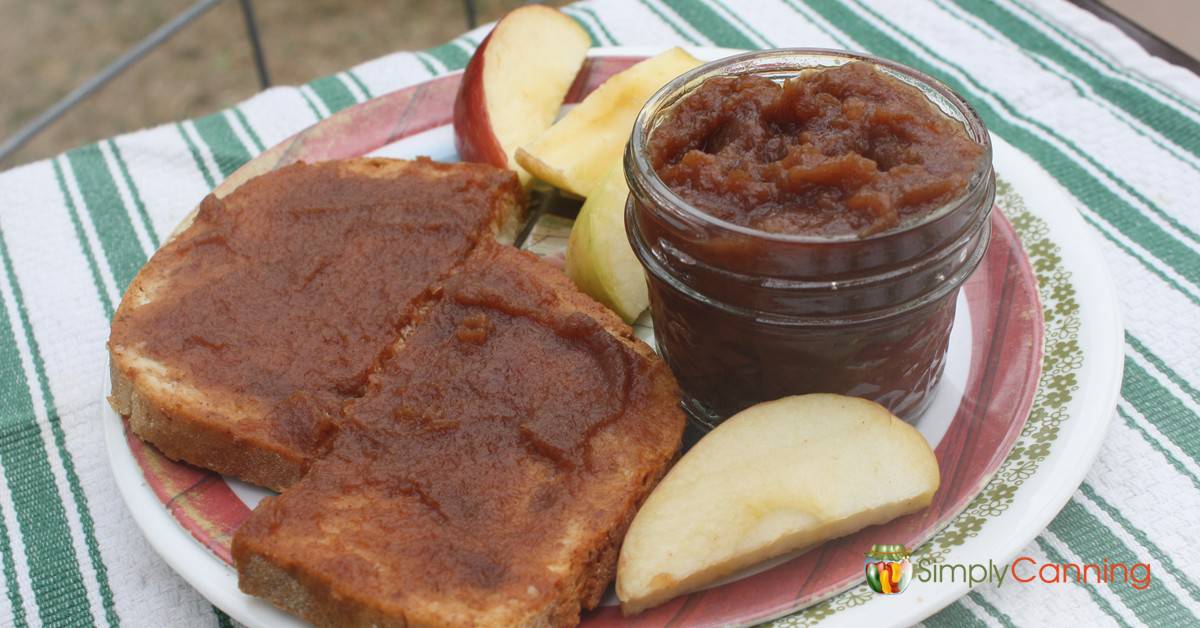
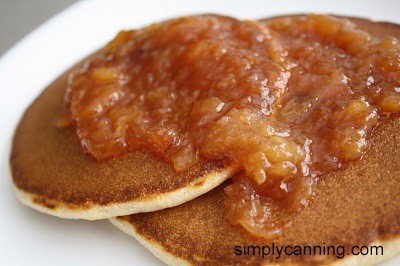
- Hahaha Confession time: If the jam is slightly scorched, make some toast, top with jam, and taste it. If it doesn’t TASTE scorched, go ahead fill your jars and proceed as usual. Don’t scrape the bottom.
- Mark the jars in such a way that you DON’T give them away as gifts. Just in case there are little bits of scorched – but not really tasting scorched – jam floating around in there. Really just do it. Shhhhhhhh.
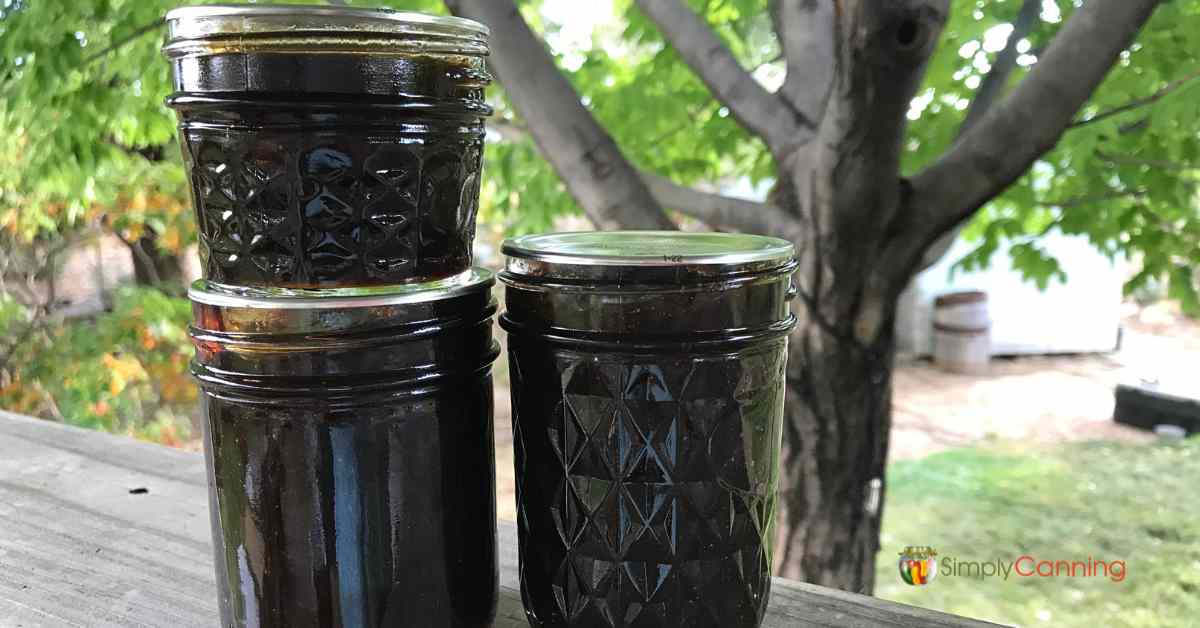
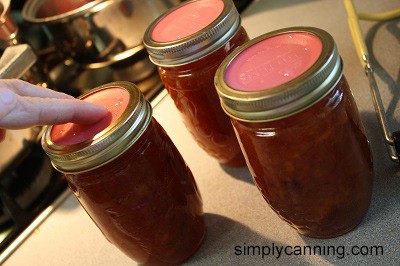
Process in a water bath canner.
When the jam is done, fill jars leaving about ¼ inch headspace. Add canning lids and rings then process in your water bath canner. (See the recipe card below for headspace, processing times, and altitude adjustments.)
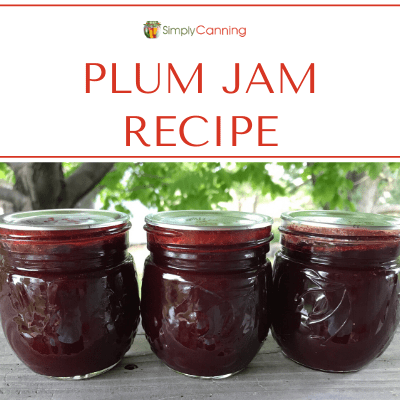
For more recipes to use up plums (because those trees can be fruitful!) Check out these plum recipes.
Peach-Nectarine-Plum Jam
Equipment
Ingredients
- 7 cups Fruit chopped; I used about 4 peaches, 4 nectarines, & 7 plums
- 3 cups Sugar
- 3 Tablespoons Lemon Juice
Instructions
- Start by preparing jars and getting water in the canner heating. You want the canner hot, but not boiling, when the jars are ready to be processed.See full water bath canning instructions here.
Make Your Jam
- Peel, pit, & coarsely chop peaches and nectarines.
- Chop plums in food processor.
- Combine fruit in a large pot and bring to a boil, stirring often. Mash fruit a bit if needed.
- Boil for ~20 minutes, stirring constantly. Keep boiling until it reaches your gelling point. see Making Jam Without Pectin to find your point.
Processing with a Water Bath Canner
- Fill hot jar with hot jam, leaving 1/4” headspace.
- Remove air bubbles, wipe rim clean, and place seal and ring.
- Place the jar in the warm canner. Proceed to fill all jars placing them in the canner.
- When all the jars are filled and in the canner, bring the water in the canner to a boil. Start processing time when water is boiling. Process for the length of time on the chart below. Adjust for your altitude.
Cool Down
- After your time is over, turn the heat off remove the lid and allow the canner to rest for about 5 minutes. Then bring your jars up out of the water.
- Allow them to rest for another 5 minutes. Then remove the jars and place them a few inches apart on a thick towel to cool completely.
- Leave them alone for about 12 hours.
- When they are cooled to room temperature, remove the metal bands, check the seals, label the jars and store them away
Notes
Above 6,000 ft – 15 minutes Quarts are not suggested.