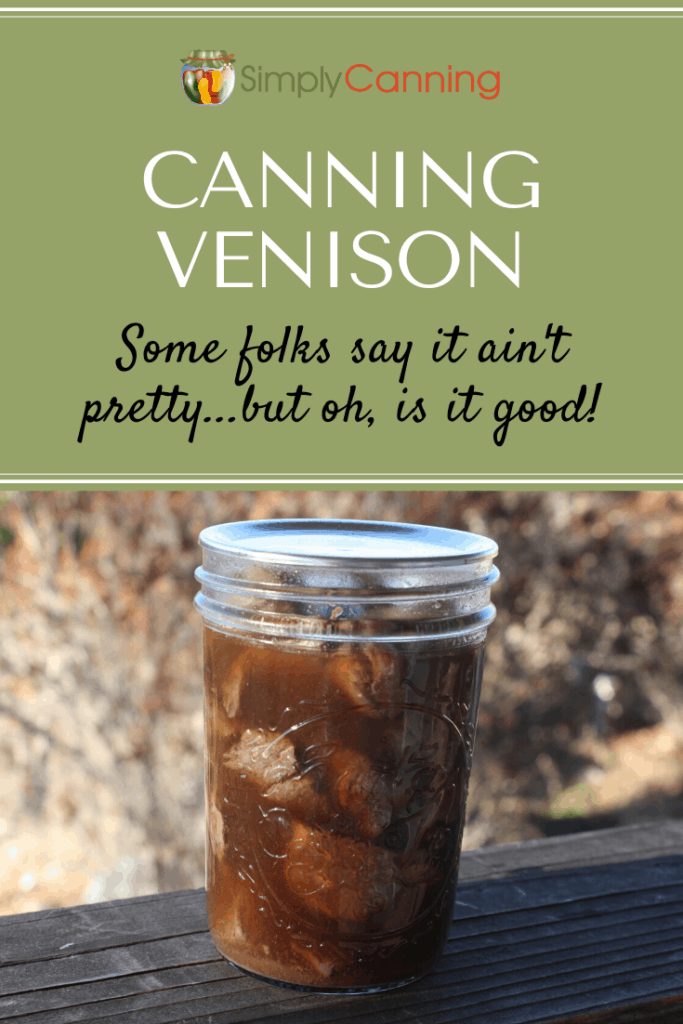
Canning Venison: Cubed, Hot Pack
This page may contain affiliate links. More Information.
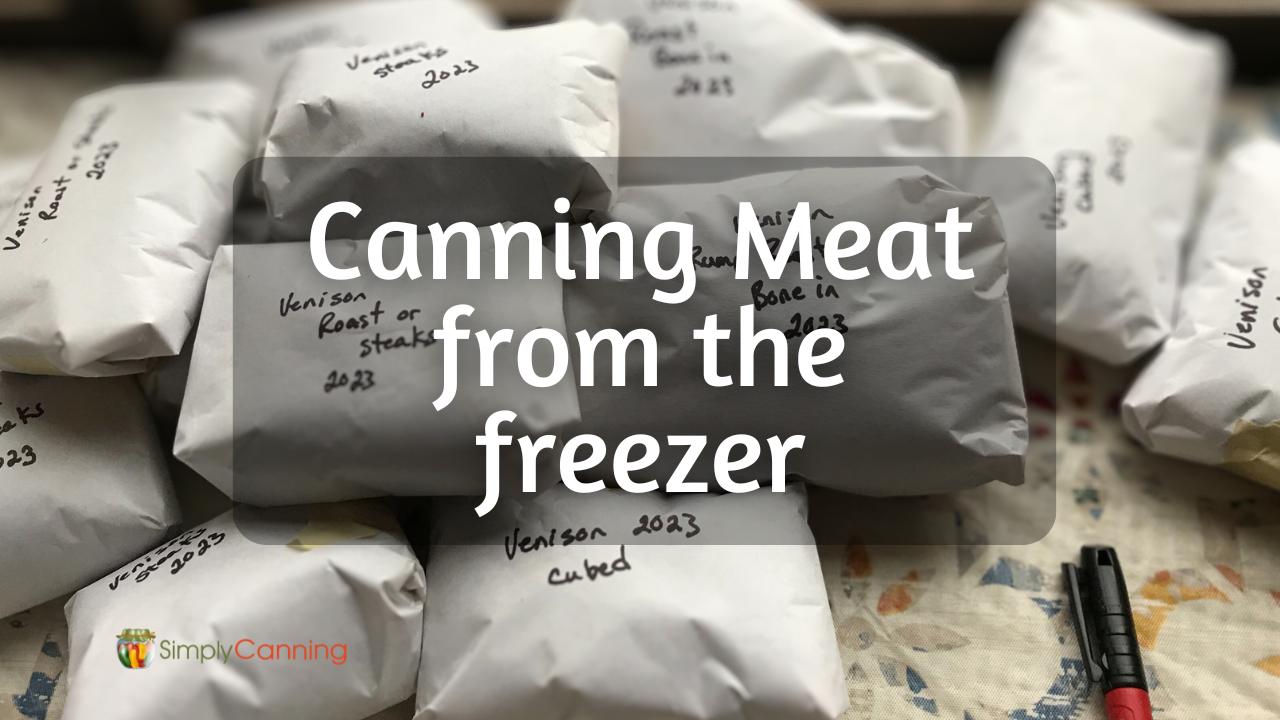
Canning venison is so easy, I wish I had started years ago. These directions will work for canning beef, elk, or pork as well.
I will NOT go into how to butcher your deer. If you would like instructions on how to do that, check with your county extension, as they may have ideas for you.
If you have your meat butchered commercially, check with your butcher and let them know how much of it you would like cubed. Or just have it processed into roasts. See if you save on processing costs by cutting it up yourself.
The page provides instructions for canning venison using a hot pack canning method. This simply means the venison is cooked before being put into your jars. If you like a raw pack, check out this page. Remember, raw pack does not mean not processed. The pack method is simply referring to how you fill your jars. Any packing method MUST be pressure canned.
The first time I tried canning venison, I could not believe it was so easy. I thought surely there was something I was missing. Nope, nothing missing. Our meat tasted great!
My husband and sons butcher our deer, with me helping as a wrapper, canner and freezer. Jerky is a team effort. My husband and I make it, and the boys eat it.
For us, doing it ourselves saves on costs, and we know just what we are getting and how our meat is handled. Again, remember, any meat must always be processed in a pressure canner.

This Page Includes
- Canning Venison Cubed Hot Pack: Extended, Step-By-Step Directions
- Recipe Card
- {FAQ} How Long is Canned Venison Good For?
- {FAQ} How Do You Use Canned Venison?
- {FAQ} Can You Can Venison in the Oven?
- {FAQ} Can You Can Venison Without a Pressure Canner?
- {FAQ} Managing Gamey Flavors in Canned Venison
- {FAQ} Use Wide Mouth Jars for Home Canning Venison
Canning Venison Cubed Hot Pack: Extended, Step-By-Step Directions
Gather your canning supplies and start your canner heating. You want the canner hot, but not boiling, by the time you are done searing the meat in preparation for going in the jars.
- pressure canner
- canning jars
- canning lids and rings
- jar lifter and canning funnel
- bowls
- large spoons
- sharp knife
- towels, dish cloths and pot holders
Ingredients:
- venison (or other meat specified above)
- canning salt (optional)
How to Can Venison Cubed (Hot Pack)
Cut away any bruised areas, gristle, and excess fat. Usually with venison, fat is a non-issue, but if you are canning beef, you might have more fat to remove.
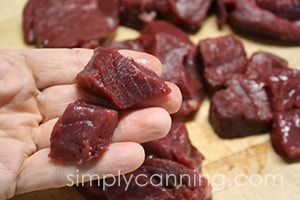
Next, slice across the grain into strips about 1-inch thick. Then, slice these strips into cubes.
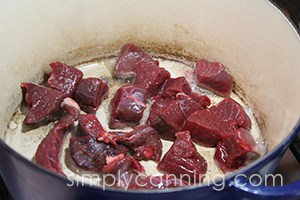
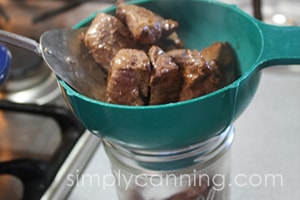
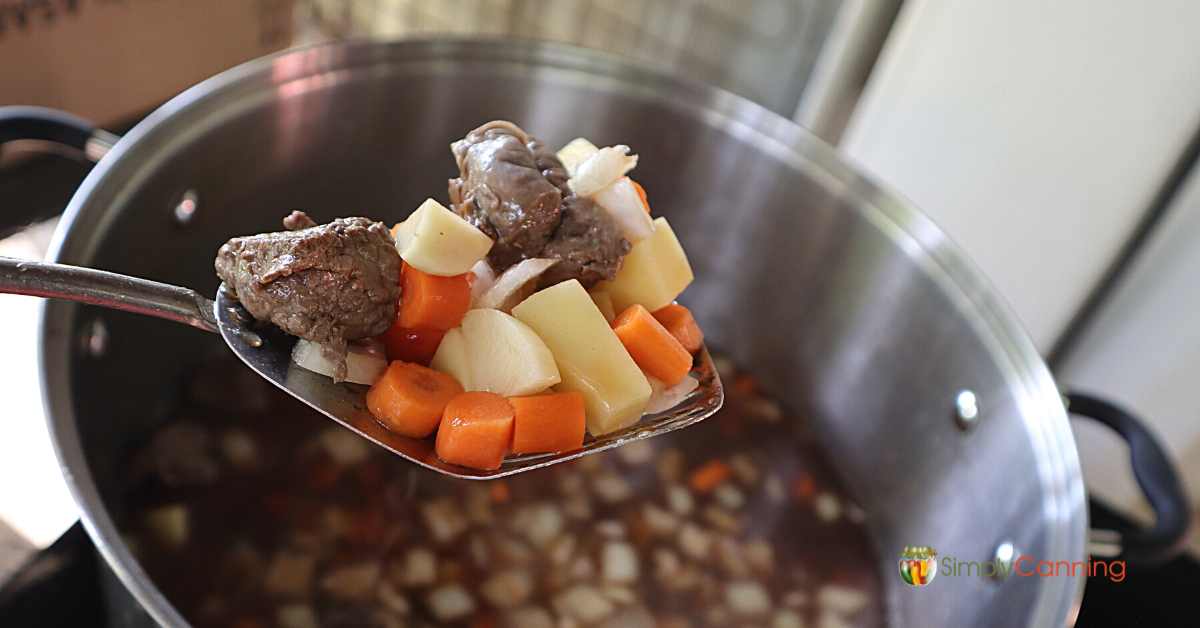
Place cubes in a large pan and brown. Doing this in batches is the best. You want to brown the meat. If you do a bunch at a time, it will tend to gain more liquid in the pan and it seems like they boil and not sear. Save any broth that is created to add to your broth in the jars.
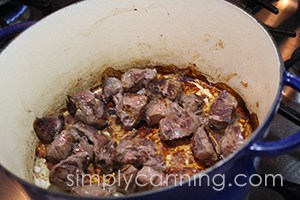
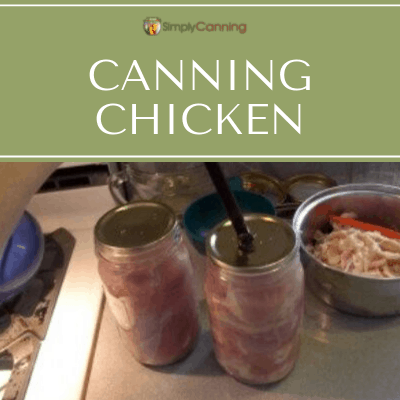
Once your meat is heated through, put into hot jars. Use a slotted spoon and leave the drippings in the pan. (Distribute the meat drippings evenly into all jars.)
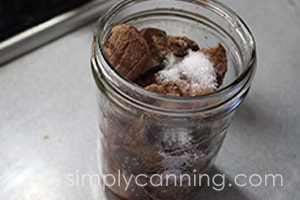
Add canning salt to your jars if desired. I use 1 tsp. per quart. I have seen it recommended to use 2 tsp. per quart.
Add salt according to your taste. You can choose to leave out the salt, but salt really does add to the flavor and quality, so I do recommend it.
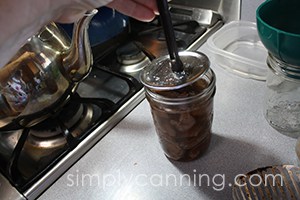
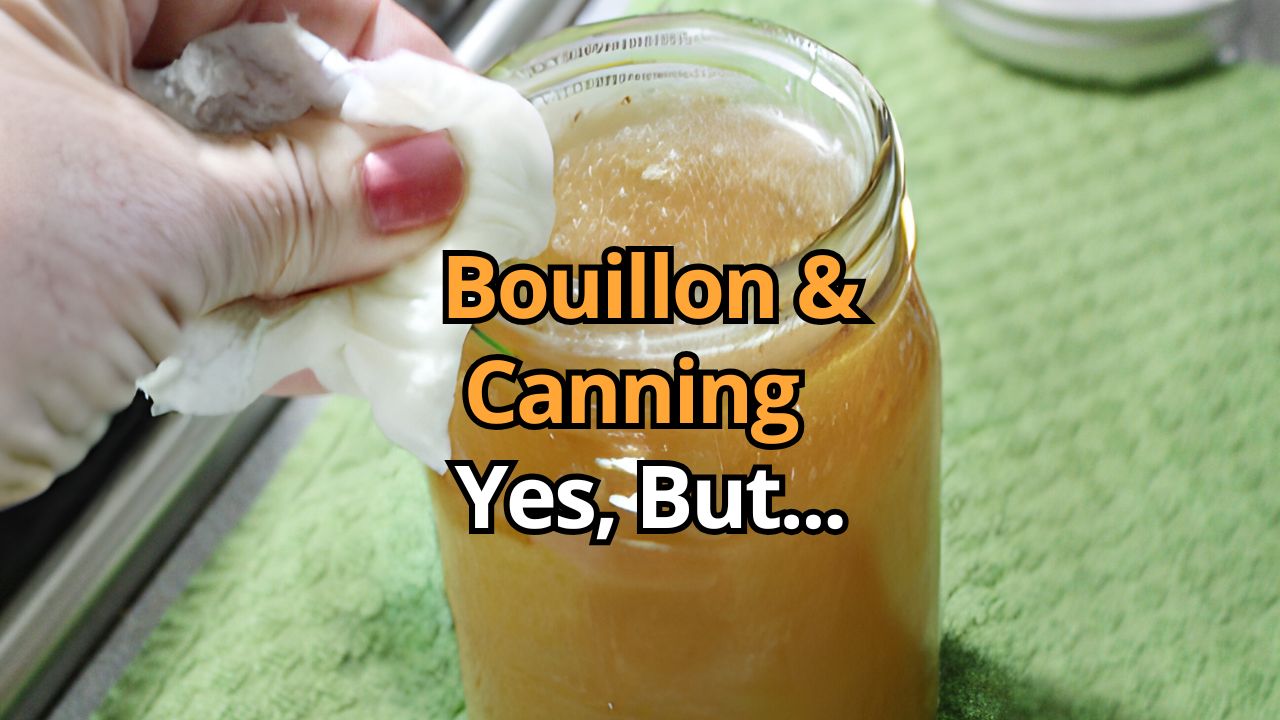
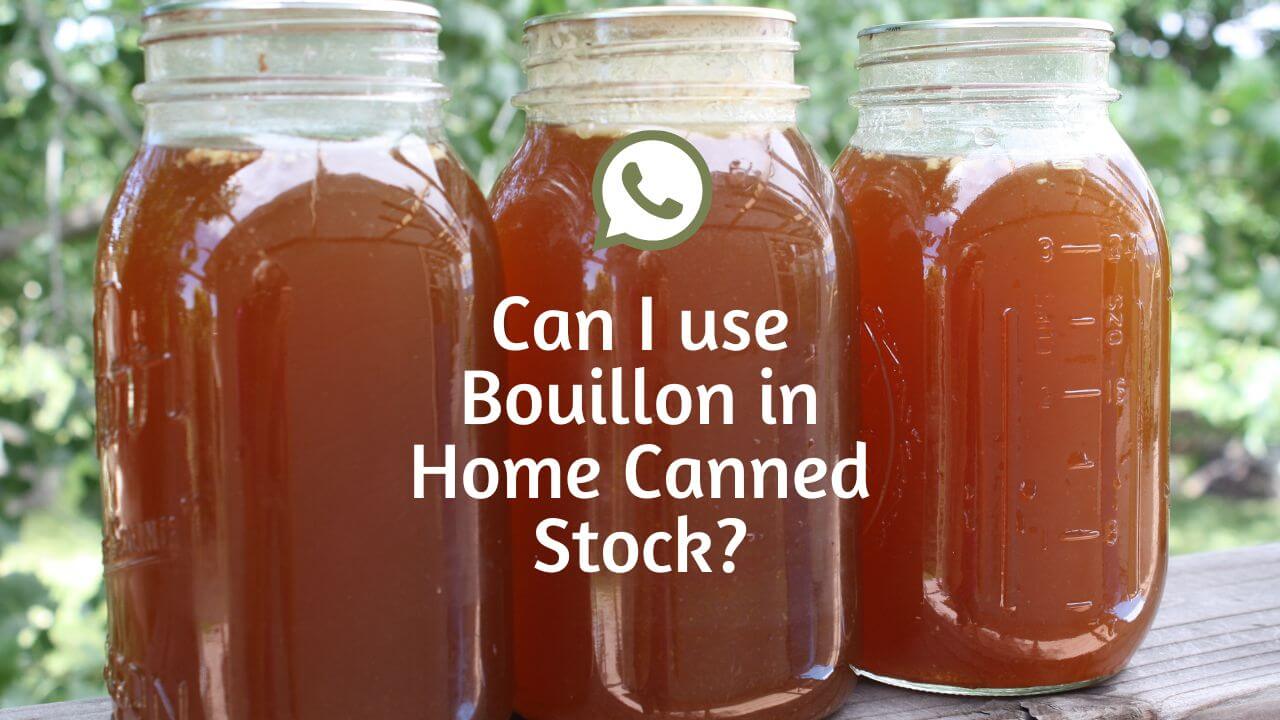
Top off your jar with either boiling water or beef broth. You can also use bouillon if you choose. A tea kettle makes adding your liquid super easy!
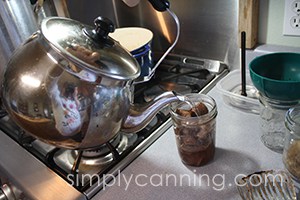
Leave 1-inch headspace.
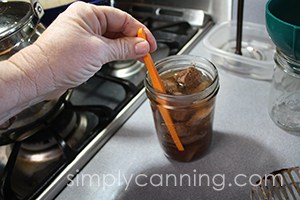
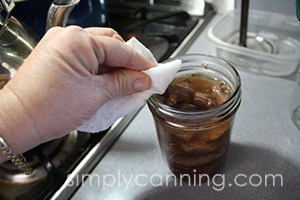
Wipe the rims of your jars clean. This is important so that any grease or food will not interfere with the lid sealing to the jar.
Place the lids and screw bands on finger-tight. Finally, place jars in your preheated pressure canner.
Follow pressure canning instructions, using the processing time below.
Process quarts for 1 hour 30 minutes.
Process pints for 1 hour 15 minutes.
Don’t forget to adjust the pressure requirements for your elevation as needed, using the chart below!


Recipe Card
Canning Cubed Meat
Equipment
Ingredients
- Meat
- Boiling Water or broth
- Canning Salt Optional. Use 1/2 to 1 teaspoons per pint or 1–2 teaspoons per quart.
Instructions
- Start by preparing your jars and getting water in the canner heating. You want the canner hot, but not boiling, when the jars are ready to be processed. If you are new to using a pressure canner, see this article for full pressure canning instructions. This includes more detailed information and step-by-step instructions on how a pressure canner works.
For a Raw Pack
- Trim excess fat or gristle from the meat.
- Slice meat across the grain into 1” thick pieces. Cubes or strips are fine.
- Add canning salt to each jar.
- Pack raw meat into jars, leaving 1” headspace. Don’t add liquid.
- Remove bubbles, wipe the rim clean, and place on seal and ring.
- Place the jar in the warm canner. Proceed to fill all jars. Process according to below directions.
For a Hot Pack
- Trim excess fat or gristle from the meat.
- Slice meat across the grain into 1” thick pieces. Cubes or strips are fine.
- Add canning salt to each jar.
- Lightly brown cubed meat.
- Once heated through, use a slotted spoon to pack meat into hot jars.
- Distribute meat drippings evenly into all jars.
- Top off jar with boiling water or liquid, leaving 1” headspace.
- Remove bubbles, wipe the rim clean, and place on seal and ring. Proceed to fill all jars. Place the jars in the warm canner. Process according to below directions.
Notes
Adapted from: The National Center for Home Food Preservation, Wisconsin Extension
Canning Venison Cubed Hot Pack Tips & FAQs
How Long is Canned Venison Good For?
Generally, home canned food (including venison) is good for 1 year. However, this is more of a quality issue. After one year, the food starts deteriorating quicker, but it is still safe. My recommendation is to plan on canning enough for a year.
But if a year goes by, don’t throw it away! Just make a plan to use it up soon. Always rotate your stock so you are using the older jars before the newer and don’t end up with jars several years old. All this is assuming you have used proper pressure canning methods and are checking the seals to be sure they are still secure.
Learn more about the shelf life of home canned food on this page.
How Do You Use Canned Venison?
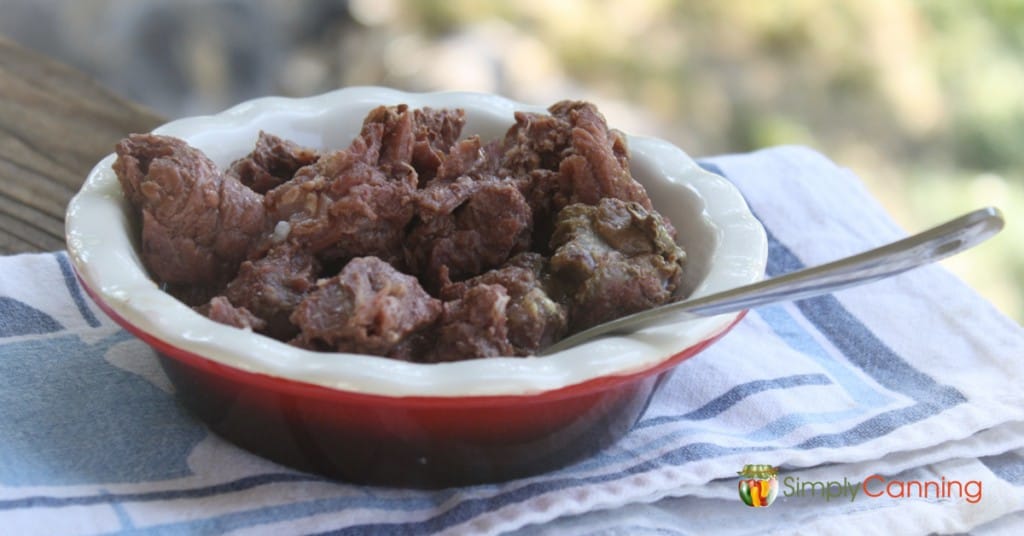
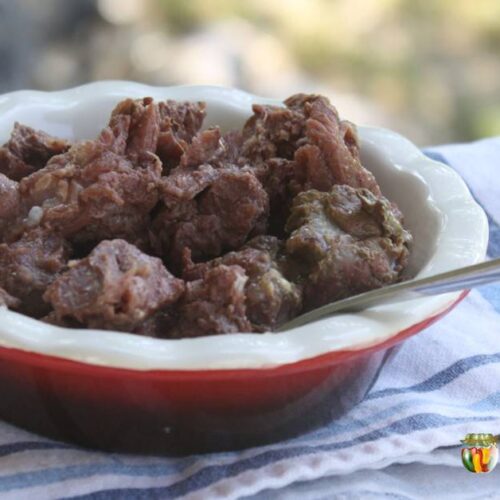
Use canned venison like any other canned meat. Simply heat it up and eat it with some gravy and mashed potatoes, or use it in stews, chili, casseroles, or other recipes.
Can You Can Venison in the Oven?
No, canning meat in the oven isn’t safe. Actually, it’s not even recommended for canning other foods either. You can read more about this topic on my Oven Canning page.
Can You Can Venison Without a Pressure Canner?
No, venison is a meat…and ALL meats should be canned using a pressure canner, as there is the risk of botulism. Learn more about canning safety here.
Managing Gamey Flavors in Canned Venison
If you are canning venison or elk, the taste of your meat will depend entirely on how you handle the meat from the time it is killed in the field. Handle it carefully. Aging and butchering is something everyone has a different opinion on, so do your research. (NCHFP mentions soaking venison in salt water, though I don’t do this. They said: “Soak strong-flavored wild meats for 1 hour in brine water containing 1 tablespoon of salt per quart. Rinse.”)
You can add plain bouillon to your jars. (Make sure not to use something with added ingredients, like a soup mix.) You may also add a small amount of onion or peppers, or use tomato juice instead of water with hot pack.
Use Wide Mouth Jars for Home Canning Venison
Meat usually leaves residue on canning jars, which my dishwasher doesn’t remove, but using wide mouth canning jars makes cleaning up much easier later.
Related Pages
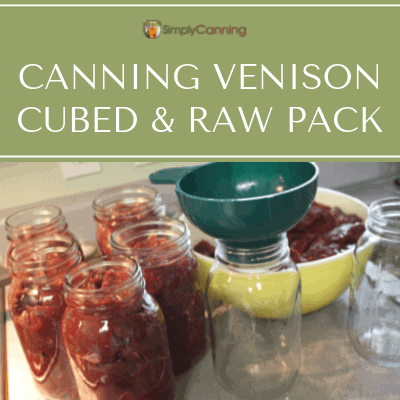
Canning Venison: Cubed & Raw Pack
These canning venison directions work for meat, beef, pork, or elk too. Get to canning your own meat at home!
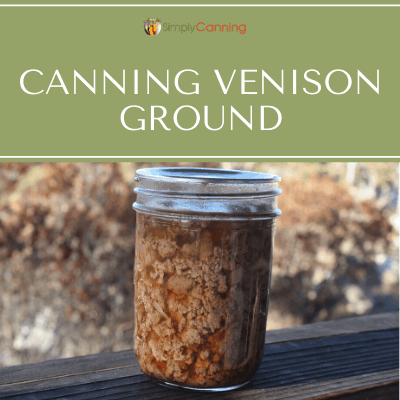
Ground Venison
Home canned ground venison can be used for tacos, chili, casseroles, and more.
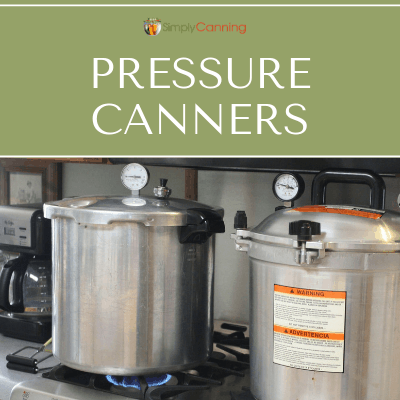
Pressure Canners – Which One is Best?
Pressure canners; Learn about the different styles and features of each brand to help you choose the canner that is right for you.
Pin This to Find Later
Source: The National Center for Home Food Preservation, Wisconsin Extension
Page last updated: 7/9/2021
Hi and thanks for all the great info you provide. I’m planning to can previously frozen venison. I have some from last year, and some from this year. My thought from a practical sense is to thaw the older roasts/steaks and can the meat from those. Is there anything to suggest I should do the fresher kill instead? Thank you.
You could do either. If it is all frozen, I’d do the older meat too. Save the choice cuts for steaks. (tenderloins and backstrap) and can the roasts.
Can I use frozen beef/pork for canning? We don’t butcher ourselves, so when we pick up from the butcher it’s always frozen. Can I thaw a roast and then process it safely?
Yes you can. Just thaw completely and then proceed with the usual directions.
I have a digital presto pressure canner, i canned venison quarts for 90 min but the meat came out dry and grainy even a bit burnt tasting, do you have any suggestions? Thanks
The only thing I can think of is you may have overprocessed. Or some people just don’t like the texture. But it should not be burnt tasting. I can not recommend reducing time or pressure though as that is important for safety.
I almost always use our canned meat in some sort of casserole or chili, soup. Things with a broth or sauce. You may prefer it that way.