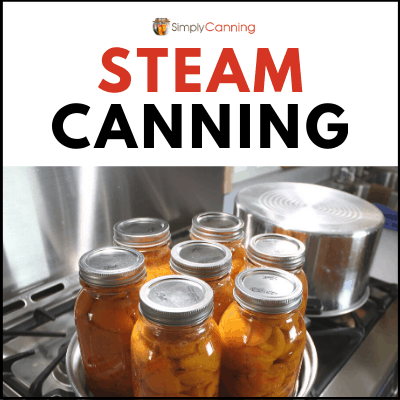
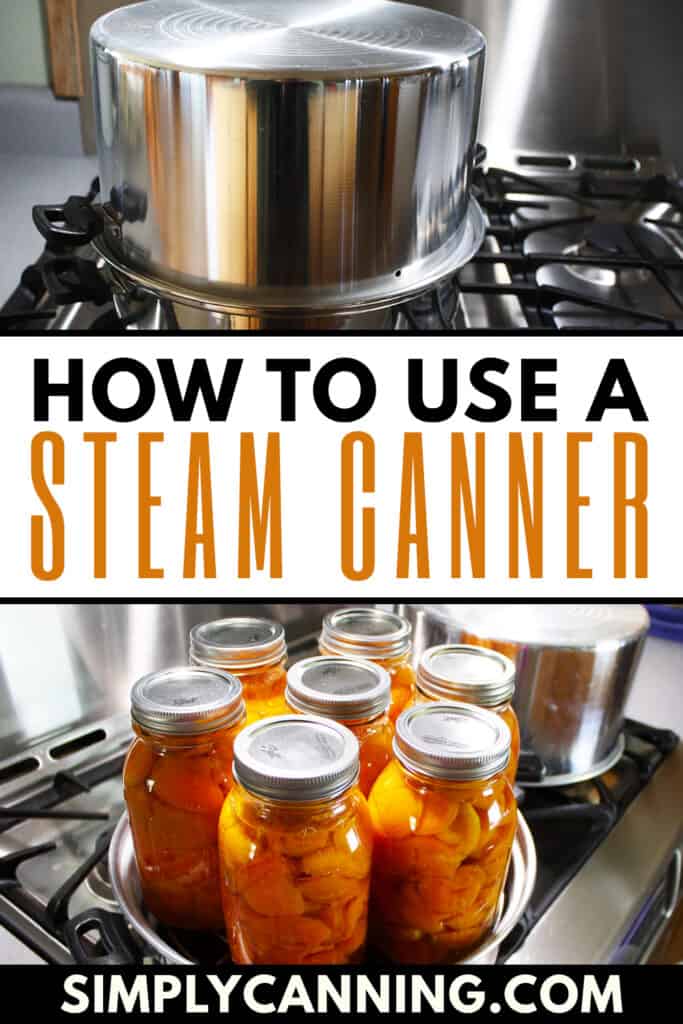
How to use a Steam Canner
This page may contain affiliate links. More Information.
Steam canners can be a great substitute for a water bath. They use only a few inches of water in the bottom of the pot rather than filling the pot up to completely submerge your jars. There are a few stipulations to this recommendation.
Remember there are 3 types of canners used for processing either high acid or low acid foods.
- Pressure canners – used for meats and vegetables. (low acid foods)
- Waterbath canners – used for most fruits, jam and jellies, and pickled items. (high acid foods)
- Steam canners – also used for most fruits, jam and jellies, and pickled items. (high acid foods)
Steam canners work a lot like water bath canners—they’re both for high-acid foods—but there are some differences:
- Instead of submerging jars in boiling water, steam canners use steam to heat and process the jars.
- They use much less water, usually about a quart and a half, compared to up to four gallons for a full water bath. That makes heating faster and handling jars much easier.
Steam Canning Basics
If you’re thinking about using a steam canner for jams, jellies, or fruits, stick with USDA-approved and tested recipes. The good news is that the processing times listed for boiling-water bath canners can usually be used with a steam canner, but there are some important conditions.
- Food will always be a hot pack: Even with foods that have a raw pack option for water bath. You need to chose the hot pack option. Hot food into hot jars into the steam canner.
- Your recommended processing time must be 45 minutes or less. (including altitude adjustments) Steam canners don’t hold a lot of water, so if your recipe goes longer than that, the water could run dry before your jars are finished. That’s not safe, and it could even damage your canner.
Not Pressure Canning
The steam canner I am referring to on this page should not be mixed up with a pressure canner. Which is sometimes referred to as a steam-pressure canner. Thus the confusion. This is NOT a pressure canner.
Two Styles
Kathy made this comment on Simply Canning’s Facebook page… and she has a great point.

The good news is, there IS a solution.
Side note – Did you know you can use a pressure canner as a water bath pot? Check here for a video on how.
There are two styles of steam canners that I am aware of.
Traditional Style
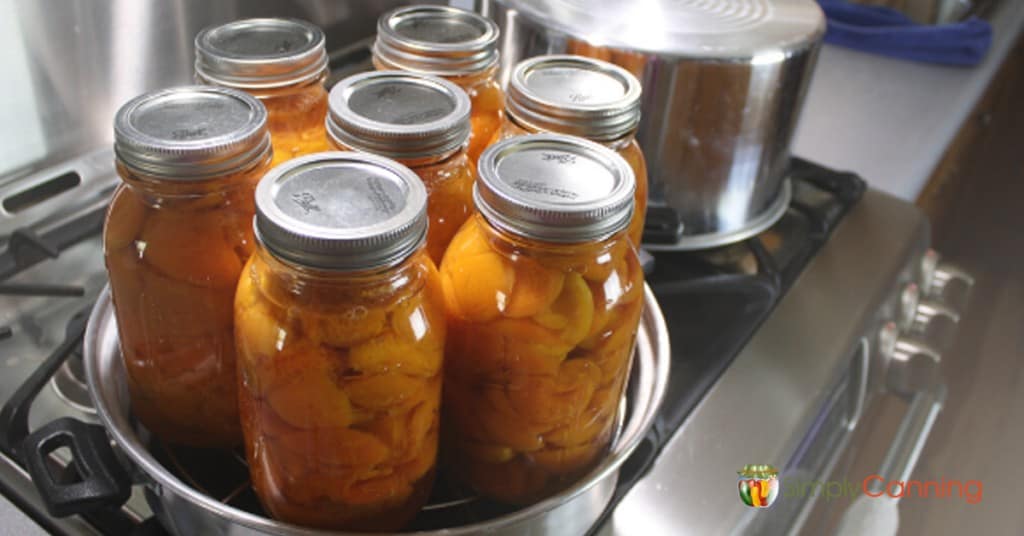
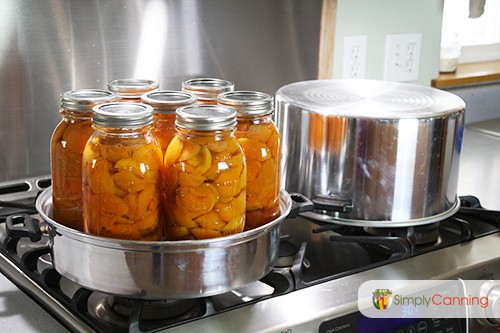
The traditional setup has a shallow pan with rack as the bottom and a deep domed lid that fits over your jars. These are inexpensive and work great.
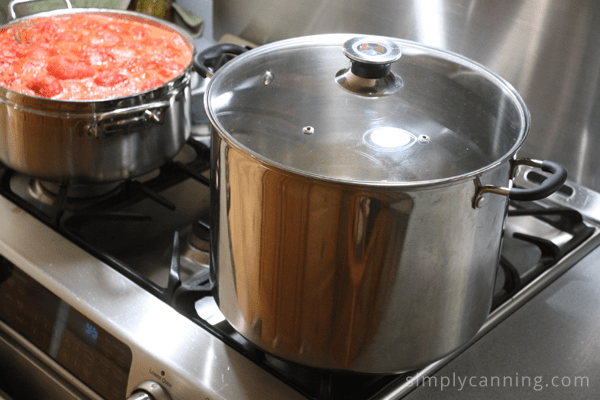
Dual Use Style
This stainless steel beauty below doubles for both. Super cool to have one pot for both uses! This is the canner that I use and love.
How Do They Work?
Steam canners are similar to water-bath. They are both used to process high acid home-canned food. However, there are some definite differences not only in how they work, but in time and ease of use.
Instead of submerging the jars in boiling water, it uses steam to heat and process them.
Is it recommended? If you have heard that steam canning is not recommended Read more here…
what is the benefit?
This point is short and sweet. and so true! You’ll use approximately a quart and a half of water when processing jars of home-canned food. Water is only a few inches in the bottom.
A water bath canner may use up to four gallons of water to fill up the canner and cover the jars. As a result home canning with steam is faster because heating a quart and a half of water obviously takes less time.
Full Steam Canner Instructions – Step by Step:
Steam Canner Instructions
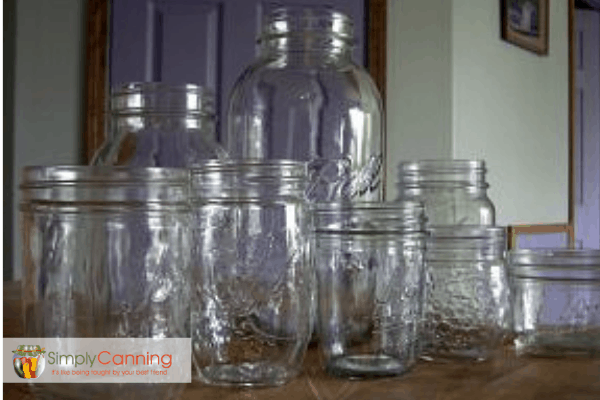
Materials
- High-acid Food fruit, jam or jelly, pickled items (any high-acid food that you want to process)
Instructions
- Place the appropriate amount of water in the base. Water will only be a few inches in the base of the pot. IT does not cover your jars. Check your canners manual. Place the cover over the base and bring water to a low boil.
- Hot pack and fill jars according to directions for that food. Set each full jar on the base to stay warm while pack- ing and filling the rest of the jars.
- When the last full jar has warmed up for 1-2 minutes, place the dome on the base and slowly (4-5 minutes) increase the temperature setting of the stove until a column of steam 8-10 inches is evident from the small holes at the base of the dome. (If you are using a canner with a thermometer in the lid watch for when the dial reaches the appropriate temperature)
- Begin timing the process. Follow the water bath canning recommendations adjusted for your altitude. Maintain the column of steam. The dome (or lid) should not bounce from the base during processing.
- When processing time is complete, turn off the stove and wait 2-3 minutes before removing the dome. Remove the dome keeping it away from your face and body to avoid burns. There will be lots of steam!
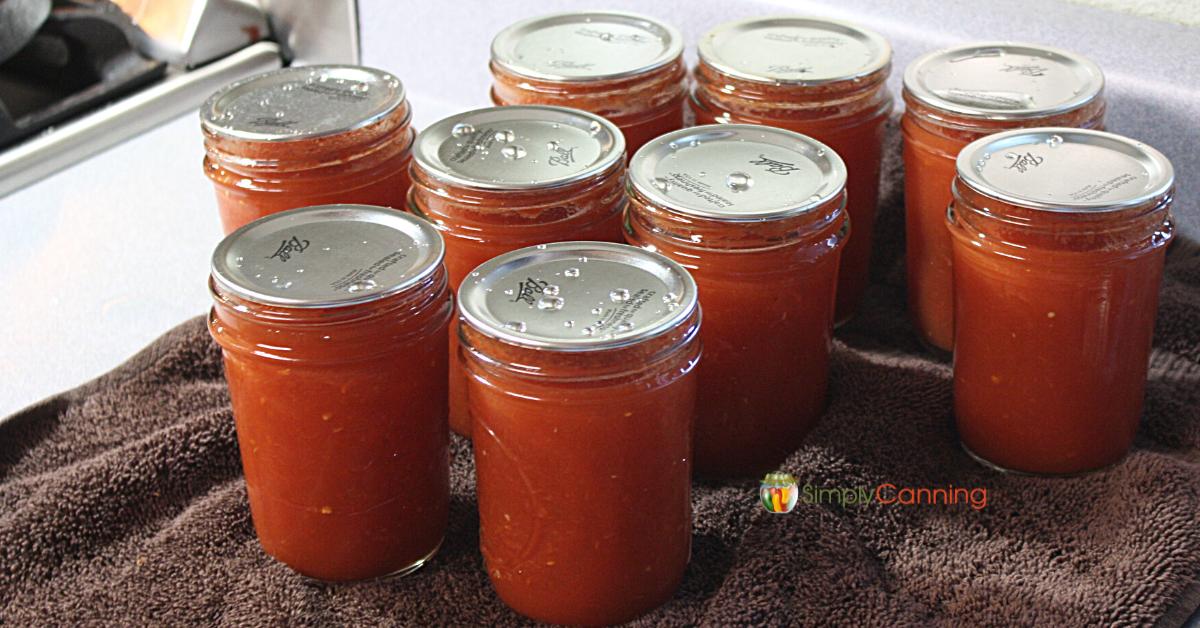
- Allow your jars to cool and seal as you would with waterbath canning. Remove metal bands and store the jars in a cool dark place.
Notes
1- Used tested recipes for any water bath appropriate food that is processed LESS than 45 minutes. 2- You must use a hot pack. 3- maintain the stream of steam throughout the processing time.
Remember
If anything needs to be processed longer than 45 minutes, steam canning isn’t recommended. There’s one simple reason: a steam canner holds much less water than a full water bath canner, even though the processing time is the same for both methods.
For some foods, the processing time can be quite long. The problem with longer times is that the canner can run dry. If that happens, your food won’t be processed safely—and you could even warp your canner. Neither is good!
If you live at a high elevation, you’ll also need to increase processing times, which can easily push you past that 45-minute mark. For those cases, it’s best to stick with a regular water bath. More on that here.
Frequently Asked Questions
Not really. Steam canners are best for high-acid foods like fruits, jams, jellies, and pickles. If you’re canning vegetables, meats, or soups, you’ll need a pressure canner to keep everything safe.
The big perks are that it uses less water, heats up faster, and is lighter to handle.
At higher elevations, some recipes will need a little extra time. If that pushes your processing past 45 minutes, it’s safer to use a traditional water bath canner instead of steam.
Yes, if you’re canning high-acid foods. A properly used steam canner heats jars. Just follow the instructions carefully and make sure you see a steady stream of steam before starting your timer.your timer.
Nope! You can use the same jars and lids. Just double-check that they’re free of chips or cracks, and follow your canner’s instructions for sealing.
Absolutely! Steam canners are very beginner-friendly for high-acid foods. The trick is to follow directions carefully, watch the steam level, and avoid foods that need long processing times. You’ll get the hang of it quickly.
Two helpful sources of information.
Utah State University PDF https://extension.usu.edu/files/publications/newsletter/No__002.pdf
Wisconsin State University PDF – https://winnebago.uwex.edu/files/2015/06/Steam-Canning-PDF1.pdf
Related Pages
Steam Canning / is it tested and safe?
Steam canning is a process where you use a steam canner (versus water bath or pressure). The debate lies between the USDA and local Extension Offices. This page goes over the testing done and answers given.
Simply Canning Newsletter
Simply Canning newsletter, monthly free articles and directions.
In your article about steam canning, when you click on the Steam Canner, it brings you to a Water Bath canner, NOT a steam canner.
What steam canner would you recommend and where to purchase it?
Thank you for your incredible and resourceful website
Hi Cyndi. I double checked the links on that post and they both lead to a canner that doubles as both a steam canner and a water bath. Sorry if that was not clear. Here is a link to a steam / water bath canner combination on Amazon.
Can I use my pressure canner as a steam canner? I would leave the weight off and just let it vent the steam.
I can not recommend doing this as it has not been tested. You’d have to know what temperatures are being reached in your canner.
I have used nothing but a steam canner the last 30 years. Never a problem. So much easier and cleaner. Love my pressure canner too.
I’m not clear on what this means: “Remember: 1- Used tested recipes for any water bath appropriate food that is processed LESS than 45 minutes. ” Could you please expand on that or clarify? Thanks!
Hi Robbin, With the steam canner there is much less water than a full waterbath. If the time needed for processing is longer than 45 minutes, there is a risk of running the canner dry. That would not be a good thing for your food (it would be under processed) or the canner (it might warp.). Thanks for asking I’ll try to clarify that in the article above.
I haven’t canned anything yet but reading about the steam canner vs water bath and pressure. One of my interests is to can tomato sauce and salsa…can that be done in a steam canner?
Hi Kari, One of the conditions of using a steam canner is that the processing time must be 45 minutes or less including any altitude adjustments. So it really depends on the recipe you are using and your altitude. In my case, I live at a high altitude which requires added time and some tomato directions for me require 45 minutes or more. Some recipes I can steam canner, some I can not. So check your directions and processing time.