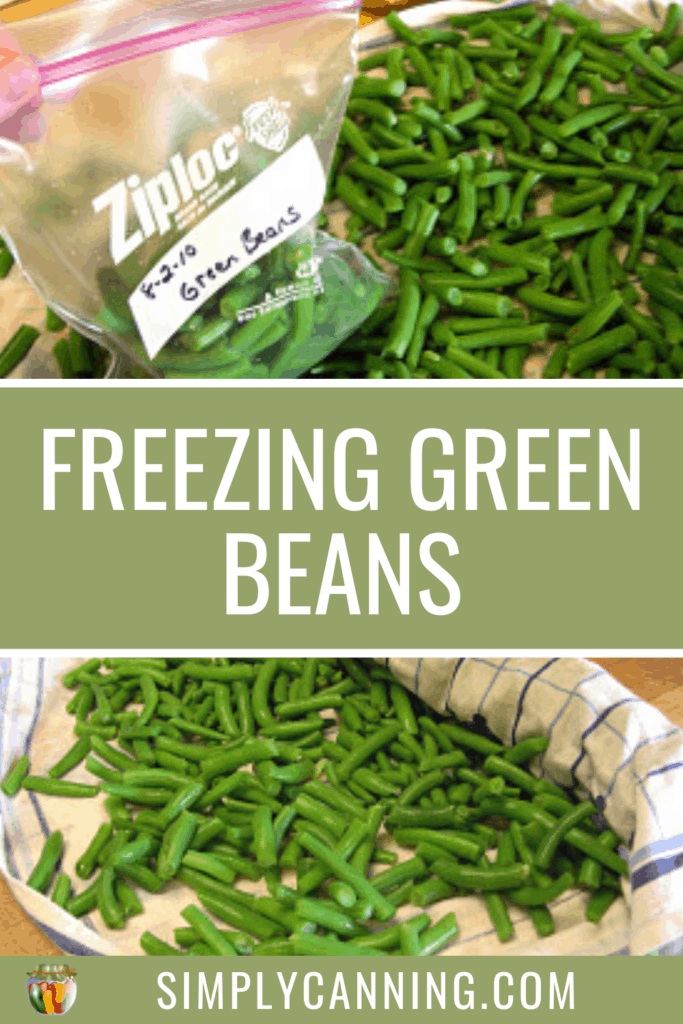
Freezing Green Beans
This page may contain affiliate links. More Information.
So I’m going to put two question about freezing green beans right here at the top. I usually have a question and answer section after I give instructions but this is the top number one question when we start talking about freezing green beans.
Why do you need to blanch green beans before blanching?
Blanching helps maintain vitamins and reduces the actions of enzymes. Enzymes is what breaks down food as it ages. Freezing slows that and will help your green beans stay fresh longer in the freezer.
What happens if I don’t blanch green beans before freezing?
Uhm… not much of anything horrible. 🙂 You’ll just have green beans that have not been blanched. I have not tested this myself but lots and lots of people insist that not blanching green beans before freezing is the better option. There is no safety issue involved so my perspective is: try it. See what you like better. It is a quality issue. Blanching has worked for me.
Freezing green beans picked fresh from the garden is a great way to preserve them. Bush beans or pole beans are all treated the same. This page explains how to freeze green beans of all types, including yellow beans.
If you’d rather can fresh green beans, find canning green beans instructions on this page. But many people don’t like the texture of canned green beans. Green beans that have been frozen will still have a little crunch to them. Some folks just don’t care for the softer texture of many vegetables with home canning. Freezing gives them the taste and texture they like.
Freezing Green Beans: Step-By-Step Directions
- Pick
- Snap
- Blanch
- Pat dry
- Bag or put in container.
- Mark the bag
- Freeze
It’s that easy. 🙂
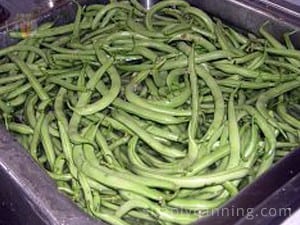
Picking
If you are picking your own green beans you should get out in the morning when they will be at their peak and the crispest. Pick young pods that have not had their seeds develop fully. Look for about the thickness of a pencil is what I always tell my boys. After picking, Put them all in a large bowl or pot and give a rinse in clean cold water.
If you are buying green beans you should also try to get out early to the farmers market or where ever you buy. Make sure you know when the beans were picked. If they have been sitting around for a couple days they won’t be as fresh and nice. It will still work but the fresher you can get your beans the better.
Prepare your green beans for freezing. Snap!
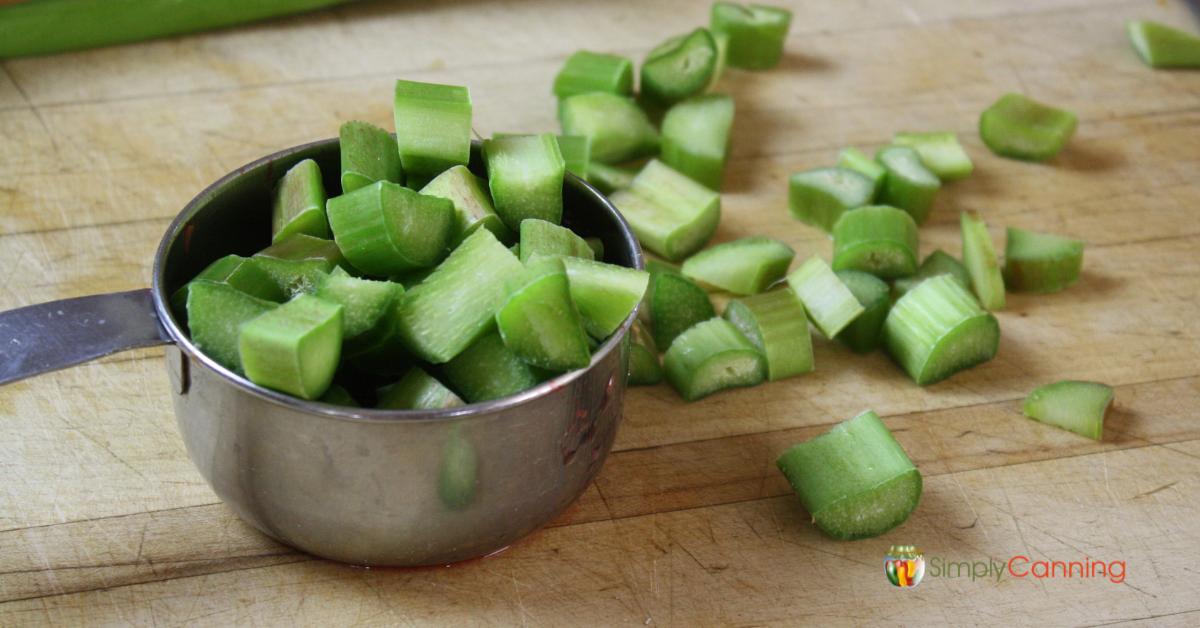
Snap the beans into the size you’d prefer. This simply means break off the ends and break into pieces 2 inches or longer. I usually break off both ends and this is what I taught my sons to do but you can just break off the stem end if you prefer. The other end is fine the way it is. You just don’t want stem pieces in your jars.
Traditionally this should be done just with your hands…but when you are snapping several 5 gallon buckets full of beans, your fingers can get sore! You can use a sharp knife if you prefer. My boys used to grab scissors. Hey, if they are doing it…whatever works!
When canning green beans, they fit in the jars better when shorter, but for freezing, you can leave them long if you’d like.
Random Interesting Fact One year we purchased green beans from some folks down the road. She called it “snitting beans” instead of “snapping beans.” I’ve never heard this term…I wonder how many different terms there are for this?
Blanching
Blanching is actually a super easy step. If you really really don’t want to. Just skip this. I blanch my green beans. Every extension office I’ve checked says blanching makes the beans last longer in the freezer. You choose.
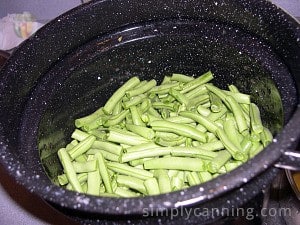
To blanch, simply bring a large pot of water to a full boil. Put green beans in a blancher or some kind of a wire basket. Dip them into the boiling water. Start counting your time immediately.
You want to try to have enough water that the boil doesn’t stop when you dunk your beans. Honestly, the water usually stops boiling hard for me…but I try to keep it as hot as possible. If the water doesn’t come back to a boil fairly quickly, you either need more water or less beans in each batch.
Be sure and allow the water to come back to a boil between each batch. As the beans blanch, the color will become a brighter beautiful green.
Blanch for 3 minutes.
When the time is up, remove the beans from the hot water. Cool them right away in a pot of cold or iced water. This ice bath stops the cooking. Stir gently during the cooling process to keep the water from getting hot spots. If the beans warm the water up, add some ice, or drain and add more cold water.
I have seen it recommended that you place the whole basket with the green beans into the cold water, but I prefer to dump just the food. You need to keep the water as cold as possible, and the blancher will only add more heat.
Leave your green beans in the cold water at least 3 minutes.
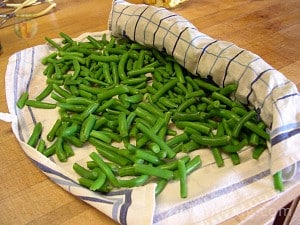
Dry
After the green beans have cooled, drain well. Pat dry or roll gently in a tea towel to dry. If you have a salad spinner, it will work well too. The beans don’t need to be completely dry but you don’t want them drippy wet. They will last longer if you remove the moisture.
How to Freeze Green Beans
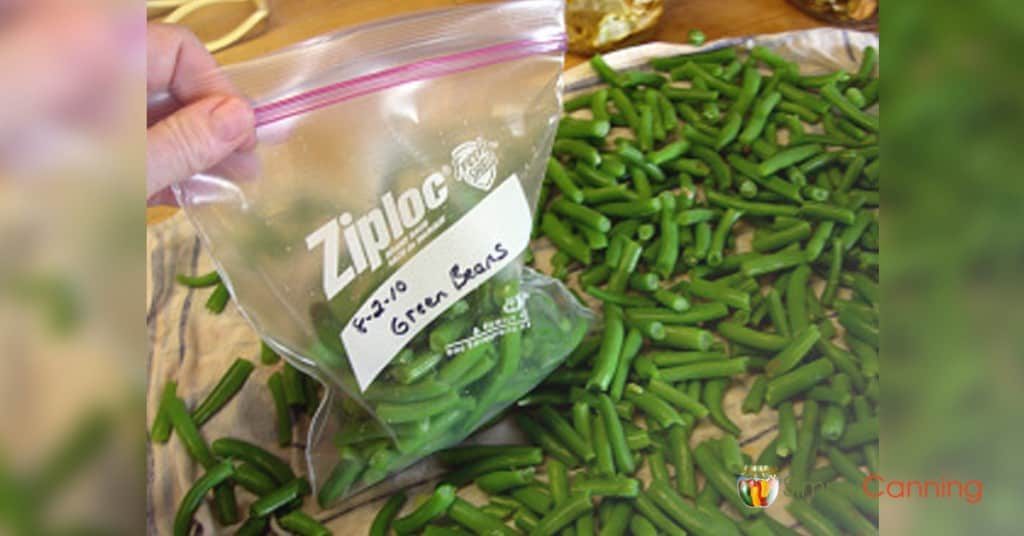
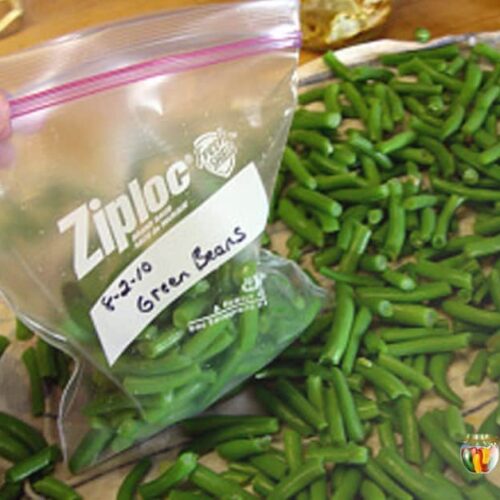
Pack into freezer bags, freezer boxes or other freezer container. My favorite is quart-size freezer bags. But bigger or smaller works as well. If you have a vacuum sealer use it! This will help get all the air out and make the beans last longer.
I’ve even read that folks will suck air out of the bags with a straw. I think it would work! A friend of mine sent me a picture of her husband sucking air out with a straw when they were freezing corn. I said can I post that!?! haha, Nope he’d kill her. (Not really! It’s just a saying.) If you’ve got lots of air or just a few bags to work on, try it.
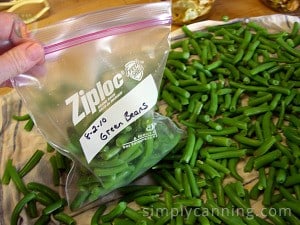
Label your freezer containers and put into the freezer. If you use freezer bags, remove as much air as possible.
When you are putting your bags into the freezer, place them in a single flat layer until they are completely frozen. Then you can rearrange and stack things more conveniently.
This allows the packages to freeze as quickly as possible. If you stack several bags on top of each other before freezing, the layers in the middle will take much longer to freeze.
If you use gallon size bags don’t over fill them. Lay them flat when you put them in the freezer. Then when you take the bag out you’ll be able to break up the frozen chunks and take out just what you need for dinner.
Recipe Card
Freezing Green Beans
Equipment
- Freezer Bags or containers
- Blancher or basket
Ingredients
- Green Beans
- Water
- Ice
Instructions
- Wash fresh beans in cold water.
- Snap beans into desired sizes.
- Bring a pot of water to a boil.
- Dip beans into boiling water for 3 minutes.
- Immediately remove beans to a pot of cold water for 3 minutes.
- Drain/dry beans.
- Place in freezer bags/containers.
- Remove air, seal, and label.
- Freeze.
Question and Answers
If you’ve got leftover green beans from dinner you can freeze them just as easily. Don’t blanch them as they have already been cooked. Just package them like you would blanched green beans. Put them in freezer containers, mark them with the date and put them in the freezer.
Oh that’s easy! Usually you don’t even need to thaw first.
Add them to casseroles, stir fry, soups or stews. Put them in a small saucepan and simmer to the texture you like. Add salt and butter to taste and eat! So simple and so good.
Or roast them in the oven by spreading them out in a single layer on a baking sheet. Spritz with some olive oil, add seasonings and pressed garlic. Toss until the green beans are coated and roast at 450 for 12 minutes or so. You could also use bacon grease instead of olive oil for this. The flavor of the bacon grease is such a great combo with the green beans.
Then there is the traditional Thanksgiving green bean casserole.
Click here to learn more about canning green beans.
Related Pages
Canning Green Beans
Dehydrating Green Beans
Dilly Beans

Water Bath Canning Green Beans?
Pin This to Find Later!
Page last updated: 6/3/2021
Absolutely the best short and to the point version throughout recipes in your blog.
Thank you soooo much! You answered all of my questions in one read 🙂
I am grateful for the ideas of leftover beans!
Wishing you pace and prosperity. Thanks again 🙂
Aw thanks!