How to Freeze Apples for Apple Pie
This page may contain affiliate links. More Information.
Freezing apples to use for Apple Pie later is one of my favorite ways to preserve apples. I love apple pie but don’t always feel like making the mess it involves.
With this method I’m basically making the pie filling and freezing it so later all I have to do is pop it in a crust and bake. It is a pretty handy trick! I’ll also go over how to just freeze the apples without the pie plate.
If you want even more recipes and tutorials on how to preserve apples check here. We include methods for canning, dehydrating, freezing, making jelly, and using helpful tools.
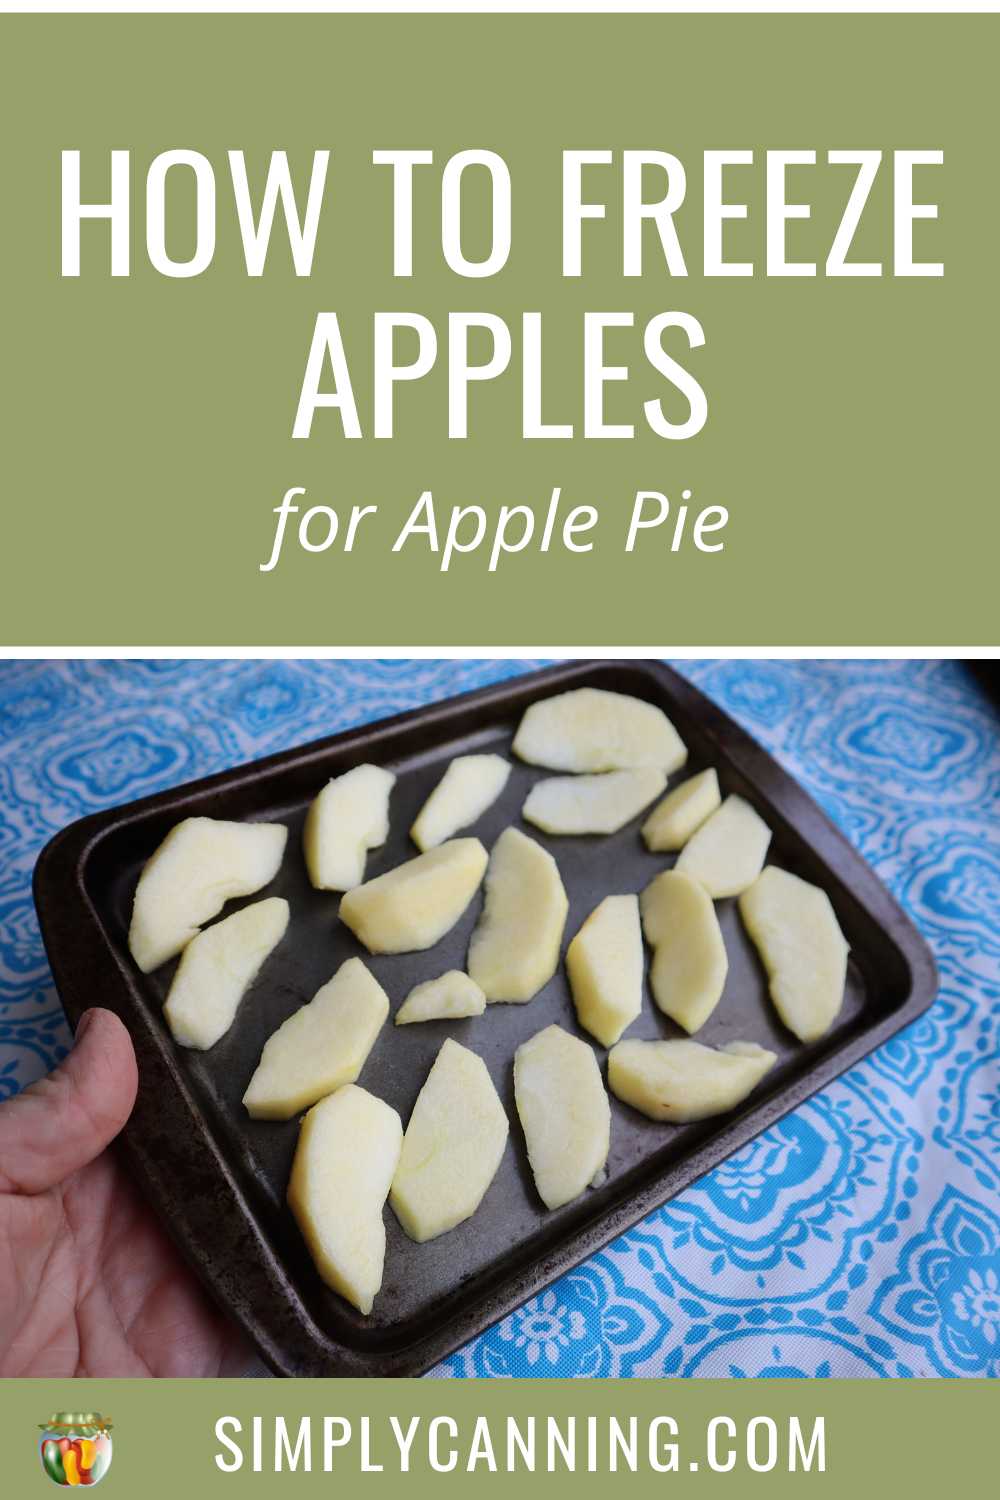
Learn how to freeze apples for pie to bake later. Homemade convenience food!
You can dehydrate, can, make applesauce, you can freeze apples plain, but put it in a pie plate and have it oven ready… it’s a dream!

Freezing apples for Making Pie. Step by step directions.
With this method I’m basically making the pie filling and freezing it so later all I have to do is pop it in a crust and bake. It is a pretty handy trick!
You will need:
- aluminum foil
- pie pan
- fruit preserver or lemon juice
- freezer bags, or wrap
- apples
- sugar – optional
If freezing apples for pie, you’ll also need the following ingredients per pie:
- 1/2 cup sugar
- 1/2 tsp. cinnamon
- 3 Tbsp. flour
- Dash of salt
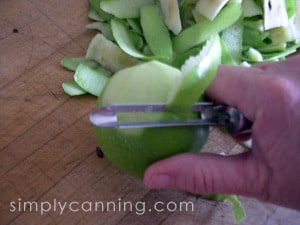
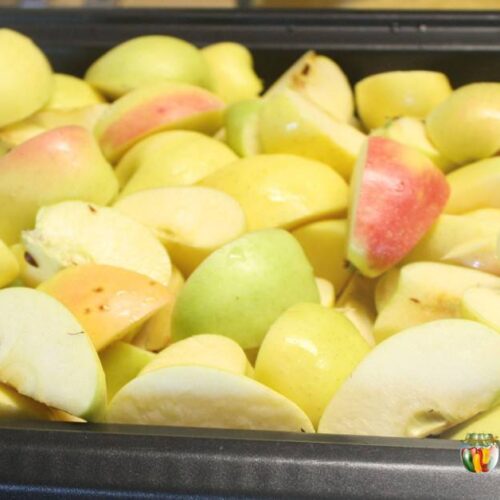
First, peel and slice your apples. Make apple pie-sized chunks. You could use an apple peeler corer slicer, but I prefer a bit chunkier apple in my pie so I just do it by hand.
Save the cores and peels for the mulch pile or bury them in the garden…the worms will love you!
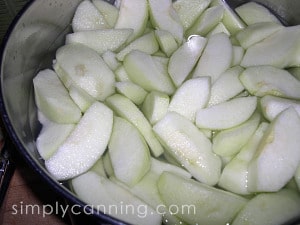
As you peel each apple, slice them directly into a salt water soak. I used to use a lemon juice water, but since I tried the salt water I do prefer it. There are actually several ways to prevent the browning of your apples. If you look at my post on how to freeze apples I detail other methods there. Any will work… in my opinion salt water works best and is my preference.

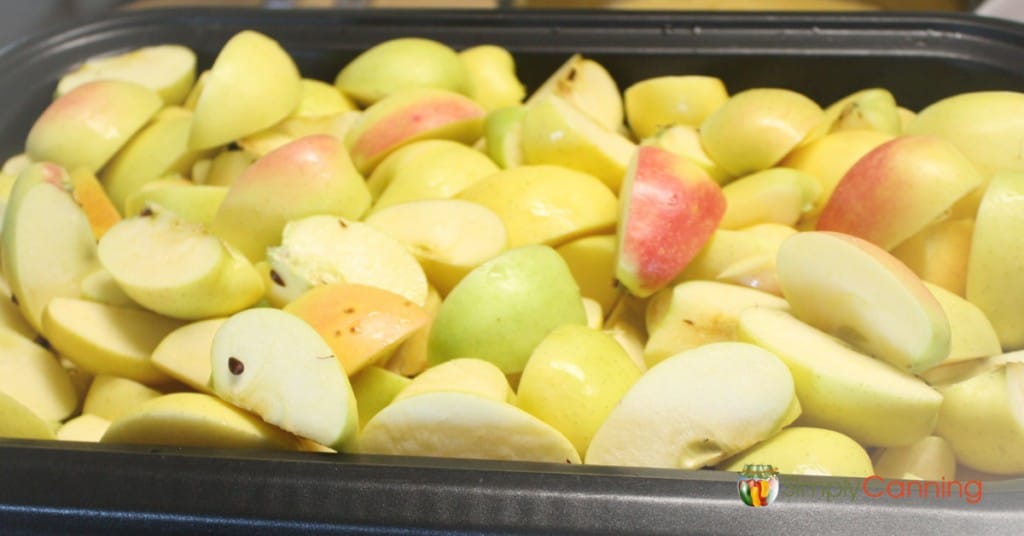
When you think you have enough apples for a pie, go ahead and place the apples in the pie plate just as if you were making a pie. I’d estimate about 5 cups. But your pie plate will vary.
Err on the side of too much! Go ahead and press them down and really pack them in. Pile them a bit so you will have lots of apples for you pie when you bake it.
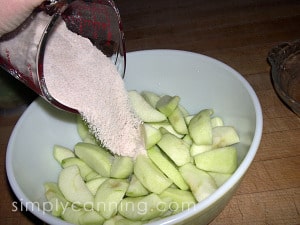
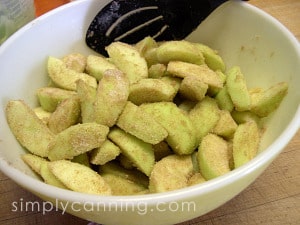
Take these apples and place them in a large bowl. Combine ½ cup sugar, ½ tsp. cinnamon, 3 Tbsp flour, dash of salt. (the salt makes it! don’t skip it.) Pour this over your apples. and mix well.
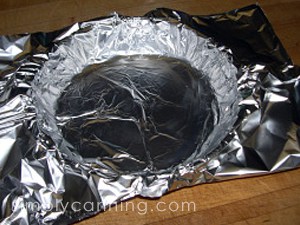
Place an oversized piece of foil into your pie pan. You want enough overlap to be able to fold the foil over the apples when you fill your pan again.
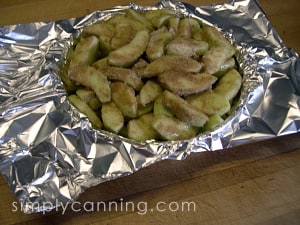
Pour your apples and flour/sugar mixture into the foil-lined pie pan.
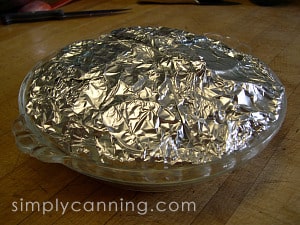
Fold your foil over and cover thoroughly. Place the whole pan in the freezer.
Tomorrow, when the apples are frozen, remove the foil package and place it in a large freezer bag. You could also wrap it in freezer paper.
Remove as much air as possible. Seal, label, and date. You’ll still have your pie pan available in the mean time and the apples will be just right to pop back into the same pan with the crust.
Can you freeze a whole unbaked apple pie including the crust?
If you want to freeze a whole pie with the crust you can do that too.
Make your pie up until the point of baking.
- Make the crust, line the bottom of your pie plate with the bottom crust.
- Make the filling (apples, sugar cinnamon mixture just like above) and add it to your bottom crust.
- Include butter on top of apples
- Cover with top crust – with slits cut into it.
- Wrap the entire pie (pie plate included) in saran wrap, then foil or a large freezer bag.
- Pop in the freezer and freeze.
Cook this whole frozen pie the same way I direct in the recipe below.
How to Bake the Frozen Pie
You now have pie-shaped apples to place in a crust and bake. When you are ready to make your pie, remove all the foil and place frozen apple pie filling in a crust-lined pie plate. Dot with 2 Tbsp. butter and cover with top crust. Cut some slits in your top crust.
Should I thaw the pie first before baking?
Cook from frozen! Do not let the apples thaw first. I’ve been told that if you let the apples thaw, they release more liquid and will make a soggy crust.
Be warned: Don’t forget pie baking rule #1:
Place some foil, a baking sheet, or something under your pie to catch the drippings. I like to reuse the foil I just removed from the pie. I put it on the rack below the rack the pie is on. It doesn’t have to be laid out all pretty. Just enough to catch the overflow that is likely to happen.
So you’ll have a pie on the rack in the oven, with a piece of foil covering it loosely. Then you’ll have foil (or other pan) on the rack underneath to catch the juicy overflow.
You’ll find specific baking instructions below in the recipe card. You want to start very hot… then lower the heat a bit to finish cooking. Doing it this way the crust does not get soggy.
I found this pie to get very bubbly! Watch the bubbly juices. They will be very runny at first and will probably overflow (thus pie baking rule #1). As it cooks, the juices will get thicker.
Remove the top foil about 10 minutes or so before you will take the pie out. Don’t take the dripping catching foil away until you are done cooking or you’ll have to clean your oven.
When juice is getting bubbly and thick through the slits and the crust is lightly browned, the pie is done!
Cooking Pie from the Freezer Video
This video is for cooking a pie that you’ve frozen in the crust. (opens in you tube) I was baking a pie I had in the freezer and decided to do a quick video. You’ll see my most important point… Don’t thaw first!
Tricks for cooking pies from the freezer:
- Do NOT thaw the pie before baking. It must go into the oven frozen. Otherwise, it will end up soggy.
- Preheat oven to 450 degrees F. Pull the pie directly from the freezer. IF you’ve used anything but foil to wrap your pie… remove it first! We don’t want melted plastic wrap.
- I do cover the top of the pie with foil to prevent over browning.
- Bake for 15 minutes.
- Turn temp down to 375 degrees and bake for another 15 minutes.
- Remove foil and finish baking (45-50 minutes, depending on your pie).
- When the pie is bubbly and the crust is brown, it’s done. Watch your crusts, because the crust will sometimes brown too much before the middle is done. If you have a pie ring (you can substitute foil), put it on the pie for the last 10 minutes to protect the edge pieces of crust.
Freezing Apples FAQ
Any type of apples can be frozen, but a good pie apple will be a crisp variety and somewhat tart.
My personal favorite for pie is Granny Smith, since they are tart and crispy. Jona-Gold is a cross between the Jonathan and Golden Delicious apples. The Jonathan is crispy and the Golden Delicious gives it that good, sweet flavor.
Since I’m thrifty, I always look for seconds. I live where there are a lot of orchards and it seems like every year these orchards will have seconds (meaning less-than-perfect apples that are still good) that they sell inexpensively.
Sometimes, I luck out and get free boxes from people who simply have too much and would rather give it away than see it go to waste. 🙂
Frozen apples will last about a year in the freezer when properly packaged. The better the packaging, the longer it will resist freezer burn.
I’ve never kept them that long though, as we always eat them up over the winter. This is a quality issue, because after that first year, the apples may get soft or freezer burned.
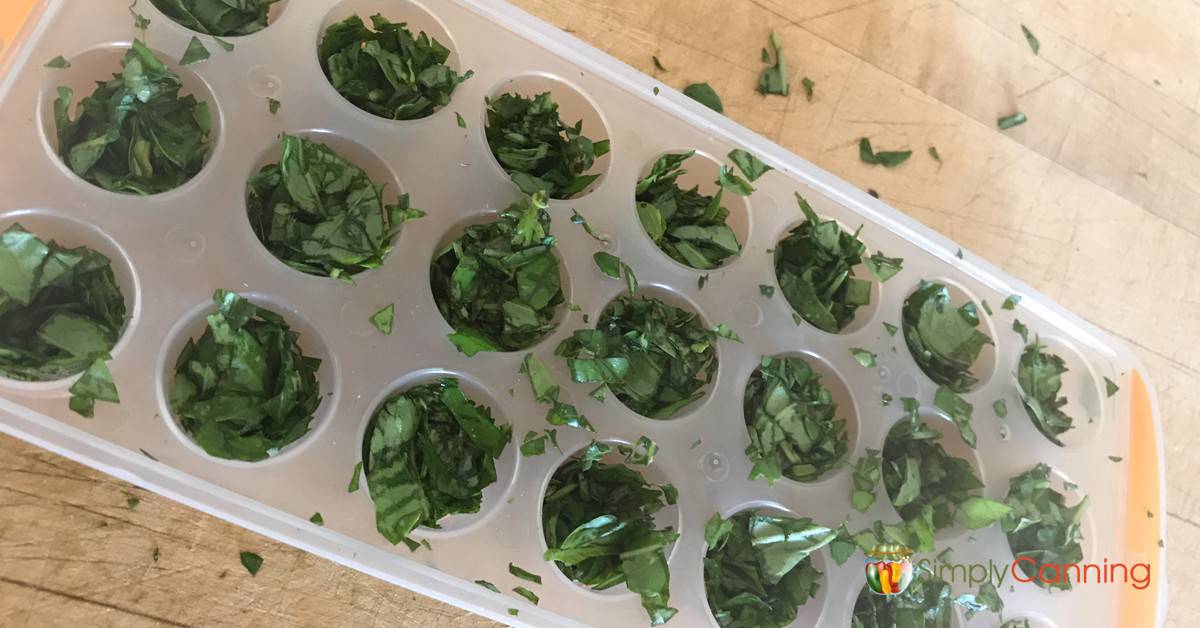
In addition to making apple pie, you can use the same method I used above to freeze just the apples then use those for making cobbler. In that case you don’t need to put them in a pie plate to keep the form. Just prepare your apples and put them in a freezer bag.
You can also just sprinkle on some sugar and cinnamon and heat it up in the oven for a nice, simple dessert.
Recipe Card
Freezing Apples for Apple Pie
Equipment
- Apple Peeler Corer Slicer optional
- Sharp Knife for peeling & slicing apples
- Large Bowl to mix apples & cinnamon mixture
Ingredients
Instructions
Freezing Apples for Pie Filling
- Peel, core and slice apples into a salt water soak. About 2 teaspoon salt dissolved in 1 quart water. This will prevent browning apples.
- When all apples are sliced let them soak about 5 minutes and drain well.
- Place apples in your pie plate to be sure you have the right amount. Pack them in and mound them up. I like lots of apples in my apple pie!
- Remove these apples to a bowl, add sugar cinnamon mixture and mix to coat. ½ cup sugar, ½ tsp. cinnamon, 3 Tbsp flour, Dash of salt
- Lay an oversized piece of foil in your pie plate. You want enough to wrap around all of the apple filling.
- Put the apples back into your foil lined pie plate. Include all the sugar mixture. Wrap the foil sides up and around the pie filling. If needed add another layer of foil to be sure it is all covered.
- Place the pie plate and contents in the freezer and allow to freeze.
- When it is frozen take the foil wrapped pie filling out of the pie plate and place in freezer bag or wrap in freezer paper.
- Remove air, seal, and label. Put back in the freezer for later baking.
Baking the Pie
- Preheat oven to 450 degrees F (Do this before you take your pie out of the freezer. You are cooking the pie filling from frozen.)
- Make your crust. Unwrap your frozen pie filling and place it in the bottom crust, add 2T butter spread across the top. (just scatter some pieces)
- Add top crust, pinch down edges to seal and cut some slits in the top.
- Cover just the the top of the pie with foil to prevent over browning.
- Bake for 15 minutes at 450. Turn temperature down to 375 degrees and bake for another 15 minutes.
- Remove foil and finish baking (45-50 minutes)
- When the pie is bubbly and the crust is brown, it’s done.
Notes
Related Pages
How to Freeze Apples

Freezing Cherries

Freezing Bananas

Pin This to Find Later:
Page last updated: 6/3/2021
gonna freeze apples like you said but not for a pie, for apple dumplings with Mountain Dew and for fried pies
Can a crumble top be used rather than a pie dough top?
Sure, I haven’t tried it but I don’t see why not.
Sure, I have not tried it but I don’t see why not.
Please do not call aluminum foil tin foil. Two distinct products.
Oh sorry, you are right. My momma called it tin foil growing up so that is my habit.🤷♀️
I’ve always called aluminum foil, “foil” & l say call it whatever you’d like. Thanks for a great recipe, a neighbor gifted us with a bag of granny smith apples 😁
This information is very succinct and helpful.
Thank you, I thought putting my first crop of apples would be hard. As I picked them, I thought do you really want to do all this work for an apple pie.