Canning Tomatoes in a Water Bath Canner
This page may contain affiliate links. More Information.
Water bath canning tomatoes is a simple way preserve fresh tomatoes at home — no pressure canner required. In this step-by-step guide, I’ll show you exactly how to prepare tomatoes, fill your jars, and safely process them using a boiling water bath. Processing times, altitude adjustments, and beginner tips are all included.
If you are new to canning, tomatoes are one of the best places to start.
The process is straightforward, and once you’ve done a batch, you’ll see just how easy it can be.
The article below focuses on a recipe for water bath canning tomatoes. It also includes a video guide for those who like to see what is going on. Skip down to Video : Canning Tomatoes Water Bath
Water Bath vs Pressure Canning Tomatoes
Can you safely can tomatoes in a water bath?
Yes. Tomatoes can be safely processed in a boiling water bath canner. No pressure canner needed.
Tomatoes can also be canned in a pressure canner. The preparation steps are the same — only the processing method changes. If you prefer see my guide to pressure canning tomatoes.
How Long Do You Water Bath Tomatoes?
Tomatoes are processed in a water bath for 85–100 minutes depending on your altitude. (more in the recipe below) This may seem long but remember, this is for raw packed tomatoes packed in their own juice. Other recipes add water, or it will be a hot pack which creates more of a sauce. For those types of recipes the processing time will be different. Often shorter. My preference is nothing but tomatoes in my jars.
A hot water bath is for plain canned tomatoes. This would not include things like spaghetti sauce, or stewed tomatoes. Anything with added vegetables or meats need to be processed in a pressure canner. – you can find a list of tomato recipes on SimplyCanning here.
How to Can Tomatoes in a Water Bath Canner
Equipment and Ingredients
- Water bath canner: A large pot filled with water.
- Canning tools: Funnel, rings, lids, magnetic wand, bubble tool.
- Canning jars. Pints or quarts is fine.
- Salt (optional)
- Lemon juice (a must for acidity).
- Tomatoes – approximately 22 pounds will fill 7 quarts or 14 pounds will fill 9 pint jars.
before you start.
You’ll want your canner ready for the jars. So go ahead and add water. Fill the pot around half way full maybe a little more. The goal is to have enough water so when the filled jars are added the water will cover the jars. Have some extra hot water ready so you can add if needed. As you do more canning you’ll get used to knowing about how much water to start with.
Turn on the heat for your canner as you work on blanching and filling jars. The goal is for the canner to be hot but not boiling when you are putting in your filled jars.
You’ll also want hot jars to fill. Your best bet?? Heat the jars right in the canner. I place my empty jars upside down on the canner rack and keep it above the water. This heats the jars as your canner heats. You can see how to use a water bath canner for details on how to do this.
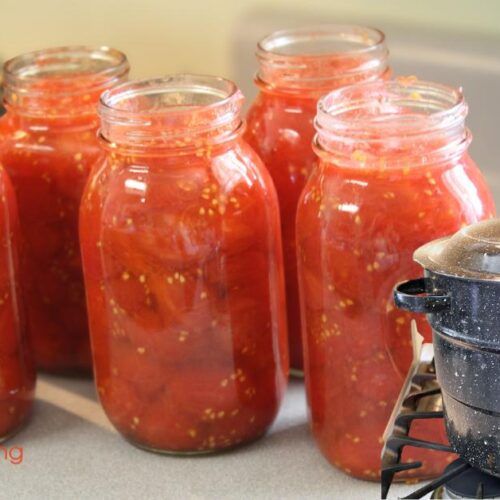
This is the goal… filled hot jars, going into a hot canner.
Preparing your tomatoes for canning.
Do You Have to Peel Tomatoes?
You’ll need to peel your tomatoes. (I can hear it now… Do you really need to peel? Yes. Bacteria ride on your tomato peels. All tested instructions have assumed that you peeled the tomatoes. If you don’t peel you changed the process.)
How to Blanch and Peel Tomatoes
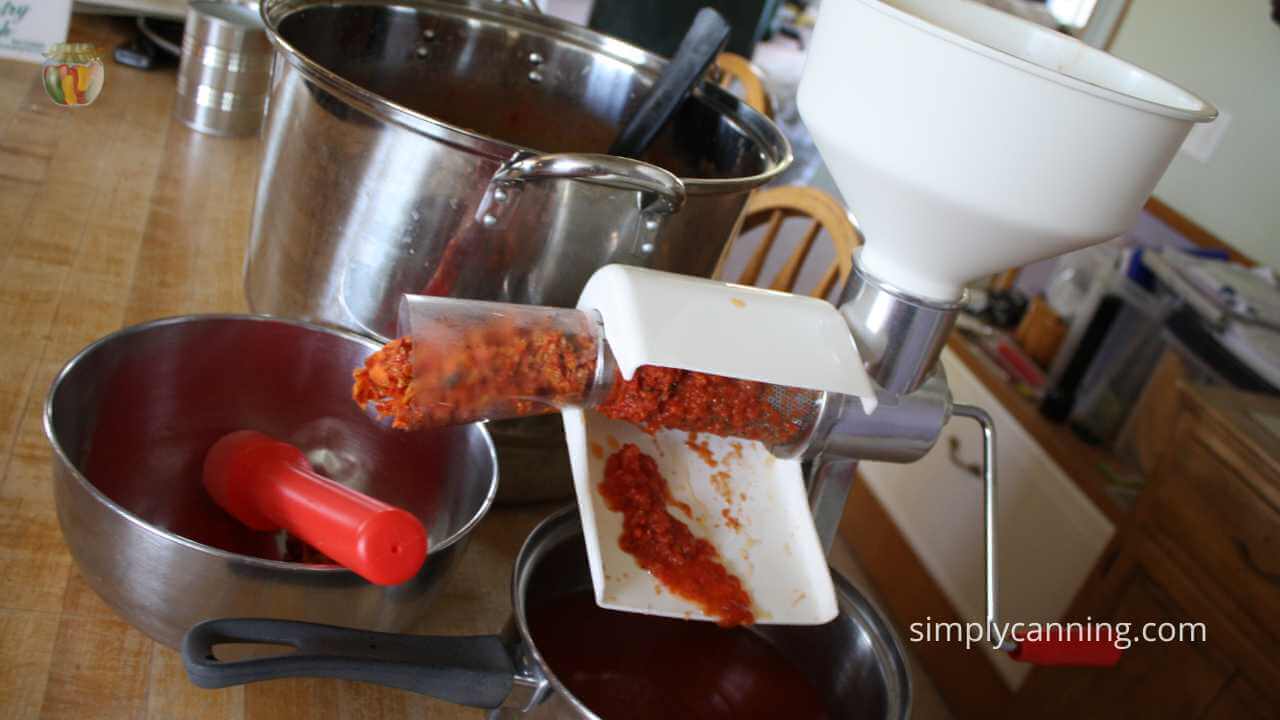
- This is the basket I use for blanching. It is a Polder Brand Basket.
- You can also use an inexpensive blancher like this one.
- But you can also just keep it simple and use a slotted spoon and pot of boiling water.
I’ve got a full tutorial here on how to blanch and peel tomatoes, but the main steps are:
- Place the tomatoes in a strainer or basket.
- Dip them in boiling water for about 1 minute, sometimes a little more. Just until the skins start to split.
- Immediately transfer the tomatoes to a bowl of cold water to cool.
- Once cooled, the skins should slip right off. I then drop the peeled tomatoes right in a jar.
Do you have to add Lemon Juice when Canning Tomatoes?
You should always add lemon juice when you are canning tomatoes. In either a water bath or a pressure canner, current methods have all been tested with added acidity. If you change the process the testing does not apply and you are taking a risk.
It’s all about the acidity. The PH of tomatoes are on the borderline of safety. Bumping the acidity levels a bit can be done with lemon juice, vinegar, or citric acid.
I know you’ll read many opinions on this and that’s ok. My suggestion is… it’s not hard, just add the acidity. Better safe.
Step by Step water bath canning tomatoes
With your jars warm and ready, you can start filling them as you blanch the tomatoes. Here’s what I do:
1. Remove a jar from the canner
- Add lemon juice: 1 tablespoon per pint, 2 tablespoons per quart. (not optional)
- Add canning salt: 1/2 teaspoon per pint, 1 teaspoon per quart. (salt is optional)
Tip: If you forget to add your lemon juice and salt first, no problem it can also be added after the tomatoes. Its just easier to maintain that correct headspace if you add them first.
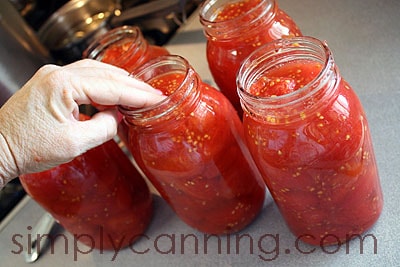
2. Place tomatoes in jars as you blanch and peel.
Press the tomatoes down to remove air pockets and fill the jars with tomato juices. There is no added water to the jars! Just tomatoes in their own juice. If you add water you will need to process differently.
3. Leave headspace of ½ inch.
(headspace is the space between tomatoes and the lid)
4. Remove air bubbles with your bubble tool.
This just means slide a small plastic utensil down into the jar around all the sides and move things around to release any air that might be trapped. Check your headspace again to be sure it is still accurate.
5. Wipe the rims clean.
If there is tomato residue on the rims it might interfere with the seal.
6. Place the lids on, and screw on the rings.
That jar is now ready for the canner.
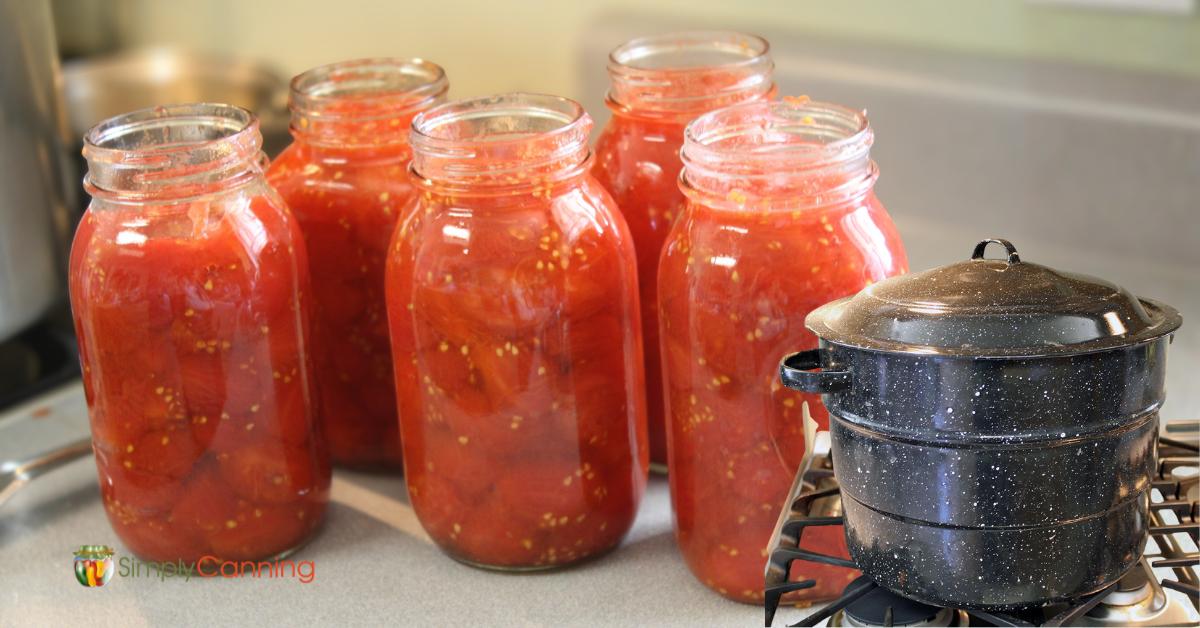
As you fill the jars, place the filled jar into your (hot not boiling) water bath canner. The rack can be up out of the water.
7. Process according to your altitude.
When the rack is full, lower it into the hot water. Make sure the water covers the tops of the jars by about 2 inches. Add hot water if needed.
Cover and bring the water to a boil. When a rolling boil is reached start your time. With water bath canning your time will vary according to your elevation.
Process both pints or quarts for the same amount of time. Use the chart below according to your altitude. (printable version in the recipe card below) This altitude adjustments page has more in why this is needed.
- 0-1,000 feet – 85 minutes
- 1,001-3,000 feet – 90 minutes
- 3,001-6,000 feet – 95 minutes
- 6,001 and up – 100 minutes
Once processing is complete:
- Turn off the heat and let the canner rest for 5–10 minutes.
- Carefully remove the lid, then rest the jars for another 5 minutes.
- Lift the jars out and let them cool completely on the counter.
This gradual cooling reduces the chance of liquid from being pushed out. This is called siphoning, or just liquid loss.
And that’s it! Your homemade canned tomatoes are ready to store for later enjoying in your favorite recipes!
Water Bath Canning Tomatoes: Full Video Tutorial
A Few of the Tools I Used in the Video:
Frequently Asked Questions
Yes, tomatoes can be processed in a water bath canner.
No, Tomatoes can be pressure canned but it is not required. There are tested instructions for both water bath and pressure canning tomatoes.
Yes it is fine to raw pack tomatoes. Just be sure you also process them in a canner. Raw pack just refers to how the jars are packed, not how they are processed. Sometimes people get this terminology mixed up.
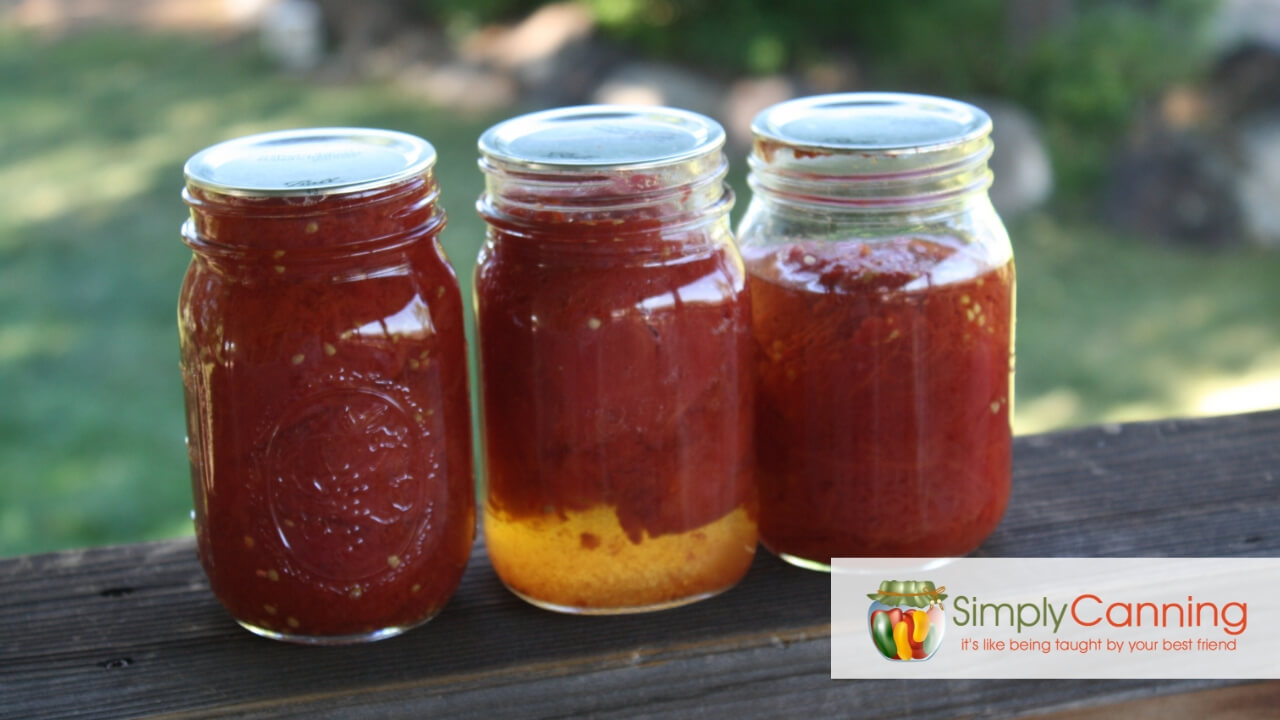
Floating tomatoes is common with raw pack. It is not dangerous. It is just a separation in the jar. I’ve got more on why this might happen on this post about avoiding common tomato canning issues.
Here is a list of all my canning tomatoes posts. Many recipes and some tips articles that might be helpful.
Recipe Card
Canning Tomatoes in a Water Bath
Equipment
Ingredients
- Tomatoes
- Canning Salt optional
- Lemon Juice or citric acid
Instructions
- Start by preparing jars and getting water in the canner heating. You want the canner hot, but not boiling, when the jars are ready to be processed.See full water bath canning instructions here. This includes more detailed information and step-by-step instructions on setting up and using a water bath canner.
Raw Pack Only
- Peel tomatoes by blanching.
- Halve or quarter tomatoes if needed to pack jars. (You can leave small or roma tomatoes whole.)
- Add lemon juice to hot jar before filling. 2 Tbsp. per quart or 1 Tbsp. per pint. (For citric acid follow the directions on the package.)
- If desired, add canning salt (1 tsp. per quart or 1/2 tsp. per pint).
- Pack peeled tomatoes into jar, pressing down to fill space with juice. Do not add water.
- Leave 1/2” headspace.
- Remove air bubbles, wipe the rim clean, and place seal and ring.
- Place jar on the rack in the warm canner. Proceed to fill all jars. When all jars are filled lower the rack into the water and cover. Add water if needed to be sure that all are covered by 2 inches of water.
Processing in a Water Bath Canner
- Bring the water in the canner to a boil. When a boil is reached, that is when you'll start your timing. Process for the length of time on the chart below. Adjust for your altitude.
- After your time is over, turn the heat off, remove the lid, and allow the canner to rest for about 5 minutes.
- Then bring your jars up out of the water. Allow them to rest for another 5 minutes.
- Then remove the jars and place them a few inches apart on a thick towel to cool completely. Leave them alone for about 12 hours.
- When they are cooled remove the metal bands, check the seals, label the jars and store them away!
Notes
(pints and quarts are processed the same amount of time)
- 0-1,000 ft – 85 minutes
- 1,001-3,000 ft – 90 minutes
- 3,001-6,000 ft – 95 minutes
- Above 6,000 ft – 100 minutes