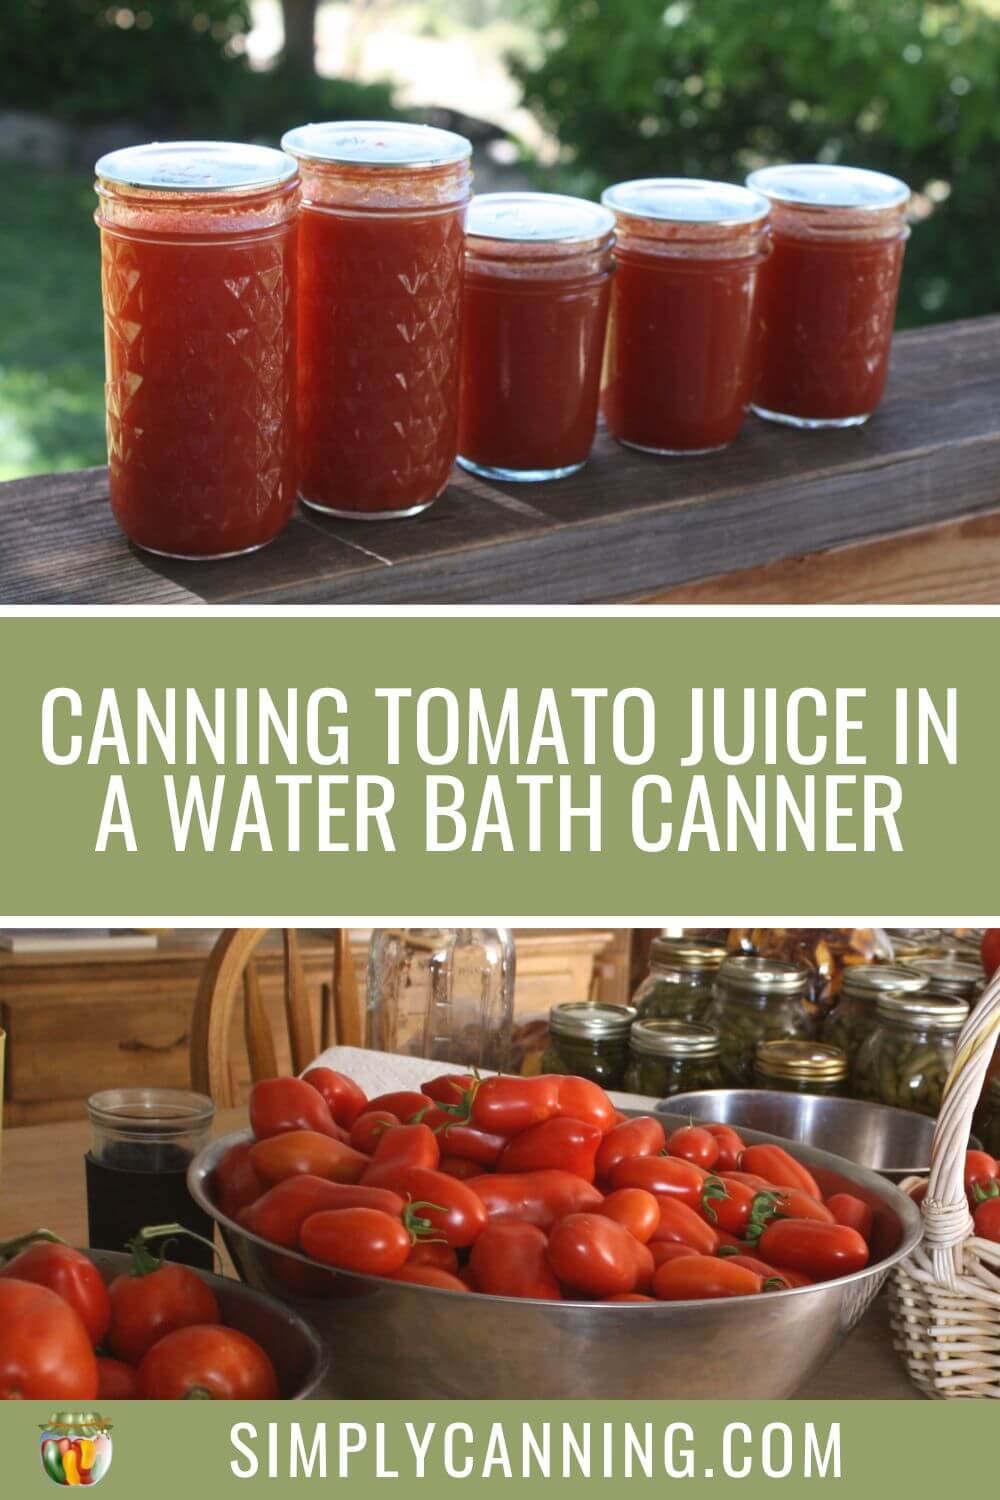
Canning Tomato Juice in a Water Bath
This page may contain affiliate links. More Information.
Canning Tomato juice is simple. Tomato juice can be canned in either a water bath or a pressure canner. It really is just personal preference as to which one you use.
Either works is tested and safe. Since it would get confusing to have all that information and instructions on one page I’ve separated them out for clarity. This post that you are reading now is about canning tomato juice in a water bath.
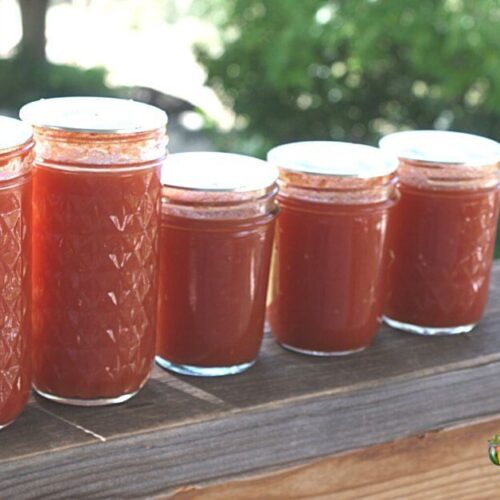
The recipe is a plain tomato juice with no added vegetables. About 23 pounds of tomatoes will give you 7 quart jars. You can make this in quart or pint jars. I personally like the 1/2 pints for fresh tasting tomato juice to toss in a lunch box and have it on the go.
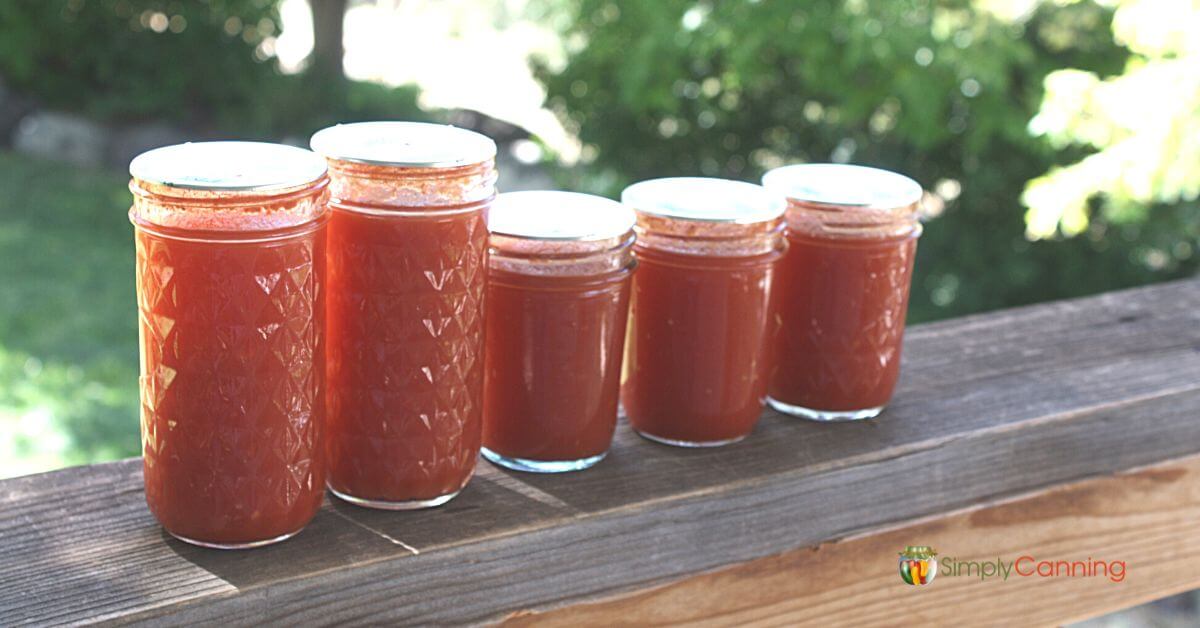
Table of Contents
- Making the tomato juice
- Tips for making tomato juice
- Canning tomato juice in a water bath canner
- Printable Recipe
If you are new to canning check this post about how to use a waterbath canner, first to familiarize yourself with how to use it. Step by step details and tips to make your project succeed. Then come back for the tomato juice specific details here on this post.
The first step is to make your tomato juice.
Basically this is done in 5 steps.
- First wash tomatoes and remove the cores.
- Cut off any bruises or damaged portions.
- Cut your tomatoes into quarters and bring to a boil in a large saucepan. (Start with a single layer bring to boiling, then gradually add the rest of the quartered tomatoes until all are boiling.)
- Remove the peels and seeds with a food mill.
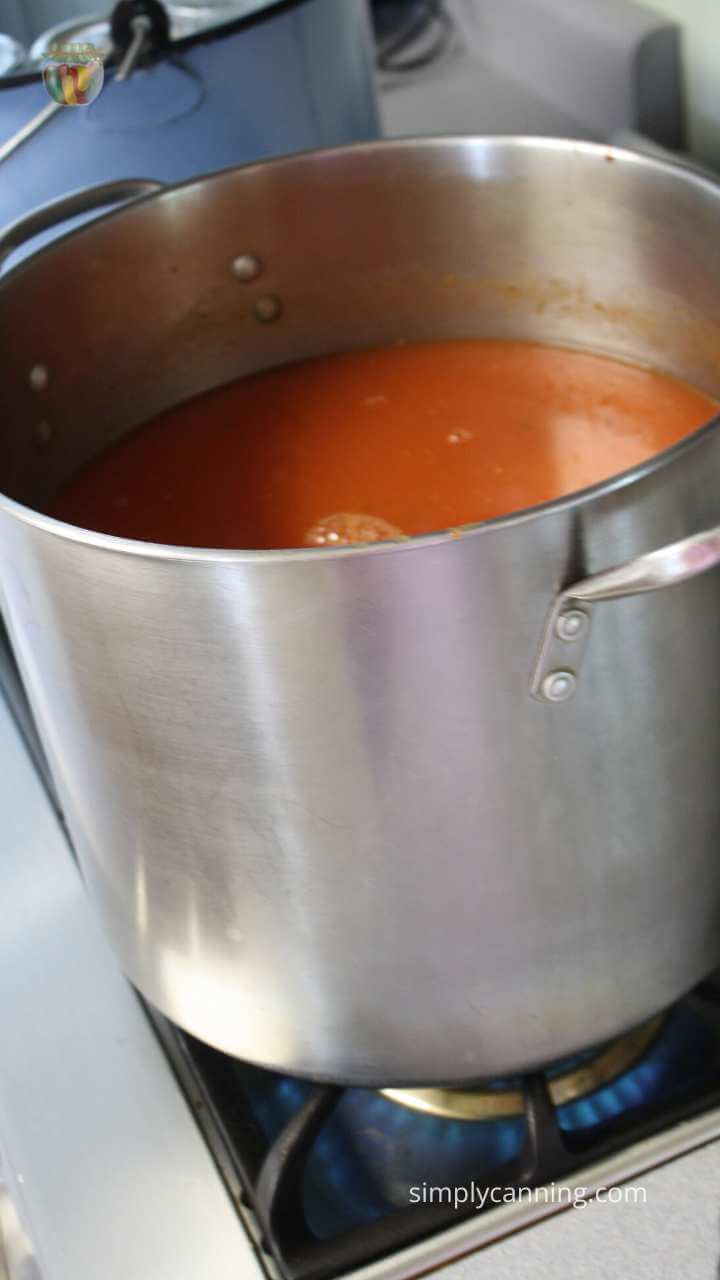
- Bring back to a boil then simmer 5 minutes before filling the jars.
Some tips for making your tomato juice.
You can use any type of tomato for this juice. Often I’m recommending a meaty tomato for canning projects. This is so that any cook down time will be shorter and the end product is less juicy. In this case it is supposed to be juicy. So… whatever you have works.
Yes you really do need to peel and remove the seeds from your tomatoes. The seeds will be unappealing. The process time suggested below is for peeled tomatoes. The issue is that the peels may carry bacteria. The testing done is done with peeled and seeded tomatoes.
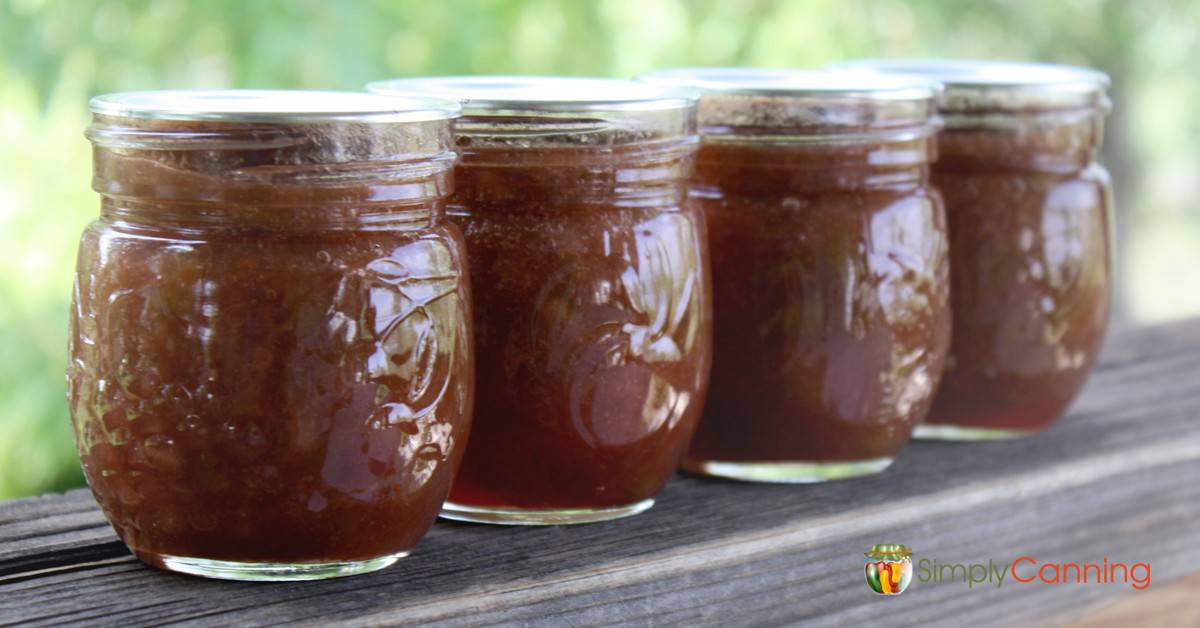
Sometimes the juice will separate in the jars when you are done. This is actually pretty easy to avoid. It all has to do with how you prepare your juice. You need to cook it in a specific way.
I’ve got full details and tips here… :). Making tomato juice for canning.

How To can Tomato Juice in a Water Bath Canner.
Now that you’ve got your juice, let’s get it into jars and in the canner.
Gather supplies.
Gather and prepare your canner and equipment. The goal is to have the canner hot but not boiling as you are putting in your filled jars. You also want hot jars. The easiest way to heat your jars is to put them upside down on the canner rack. Have the rack up above the hot water.
(remember you can check for more details on how to operate a water bath canner here.
Add Salt to the Jars
This is optional. I recommend it because it makes the flavor much nicer but if you need reduced sodium you can skip the salt.
1 teaspoon of salt per quart, 1/2 teaspoon per pint. It is easiest to just add it to each jar before filling with juice.
Add Acidity to the Jars (do you really need lemon juice?)
Next acidify the jars. Yes you really need to bring the content of your jars to a safe acidity level. You can read more about why that is needed here. Apparently it is highly debated!
In my opinion it is really an easy thing to do in order to make sure your product is going to preserve safely. The instruction included here is only for acidified tomatoes.
You’ve got 3 options.
- Typically I use bottled lemon juice and simply add it to each jar. 1 Tablespoon per pint jar or 2 Tablespoons per quart jar. Some people say they can taste the lemon juice. I don’t notice it at all.
- If you prefer, you can use citric acid. Follow the instruction on the package. It is a white powder that you’ll add to the jars.
- Vinegar is another option. Honestly, I don’t recommend it. You’ll surely taste the vinegar because you must use 4 Tablespoons standard 5% acidity per jar. That is a lot of vinegar. But it is an option.
You do need to acidify. So choose one, and do it. Lemon juice or citric acid is my recommendation.
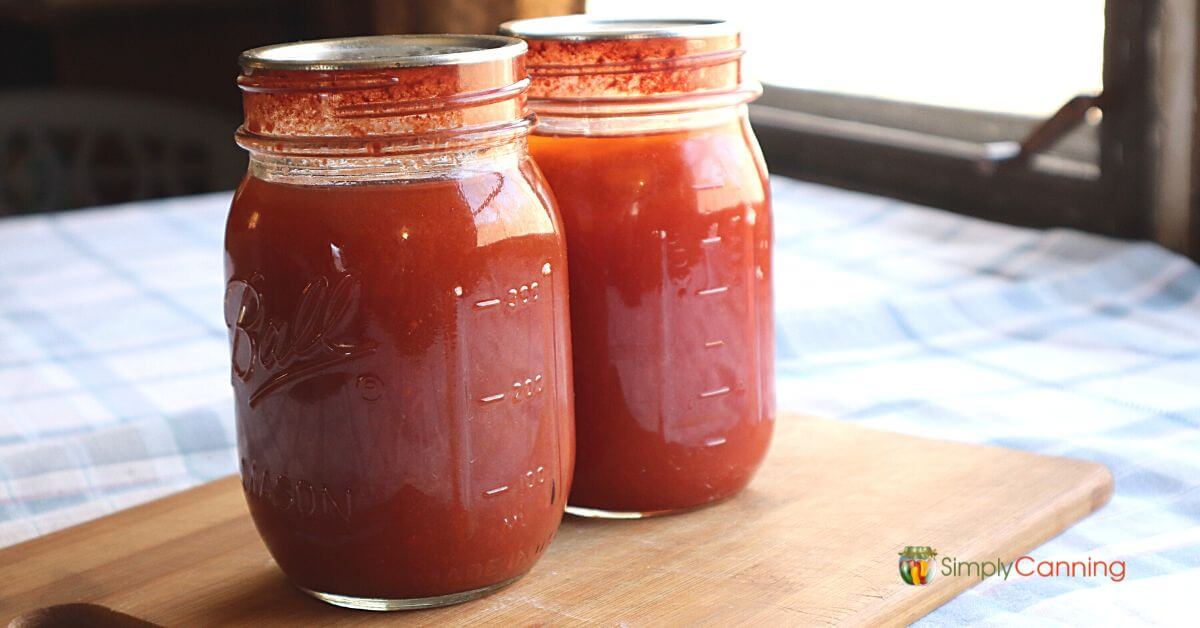
Fill Jars with Tomato Juice
Now that your jars are prepared you can start filling with hot tomato juice. If the juice has cooled bring it back to a boil. Use a wide mouth funnel and ladle to fill your jars. Leave a 1/2 inch headspace. (The space between the food and the flat lid)
Wipe the rims of the jars clean with a damp paper towel or clean cloth. This is so any residue doesn’t interfere with the seal.
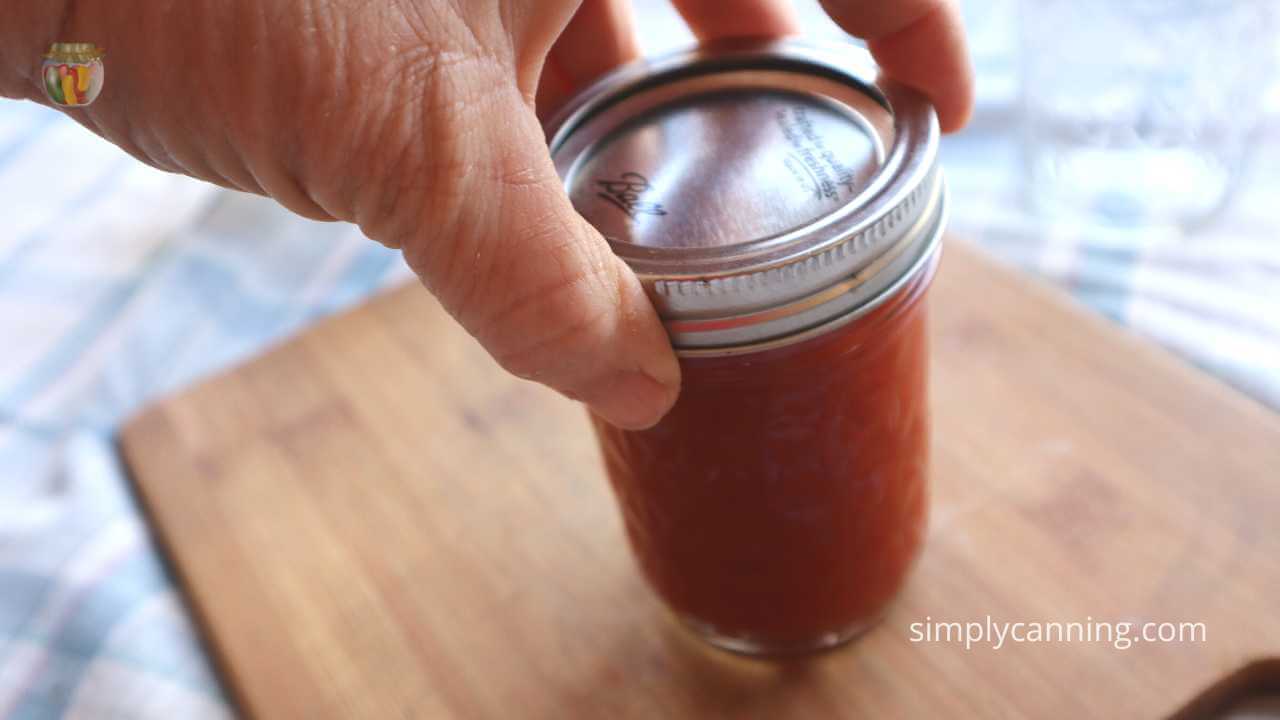
Put your lids and screw bands on just finger tight. You don’t have to screw down hard. I’ve got a video demonstration of just what finger tight means here. (FIND VIDEO)
Place the jars in your preheated canner.
Processing
When the jars are all in the canner rack, lower it into the hot water. The jars should be covered by 2 inches of water. Add hot water if needed.
Put the lid on and turn the heat on your stove to high.
When the water comes to a rolling boil, start the processing time. Check the chart below for the correct processing time for your altitude.
You can turn down the heat to just maintain a rolling boil. The water should be bubbling and rolling. It does not need to be so vigorous that it is splashing out of the pot! But it does need to be an active boil.
You must maintain that boil for the complete time. If the boil stops, you’ll have to bring it back to a boil and start your time over.
After processing – cool down time.
When your processing time is over, turn off the heat and wait for the bubbling to stop.
Remove the canner lid and let the jars rest in the water for 5 minutes or so.
Then lift the rack up to rest on the side of the canner. Careful it will be very hot! Let the jars rest again for 5 minutes or so.
This resting time just allows the jars to gradually stop boiling inside the jar. It may reduce liquid loss. You can read more about liquid loss here…
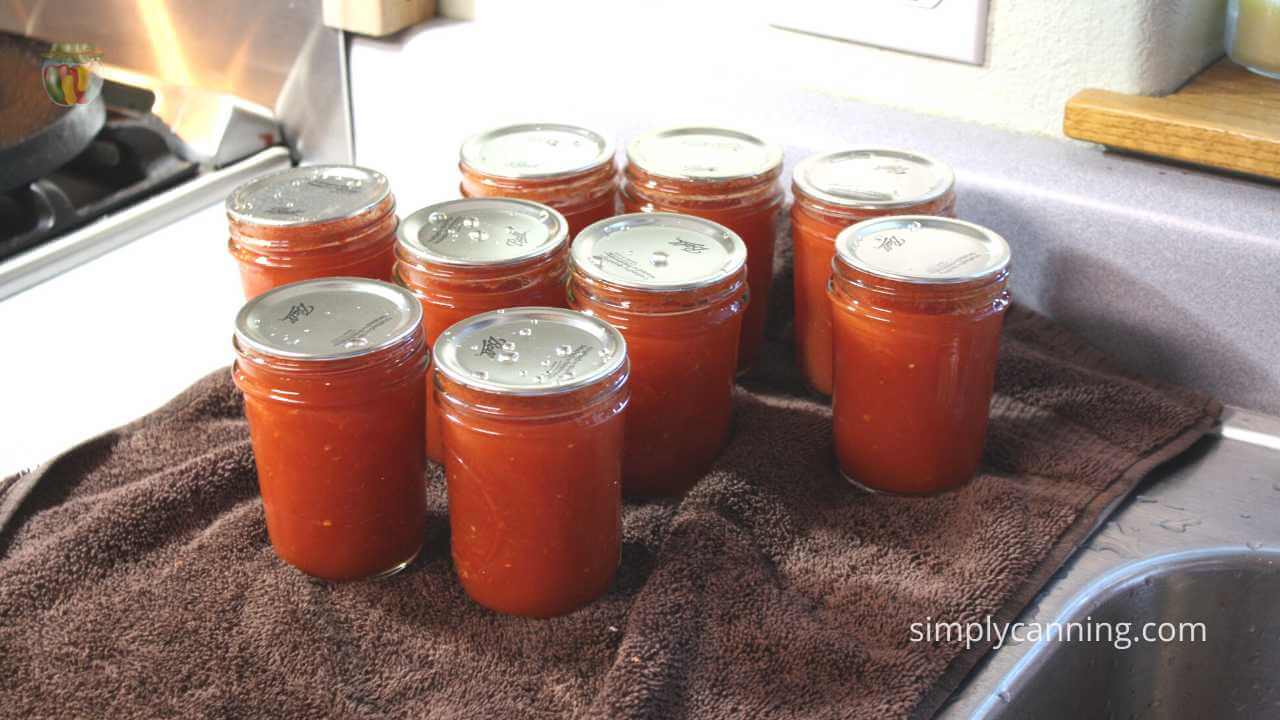
After resting for 5 minutes above the hot water you can remove your jars to a counter to cool completely. Do not test the lids now! Don’t push down on the lid. Don’t tighten the screw band. Just put them on the counter a few inches apart and let them cool.
I’ll usually leave the jars on the counter overnight. You need to leave them to cool down naturally, no fans, no cool rags, no towels over the jars. Just let them come to room temperature.
When they are completely cool you can check the seals. The center should be pulled down, and the lids should be secure on the jar even when you take the rings off.
Wash and mark your lids and store! More on storing canning jars here.
Congratulations… you’ve now got some delicious juice and an ingredient to use in many recipes.
FAQ
Yes you really need to bring the content of your jars to a safe acidity level. You can read more about why that is needed here. Apparently it is highly debated!
In my opinion it is really an easy thing to do in order to make sure your product is going to preserve safely. The instruction included here is only for acidified tomatoes.
No, you do not need a pressure canner to can tomato juice. It is actually ok to do either canning method. Making the juice is the same you’ll just have different processing directions. Find pressure canning tomato juice instruction here.
Tomato juice can be canned in either a water bath or pressure canner. So you can choose the method that is easier for you. Some prefer the water bath and find it less intimidating. Some prefer the ease of a pressure canner.
Printable Recipe
Canning Tomato Juice in a Water Bath Canner
Equipment
- Food Mill I like my Victorio Mill
Ingredients
- Tomatoes
- Lemon Juice or citric acid, for acidification
Instructions
Making the Juice
- Start by preparing jars and getting water in the canner heating.You want the canner hot, but not boiling, when the jars are ready to be processed.
- Wash your tomatoes, core and cut off any blemishes or damaged spots.
- Cut tomatoes into quarters, add a single layer to a pot and bring to a boil. Crush to bring out the juices.
- Continue to cut the rest of the tomatoes and add them to the pot. When all are added to the pot simmer for 5 minutes.
- Remove the skins and seeds by running through a food mill.
Canning Tomato Juice
- If needed reheat the juice so it is hot going into the hot jars and canner.
- Add bottled lemon juice to each jar. 1 Tablespoon per pint, 2 Tablespoons per quart.
- Add salt to each jar if desired. 1/2 teaspoon per pint, 1 teaspoon per quart.
- Bring tomatoes back to a boil iff needed before filling jars.
- Fill the jars with tomato juice. Leave a 1/2 inch headspace.
- Wipe the rims of your jars clean with a paper towel or cloth.
- Put on the canning lids and seals.
- Process according to the chart below. You’ll be adjusting the processing time depending on your altitude.
Notes
- 0-1,000 ft – 35 minutes
- 1,001-3,000 ft – 40 minutes
- 3,001-6,000 ft – 45 minutes
- 6,001- and above – 50 minutes
Processing time for quarts in water bath (hot pack).
- 0-1,000 ft – 40 minutes
- 1,001-3,000 ft – 45 minutes
- 3,001-6,000 ft – 50 minutes
- 6,001- and above – 55 minutes
Source – The National Center for Home Food Preservation
Pin this to find later


Going to make tonight. I just wasn’t sure of timing for pint jars for juice. This is the first time in 50 years I’m using lemon juice. Unfortunately I can’t stand the taste of anything with lemon in it and leaves an after taste of soap in my mouth. Praying when I use my juice I don’t taste the lemon in it.
Keep in mind you can use citric acid instead of lemon juice. I don’t notice a lemon taste but some people do. But I’m happy to hear you are going to acidify your jars!
Jars are being sterlized right now. Keeping fingers crossed they are great. So many tomatoes this year with just plants.