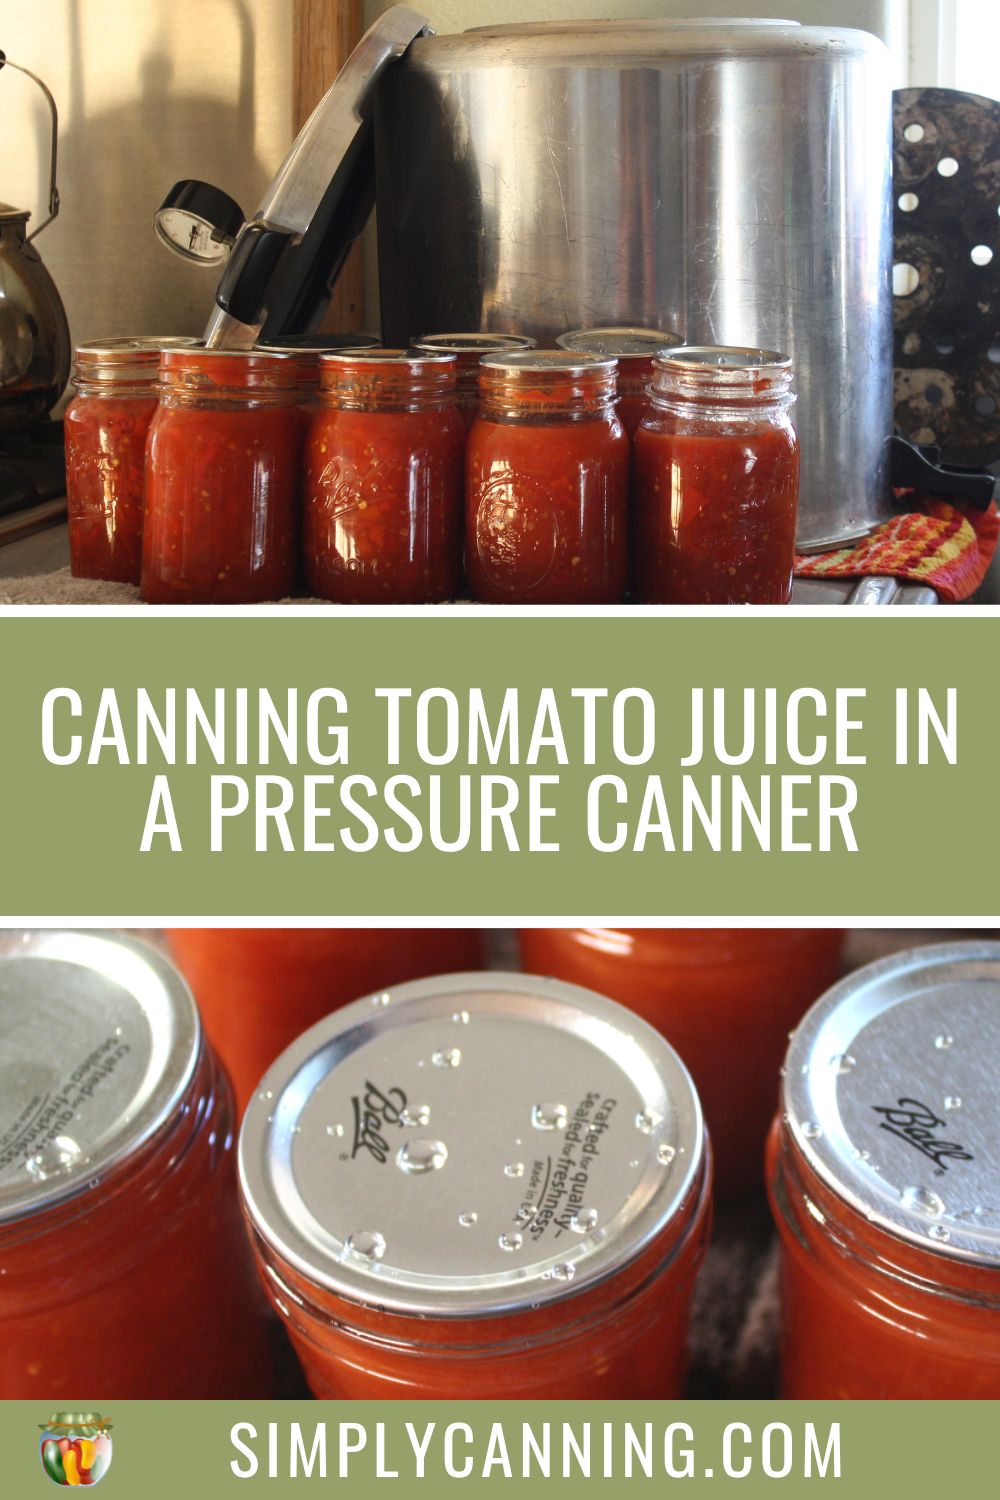
How to Can Tomato Juice in a Pressure Canner
This page may contain affiliate links. More Information.
Canning tomato juice in a pressure canner. Did you know tomato juice can be processed in either a water bath OR a pressure canner?
This post is how to can tomato juice in a pressure canner. If you are looking for water bath instructions check out canning tomato juice in a water bath canner.
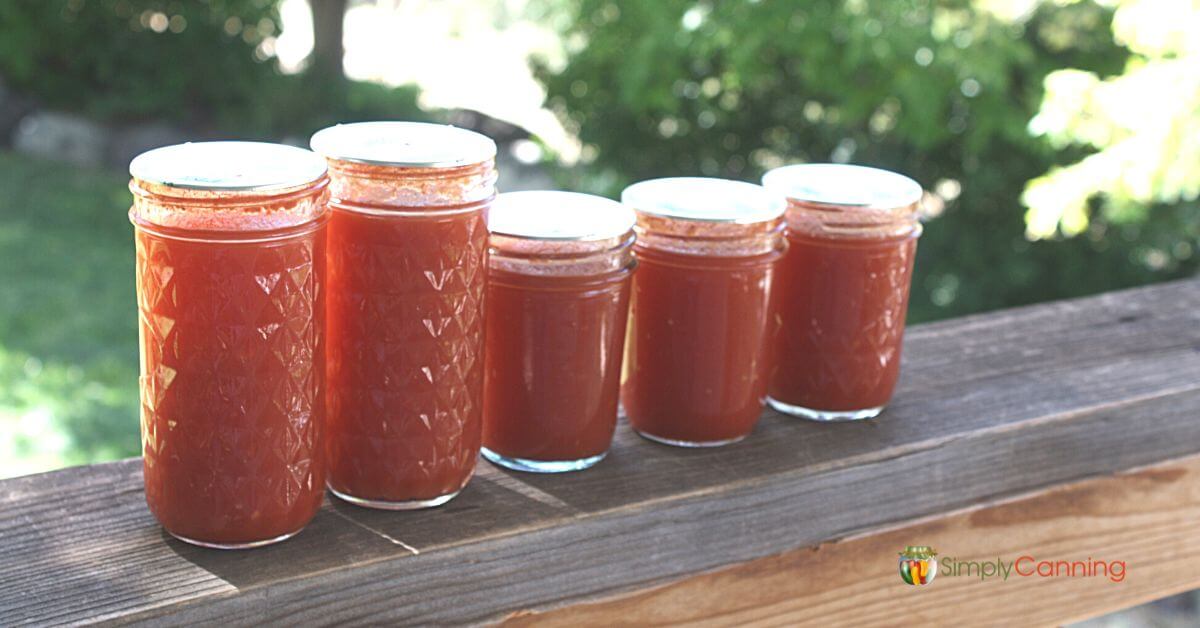
Table of Contents
- Know Your Canner
- Make Homemade Tomato Juice
- Pressure Canning Tomato Juice
- Frequently Asked Questions
- Printable Recipe
Know Your Canner
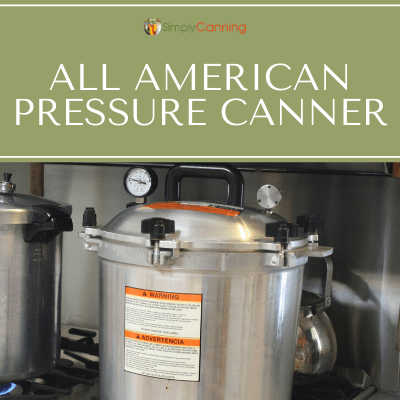
Before you start this project, if you are not familiar with using a pressure canner I recommend reading – How to use a pressure canner.
This will familiarize you with how your canner works and what steps to take to get set up for any canning project.
If you are already confident with your pressure canner then continue on!
How to Make Homemade Tomato Juice
The first step is to make your tomato juice. This is a plain tomato juice.
- Wash tomatoes, core to remove the stem and cut off any bruised spots.
- Slice your tomatoes into quarter size pieces and add a small amount as a single layer to a large saucepan and bring to a boil over medium high heat. Use a masher to start the juices flowing.
- Continue to cut the remaining tomatoes and add them slowly. Maintain a boil the whole time.
- After all tomato quarters are in the pot and boiling, simmer for 5 minutes.
- Use a strainer or food mill to remove the seeds and skins.
That is the brief version. It’s pretty straightforward, remove the skins and seeds and juice your tomatoes. If you’d like more detail, I’ve included a detailed recipe here. Making Tomato Juice for Canning. You’ll find helpful tips for avoiding some common issues like tomatoes separating. And answers to questions like, do you really need to skin the tomatoes. (Hint: answer is yes.)
Take a look there to see detailed step by step how to make your juice, then come back here for details on pressure canning.
Pressure Canning Tomato Juice
After you have your tomato skins off and seeds removed and juice prepared, you are ready to process it.
First gather all your supplies and ingredients.
Canning Supplies
- Pressure Canner
- Canning jars
- Canning lids and rings
- Jar lifter
Ingredients
- Tomato Juice – just tomatoes, no vegetables
- Lemon Juice
- Canning Salt
Note: These processing instructions are for a plain tomato juice. No added vegetables or other ingredients.
Reheat the Tomato Juice
If needed reheat the juice so it is hot going into the hot jars and canner. It may have cooled in the skinning step, or maybe it sat a bit while you got your canning supplies out. The juice needs to be hot.
Acidify Your Tomato Juice (usually with lemon juice)
You’ve got 3 options for acidifying the tomatoes.
- Add bottled lemon juice to each jar. 1 Tablespoon per pint, 2 Tablespoons per quart.
- Use Citric Acid in each jar. This is a white powder that can be found in most canning aisles. Just follow the directions on the package.
- Add vinegar to each jar. This would be my least favorite choice. You have to add 4 Tablespoons standard 5% acidity per jar. This would change the taste of the juice.
Add Salt to the Jars.
Add salt to each jar if desired. 1/2 teaspoon per pint, 1 teaspoon per quart. Good news! This is optional. I recommend it as it improves the taste, but if you need low sodium you can leave it out.
Packing the Canning Jars.
Remember to heat the juice back up if needed. This is a hot pack. Hot tomato juice, hot jars, hot (not boiling yet) canner.
Use a canning funnel and ladle to fill the jars with tomato juice.
Leave a 1/2 inch headspace. This is the space between your juice and the flat lid.
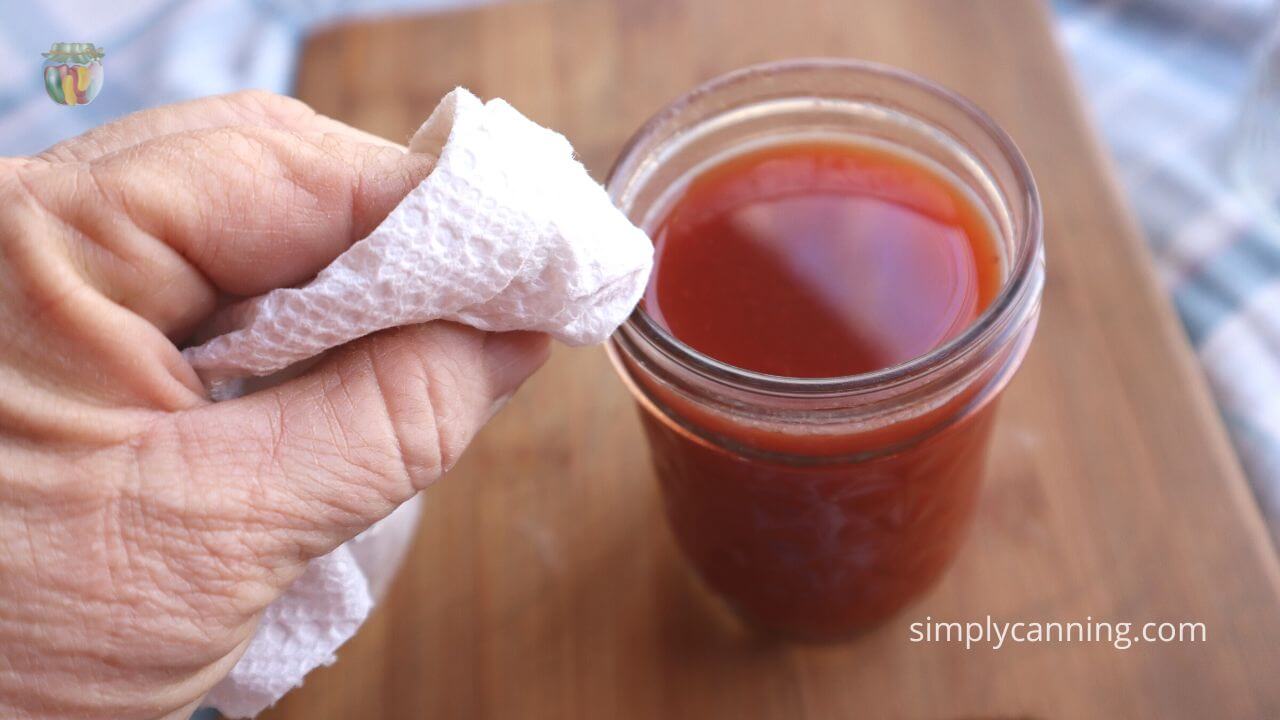
Wipe off the rim of your jar. It’s not usually an issue with something like juice but you don’t want any residue to interfere with the contact between the jar rim and the sealing gasket in the lid.
Put on the canning lids and seals. This needs to just be finger tight. You don’t have to crank down super hard. The screw band will hold the flat lid in place during processing.
Processing in a Pressure Canner
Pay attention to the correct chart for the type of weights you are using, and adjust the pressure you use for your altitude.
- A dial gauge canner is one where you will watch the dial to determine what pressure the canner is.
- A weighted gauge is one where you will pay attention to the weight and how it jiggles to determine the pressure inside canner. The weight jiggles and a bit steam escapes when it reaches the determined pressure. That ‘rocking’ is releasing a tiny bit of steam at each rock or jiggle to maintain the desired pressure.
You’ll choose 5, 10 or 15 pound weights depending on your altitude. See the charts below.
Altitude adjustments are needed because water boils at a different temperature at different elevations. This will also affect the pressure in the canner. I’ve got more on altitude adjustments here.
How to Can Tomato Juice in a Pressure Canner
When you’ve got all your jars filled and in the canner, place the lid on securely. Heat on high. Do not place your weight on the canner yet.
Start venting time when you see steam coming out of the vent pipe. Allow this to steam (or vent) for 10 minutes.
Now you can place your weights on. Pressure will start building at this point.
When the pressure is at your requirements, start your processing time. You can adjust the heat to maintain as close to an even pressure during this time. Usually you’ll reduce the heat to keep it level.
Make very small heat adjustments. Some stoves will change a lot with tiny changes. As you do more canning you’ll learn your stove and how it reacts.
The most important thing is to keep the pressure AT or slightly above your required pressure. If it drops too low, you’ll need to bring the canner back to pressure and start the timing over.
Slightly over is ok, but don’t go a lot over or your food may be over cooked or you may lose liquid from your jars.
Cool Down Time
When the processing time is done, turn off the heat and allow the canner to cool off naturally. This may take some time. Don’t rush it. No fans, no alternative way to cool the canner. Just leave it rest.
- When the canner shows 0 pressure wait another 5-10 minutes. Open the lid slightly to allow some steam out. Careful! It will be very very hot still. Point it away from your face.
- Wait another 5-10 minutes, then remove the lid completely.
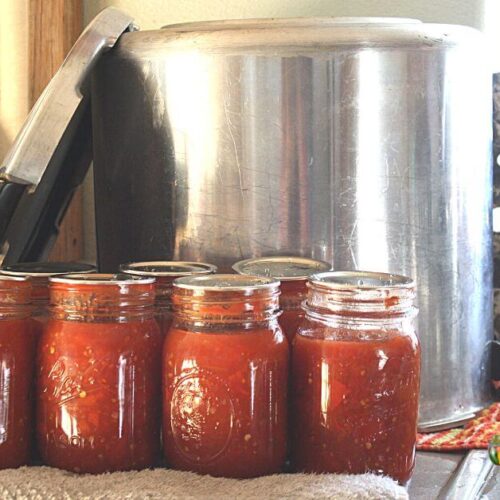
- Wait another 5 minutes or so then take your jars out and set on a counter to cool completely.
Often they are still bubbling when you take them out of the canner. This is ok unless they are bubbling so hard there is food spurting out of the jar. If that happens just put the jar back in the canner and wait longer.
Gradually taking out the jars just gives them a little more time to rest and reduce heat. It lessens the chance of liquid loss from your jars.
This does NOT mean leave the jars in the canner overnight. You do still need to get them out in a reasonable amount of time.
After you remove the jars from the canner set them on a thick towel a few inches apart. Allow the jars time to cool. Do not rush this either. No fans, no towels over the jars. Just leave them on the counter. You can expect about a 12 hour cooling time. I leave mine on the counter overnight.
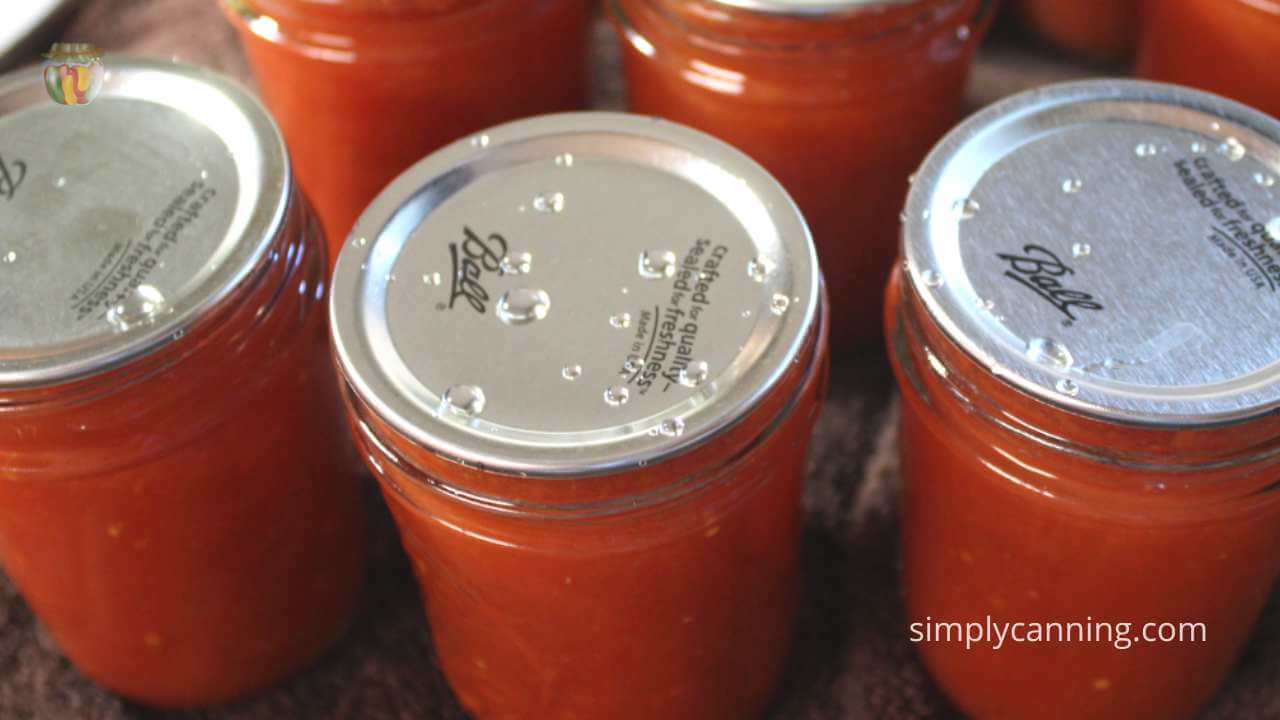
Leave the screw bands on during cooling to hold the lid in place.
When the jars have cooled to room temperature, check the seals. If all is good wash the jars, mark them with the content and date and store them away. See storing canning jars for more details on prepping jars for storage and where to store them.
If some of your jars did not seal, put them in the refrigerator to use soon.
FAQ
This is one step that quite often causes questions. Do you really need the acidity? And why? If you are pressure canning shouldn’t that be enough to not worry about a safe acidity level?
I’ve got more detail here… why acidify tomatoes? The answer is that the testing that has been done is done with acidification. This changes the ph of the food which then might cause a difference in processing time needed. If you leave out the acidification you are changing things and can’t rely on the testing.
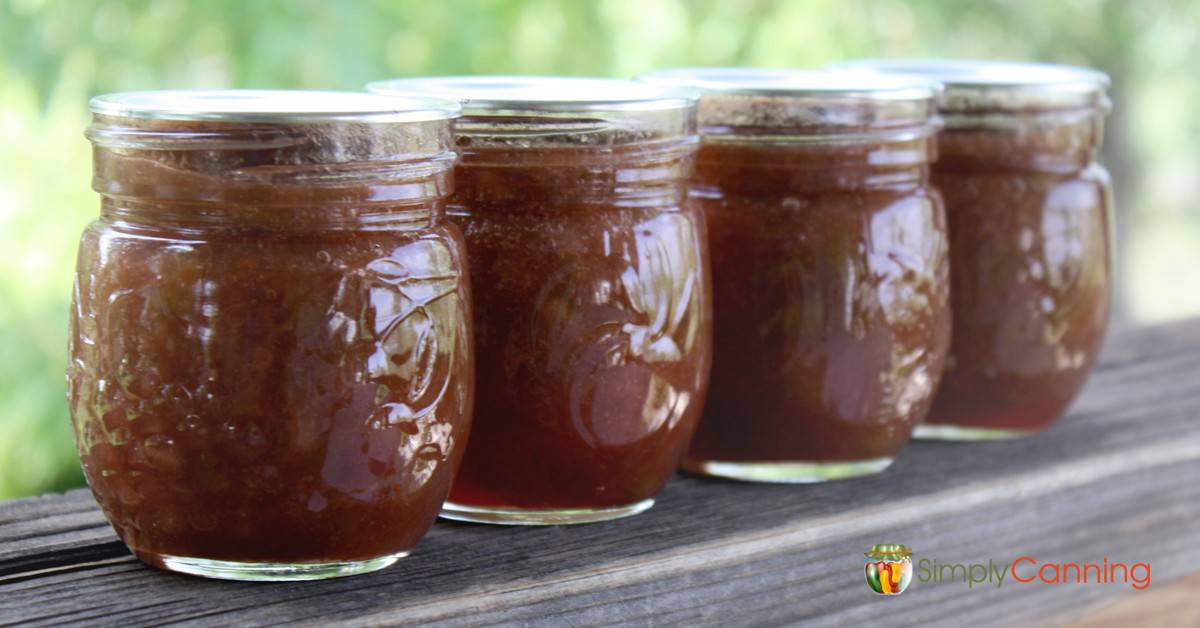
You can use this for a vegetable soup base, make homemade tomato soup, add it to chili, stew, use for any casserole. Or just put it in the fridge to cool and drink it right from the jar. The flavor of homemade tomato juice beats commercial any day.
Yes you have to peel the tomatoes. First, the peels will be unappealing, but more importantly there is a bacterial load on the peels that is removed when you skin them. The testing done for safety is with peeled tomatoes. This goes for all tomato products. Tomato sauce, plain tomatoes, stewed tomatoes.
You do not have to add salt. You can also adjust the amount of salt you use. Instead of a teaspoon of salt for a quart, use a half teaspoon if you’d rather. Or leave out the salt altogether. Salt is for flavor.
An instant pot is not a canning tool. It is great for cooking dinner. Canning tomato juice in it is not recommended. This is a hot topic so I wrote a post about canning in an instant pot and answer the question why not?
Printable Recipe
Canning Tomato Juice in a Pressure Canner
Equipment
Ingredients
- Tomatoes
- Canning Salt optional
- Lemon Juice bottled type
Instructions
- Start by preparing your jars and getting water in the canner heating. You want the canner hot, but not boiling, when the jars are ready to be processed. If you are new to using a pressure canner, see this article for full pressure canning instructions. This includes more detailed information and step-by-step instructions on how a pressure canner works.
Making the Tomato Juice
- Wash your tomatoes, core and cut off any blemishes or damaged spots.
- Cut tomatoes into quarters, add a single layer to a pot and bring to a boil. Crush to bring out the juices.
- Continue to cut the rest of the tomatoes and add them to the pot. Maintain a boil.
- After all tomatoes are added simmer for 5 minutes.
- Remove the skins and seeds by running through a food mill.
Canning Tomato Juice in a Pressure Canner
- Have all supplies gathered and prepared.
- If needed reheat the juice so it is hot going into the hot jars and canner.
- Add bottled lemon juice to each jar. 1 Tablespoon per pint, 2 Tablespoons per quart.
- Add salt to each jar if desired. 1/2 teaspoon per pint, 1 teaspoon per quart.
- Fill the jars with tomato juice. Leave a 1/2 inch headspace.
- Wipe the rims clean and place on seal and ring.
- Place jar in the warm canner. Proceed to fill all jars.
- Process in a pressure canner according to the instructions below.
Notes
Process pints or quarts for 15 minutes, adjusting the pressure used for your altitude and canner type. Altitude Adjustments
Dial Gauge – watch the dial on your canner to determine pressure. Altitude – weight (PSI)
- 0-2000 feet – 11 pound weight
- 2,001 – 4,000 feet – 12 pound weight
- 4,001 – 6,000 feet – 13 pound weight
- 6,000 – 8,000 feet – 14 pound weight
Weighted Gauge – Watch for the weight to ‘jiggle’ to determine pressure. Altitude – weight (PSI)
- 0-1,000 ft – 10 pound weight
- Above 1,000 feet – 15 pound weight
Source: The National Center for Home Food Preservation
Source – National Center for Home Food Preservation – accessed March 17,2023
Pin this to find later!


To save loads of time. I use a breville juicer. Core and cut in half run thru juicer with skin and seeds coming out back and juice in front. We can about 200 jars a year for the last 25 years. Boil down the juice then continue as stated above.