Canning Carrots
This page may contain affiliate links. More Information.
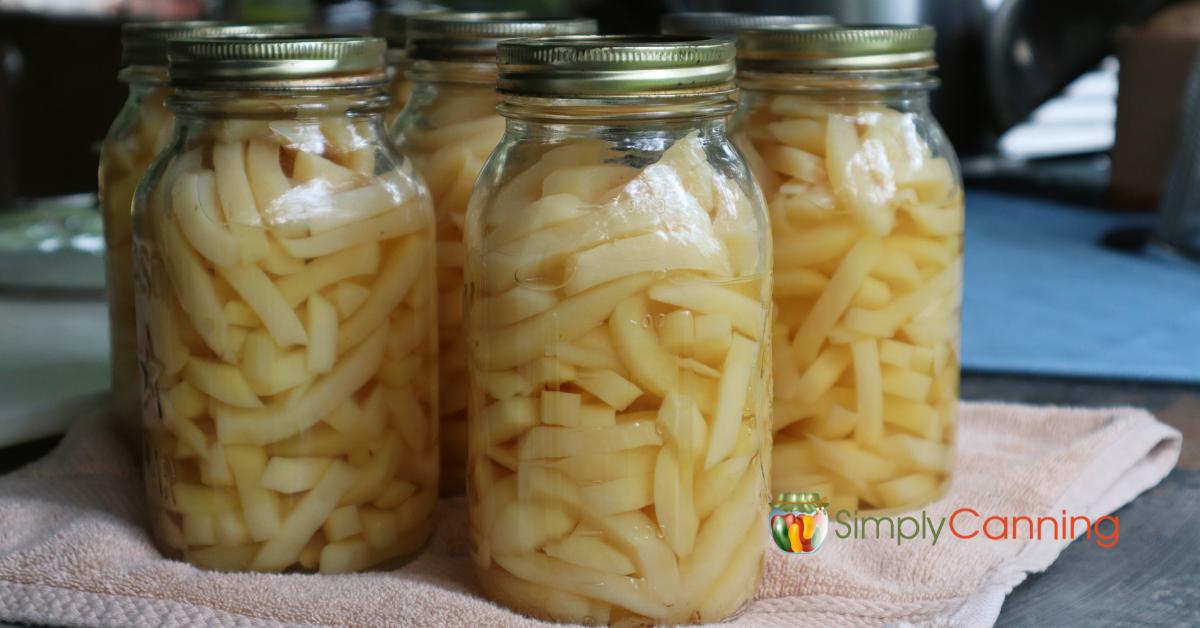
Canning carrots is a fantastic way to preserve their freshness and enjoy them year-round. They are ready to add to a stew or soup. Or just heat, add some butter and sprinkle on a bit of cinnamon.
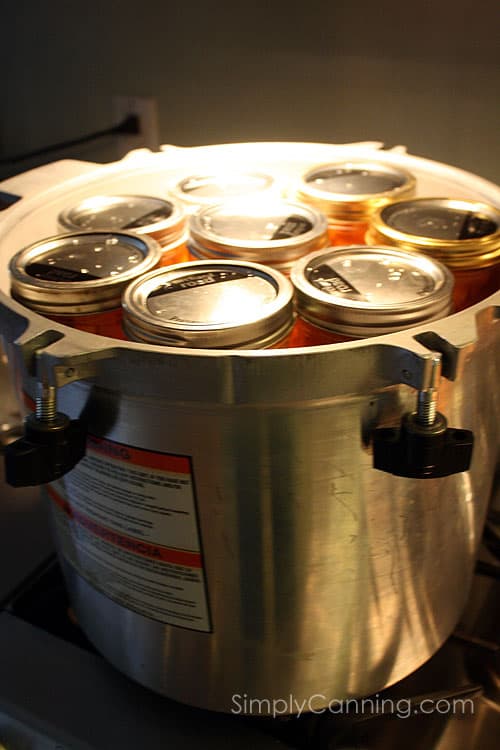
Carrots are a low acid vegetable and must be processed in a pressure canner. If you are not familiar with using a pressure canner you might want to look at this pressure canning page first then return here for carrot specific directions.

Canning Carrots
Gather your canning supplies
- pressure canner
- canning jars
- canning seals and rings
- jar lifter and canning funnel
- large pot if you are doing a hot pack
- knives, crinkle cutter
Ingredients
- Carrots- as many as you want to can
- Canning Salt – optional
- Brown sugar (If you want to can in a sweet syrup)
Preparing Your Carrots
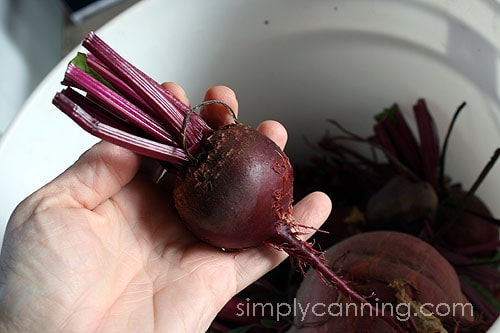
Wash and Peel:
Start by thoroughly washing your carrots to remove any dirt. Use a vegetable peeler to remove the outer layer. Since carrots are a root crop, bacteria is a higher risk. I’ve got more on this in the FAQ below. I say… peel them. It will be cleaner than just scrubbing.
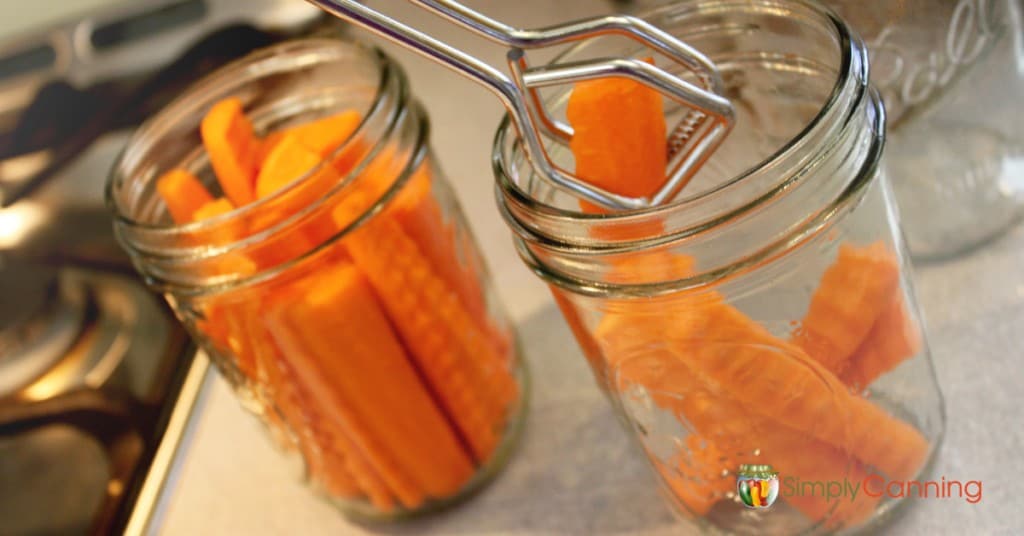
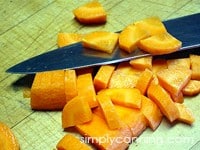
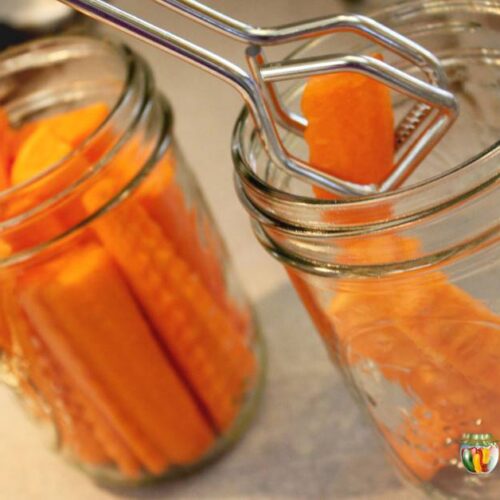
Cut carrots to the desired size:
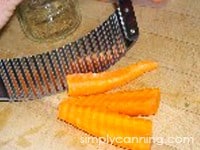
Carrots can be cut into lengths or they may be cut crossways. Small carrots (1 to 1-1/4 inches in diameter) can be left whole. For a decorative touch, I like to use a crinkle cutter. It adds a bit of charm to your jars and makes the carrots look fun and appealing when served.
There are a zillion and one styles of crinkle cutters. See some options here.
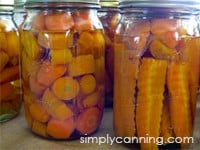
Decision: How to can carrots hot pack or raw pack??
Carrots can be packed using either the raw-pack or hot-pack method. Processing is the same for both it is just personal preference. Here’s how each works:
- Hot-Pack Method:
Boil your carrots 5 minutes before packing them into jars. Do not press tight. - Raw-Pack Method:
Pack raw carrots tightly into jars, leaving an inch of headspace (the space between the food and the jar’s lid).
Add salt if desired. 1/2 tsp per pint, and 1 tsp per quart. I recommend adding salt. It ups the flavors so much. If you need to reduce sodium leaving it out is just fine.
Whether you’re using the raw or hot-pack method, fill the jars with boiling water or optional sweet syrup,(see recipe below) leaving one inch of headspace. (the space between the food and the jar lid)
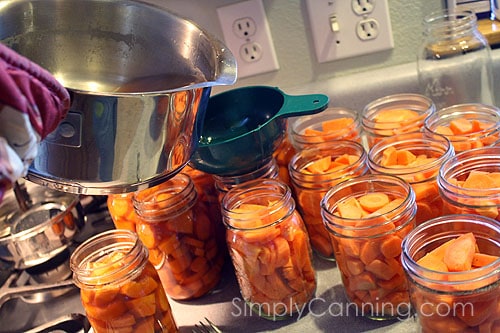
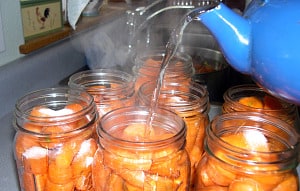
Next use a small plastic utensil or a bubble tool to release any air bubbles that might be trapped in your jars. Just run the tool down each jar moving things around gently so air will release.
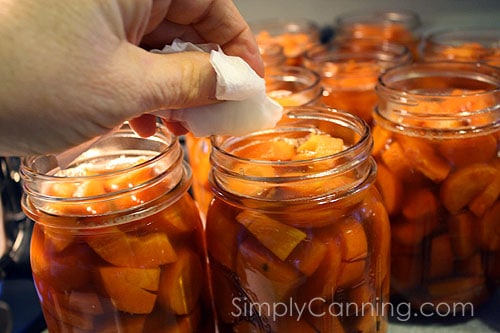
Wipe the rims clean with a damp paper towel. This is so any residue won’t interfere with the seals.
Place your lids. Which just means center the metal flat lid and screw your band down finger tight. Place your filled jars in your preheated canner.

Optional sweet syrup.
The sweetness of this syrup takes the carrots to another level, perfect as a side dish for holiday meals. If you’re unsure about the sweetness, start with less sugar and adjust to your liking. Sugar is to taste. You can even use plain sugar or honey of desired. I like the brown sugar flavor combined with the orange juice!
Instead of plain boiling water add this syrup to your jars.
- 2 cups brown sugar
- 2 cups water
- 1 cup orange juice
Heat ingredients until heated through and melted. Oh goodness is it good. Processing instructions are the same. Simply substitute this for the plain water. (and you can choose to add salt or not.)

Canning instructions
Carrots must be processed in a pressure canner. Directions are included in the recipe card below.
- Pints – process for 25 minutes
- Quarts – process for 30 minutes
To learn more specifics on pressure canners in general, check these pressure canning instructions.
Be sure to use the proper pressure according to your altitude. See the chart below. For more information see this altitude adjustments page.
are sealed. Press the center of each lid—if it doesn’t flex, it’s sealed correctly.
Do I really need to Peel the carrots?
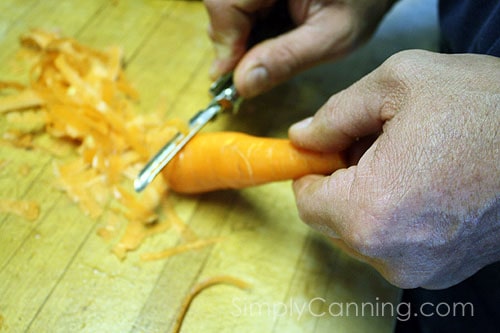
All official directions I find say to peel carrots. None of them mention just scrubbing without peeling. (official meaning from state extension services) This is because carrots are a root crop. The bacteria that can cause botulism can be found in the soil so it may be a higher risk. I used to just scrub my carrots real good…. but I made the decision to start peeling my carrots. Love that peace of mind. 🙂
See what else you can do with carrots.
- Dehydrating carrots. – Learning how to dehydrate carrots is super easy and a good idea.
- Pickled carrots. – Pickled Carrots are a great colorful addition to any dinner table. I love the cinnamon flavor with the carrots in this pickling recipe
How to can carrots – Recipe Card
Canning Carrots
Equipment
Ingredients
- Carrots
- Salt optional
- Water
Instructions
- Start by preparing your jars and getting water in the canner heating. You want the canner hot, but not boiling, when the jars are ready to be processed. If you are new to using a pressure canner, see this article for full pressure canning instructions. This includes more detailed information and step-by-step instructions on how a pressure canner works.
For a Raw Pack
- Wash and peel carrots, removing the tops.
- Cut carrots into desired size.
- Pack raw carrots tightly into hot jar.
- Add salt if desired (1/2 tsp. per pint or 1 tsp. per quart).
- Add boiling water to jar, leaving 1” headspace.
- Remove bubbles, wipe the rim clean, and place on seal and ring. Place jar in the warm canner. Proceed to fill all jars. Process in a pressure canner according to the directions below.
For a Hot Pack
- Wash and peel carrots, removing the tops.
- Cut carrots into desired size.
- Place in pot, cover with water, and bring to a boil.
- Simmer carrots gently for 5 minutes.
- Pack carrots into hot jar.
- Add salt if desired (1/2 tsp. per pint or 1tsp. per quart).
- Add boiling water to jar, leaving 1” headspace
- Remove bubbles, wipe the rim clean, and place on seal and ring. Place the jar in the warm canner. Proceed to fill all jars. Process in a pressure canner according to the directions below.
Notes
Adapted from: The National Center for Home Food Preservation
Tips and FAQ
Growing Carrots
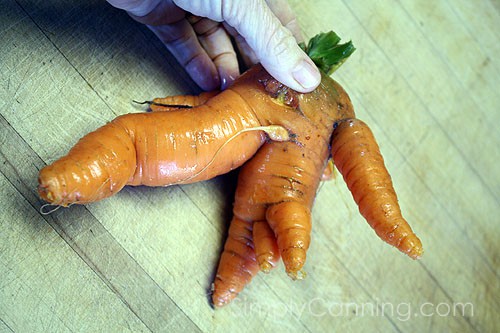
Here you all can have a little chuckle at the carrots I grow in my garden. We live where the soil is hard clay… not too conducive to picture-perfect root crops. But when I am growing carrots that are bred to be shorter and fatter, like the Danvers Half Long, I do get a crop… granted they are not too beautiful. In fact some of them are rather mutant looking. Tasty too.
Pin for Later
Good Morning ! I know that certain veggies and fruits benefit from Hot packing (getting rid of all the air in them so they don’t float and you can get more in a jar). Do Carrots have the same benefit ?
PS. I come to your first when looking up canning recipes/instructions ! I Trust You more than any other ! :}
With Carrots I don’t think it matters. Carrots are not juicy so I don’t notice any packing difference myself. I might have to do a side by side comparison next time I can carrots.
Thank You Sharon. I cold packed them and everything came out fine ! :}
I’m growing carrots now
Can’t wait to can them. Thank you for the information.
The carrots with sweet sauce were super lightly sweet. Not sweet like candied would be though and now too sweet to use in savory dishes.
I would say go one way or the other for canning.
I do quite a bit of canning so your explanations were good, and I hadn’t considered adding syrup! I’ll work on it.
Have you ever eaten a raw carrot with the peeling on it? Have you ever eaten a baked potato peel? Sometimes you have to think more than listen.
Absolutely I have eaten potatoes and carrots with the skin. We eat simple boiled carrots with the skins. My potato salad even has the skins in them. I leave the skins on for mashed potatoes. I love all the nutrition in the peels.
But… for home canning you want to remove as much potential for bacteria as possible. The bacteria that can create issues with botulism is in the soil… by peeling you are removing more potential. Scrubbing is good… peeling is better.
It is not JUST botulism that dictates peeling. Texture and taste also are affected by NOT peeling. Stringy texture and a strong earthy taste will affect all carrots in a jar if left unpeeled.
Well, my carrots are canned. 5 pints sweetened carrots and 4 pints medallion carrots.
It seems that I have lost some liquid. The jars sealed. Will they be alright?
I’m used to canning in Washington State and have always used 15 lb weights. I noticed in your instructions that I should have used 10 lbs.
Could that be the problem?
Thank you.
Ah liquid loss is something that can be hard to determine just what the issue is. Check this article and see if it is helpful. Liquid Loss in Home Canning.
I’m the only one in my house that eats carrots. If I use half pint jars and process the same time as pints it shouldn’t be a problem, right?
Yes, that is the perfect way to handle it. Never go with a bigger jar than instructed but smaller is ok.
Carrots will be fully cooked when you can them. But they won’t be so soft they are mushy. Texture can sometimes be hard to describe. Some people really like their vegetables cooked ‘al dente’ or slightly crunchy. This will not be the case with home canning. If you like a little crunch, you should consider freezing your vegetables. Another option is pickled carrots. These will still be slightly softer than fresh as they are cooked but they will still have some crunch to them. Pickled Carrots