Fermented Dill Pickles
This page may contain affiliate links. More Information.
If you’ve ever wanted to try fermenting but weren’t sure where to start, dill pickles are a great project. Simple Refrigerator pickle: cucumbers, a few spices, salt, and a starter culture called whey. No canner, no processing time, no special equipment.
Please note, Important: these are not canned pickles. They are not shelf-stable and they should not be stored at room temperature long-term. You’ll let them ferment on the counter for a few days, then move them to the refrigerator for storage. If you came here expecting a canning recipe, you’re in the right place — just a different method. (Try this recipe if you want a shelf-stable dill pickle.)
This recipe comes from the book Nourishing Traditions, and it’s so simple:
What Is Lacto-Fermentation?
Lacto-fermentation is one of the oldest methods of food preservation, long before canning or refrigeration existed.
Here’s the basic idea: naturally occurring bacteria (Lactobacillus) feed (this is good bacteria) on the sugars in the cucumbers and convert them into lactic acid. That lactic acid is what preserves the pickles and gives them their tangy, sour flavor — the same process that gives you sauerkraut, kimchi, and traditional sour pickles.
The fermenting process depends on a salty brine.
This recipe also uses whey as a starter culture. Adding whey (which we’ll cover below) gives this process a head start by introducing a healthy dose of those beneficial bacteria right from the beginning.
If you don’t have whey, it’s very easy to make. See the notes in the recipe card below. All you need is plain yogurt with live cultures. (check the ingredients but most plain yogurts have live cultures)
This is a completely different process than canning, and it’s worth understanding the difference so you know what to expect.
Lacto-Fermentation vs. Canning: What’s the Difference?
| Lacto Fermented Pickles | Canned Pickles | |
| Storage | Refrigerator | Pantry or Shelf |
| Shelf Life | 3-6 Months | 1 year |
| How it’s preserved | Natural Fermentation/ Good Bacteria | Heat Processing |
| Flavor / Texture | Tangy, Probiotic | Traditional Vinegar Flavor |
| Equipment Needed | Jar, Lid, | Canner Jars , lids |
Neither method is “better” — they just serve different purposes. Canning gives you shelf-stable jars. Fermenting gives you a probiotic-rich pickle with a shorter window to enjoy it in, but with almost no special equipment required. Many home canners, myself included, do both.
Learn more about fermenting lids.
This sauerkraut recipe can be fermented and stored in the fridge… OR canned for shelf storage
About the Recipe: Nourishing Traditions
This recipe comes from the book Nourishing Traditions by Sally Fallon, a well-known book in traditional foods circles. It covers a wide range of traditional food preparation methods, with a strong focus on fermentation. I highly recommend it if you want to go deeper into fermenting beyond just pickles. I’ve learned a lot browsing through the recipes.
What about the Whey?
This is a fermented recipe that uses whey to kickstart the fermenting process. I’ve explained how to get whey below. If you don’t have whey it’s fine. You’ll just need to use more salt. Amounts are included in the recipe below.
Optional Garlic
The original recipe does not include garlic. We are a garlic loving family! I added one big clove that I cut in half. You can certainly leave it out if you don’t like garlic.
Low Salt Pickles
This is actually a good option for those who don’t want a lot of salt. There is salt… but since it has whey there is less salt than many ferments.
A Small Change I Made to the Original Recipe
The original recipe has you add the salt to the jar, then top it off with more water if the cucumbers aren’t covered. That works, but here’s the catch. The brine ratio should stay the same no matter how much water you add. If your jar needs an extra cup of water, your brine ends up weaker than the recipe intended.
Salt matters in fermenting. It helps the good bacteria get going and keeps the unwanted ones in check. So I’ve added one simple step: for every extra cup of water you add, add about 1 tablespoon of salt too. That keeps the same ratio the recipe starts with, 1 tablespoon of salt to about 1 cup of liquid.
Storage: Temperature and How Long They Last
Refrigerator Pickles
This recipe is considered a refrigerator pickle. It is not processed for storage on the shelf. Once the cucumbers are fermented they do need cold storage.
Temperature
The ideal storage temperature for fermented pickles is around 40°F. That said, a little variation won’t hurt anything — most people don’t have a spot in their home that holds a consistent 40°F, so a regular refrigerator works just fine. That’s what I use, and what many people fermenting at home use too.
How long do they last?
This is where you’ll find some variation depending on who you ask. Estimates range anywhere from a couple of months to close to a year, depending on the source and the specific conditions. Most estimates land in the 3-6 month range, which is a reasonable average to plan around.
Here’s the important part: this is a quality issue, not a safety issue. Much like canned food doesn’t suddenly become unsafe the day after its recommended storage window of one year, these pickles don’t “go bad” on some fixed date either. Past the 3-6 month mark, they’ll gradually get softer and more sour. If yours are getting past that window, there’s no need to toss them — just make a plan to work through the jar sooner rather than later.
That said, if a jar turns slimy, smells off, or grows mold, don’t eat it. Toss it. Use common sense on this.
Don’t Over-Make These
Because fermented pickles have a shorter quality window than canned pickles, this isn’t the recipe to make a dozen jars of at once. Make what you and your family will realistically eat within a few months.
If you want a larger stash to last you through the year, that’s exactly what canning is good for. I still make plenty of regular canned dill pickles alongside these fermented ones — the two methods aren’t competing, they just serve different purposes in the pantry.
Give It a Try
Fermented pickles are a low-equipment, low-cost way to dip a toe into fermentation, and this recipe is about as simple as it gets. If you want to explore fermenting further check out Nourishing Traditions for more recipes like this one.
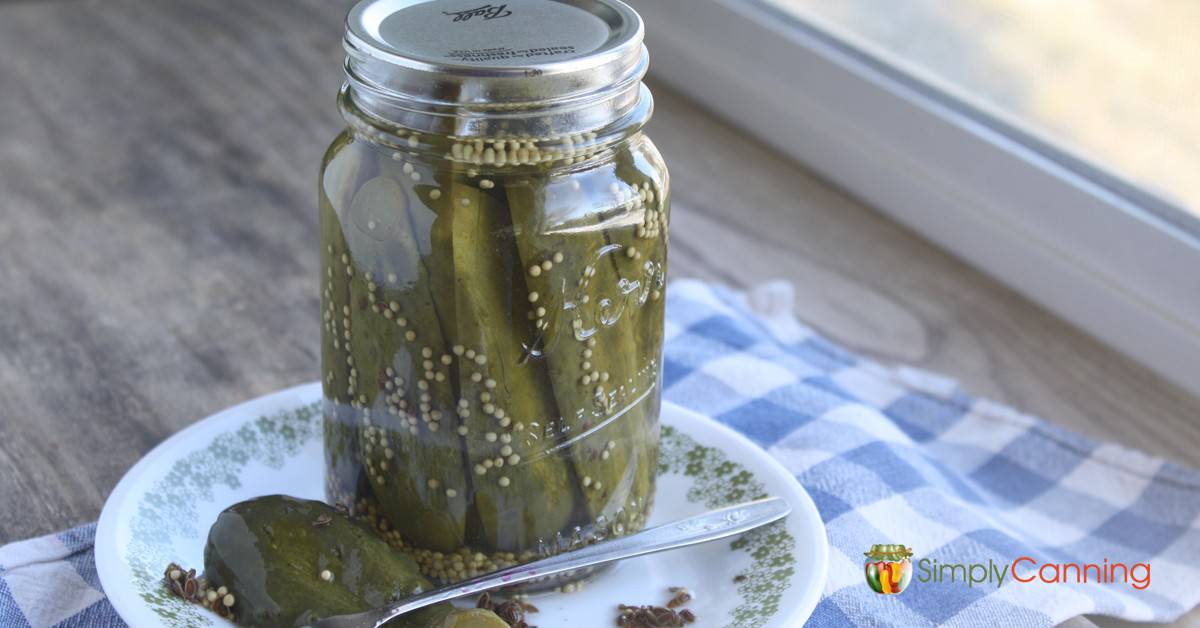
Lacto-Fermented Dill Pickles
Ingredients
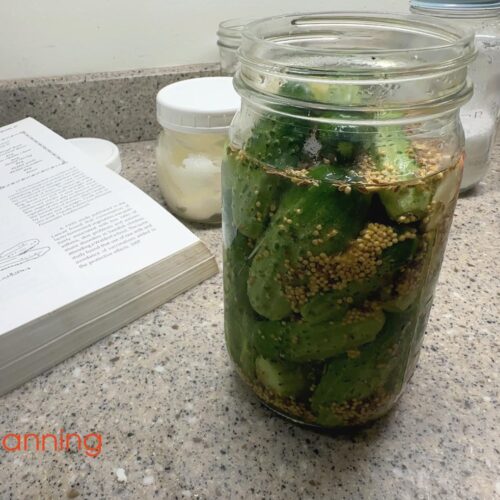
- – Pickling cucumbers enough to pack your jar
- – 1 large garlic clove per quart jar – optional
- – 1 tablespoon mustard seed per quart jar
- – 1-2 tablespoons dill 2 tablespoons if using fresh dill; 1 tablespoon if using dried dill seed
Brine
- – 1 T Salt — use canning salt or sea salt only not table salt (table salt has anti-caking additives that will cloud the brine)
- – 4 tablespoons whey see notes for how to make this
- – 1 cup water
Instructions
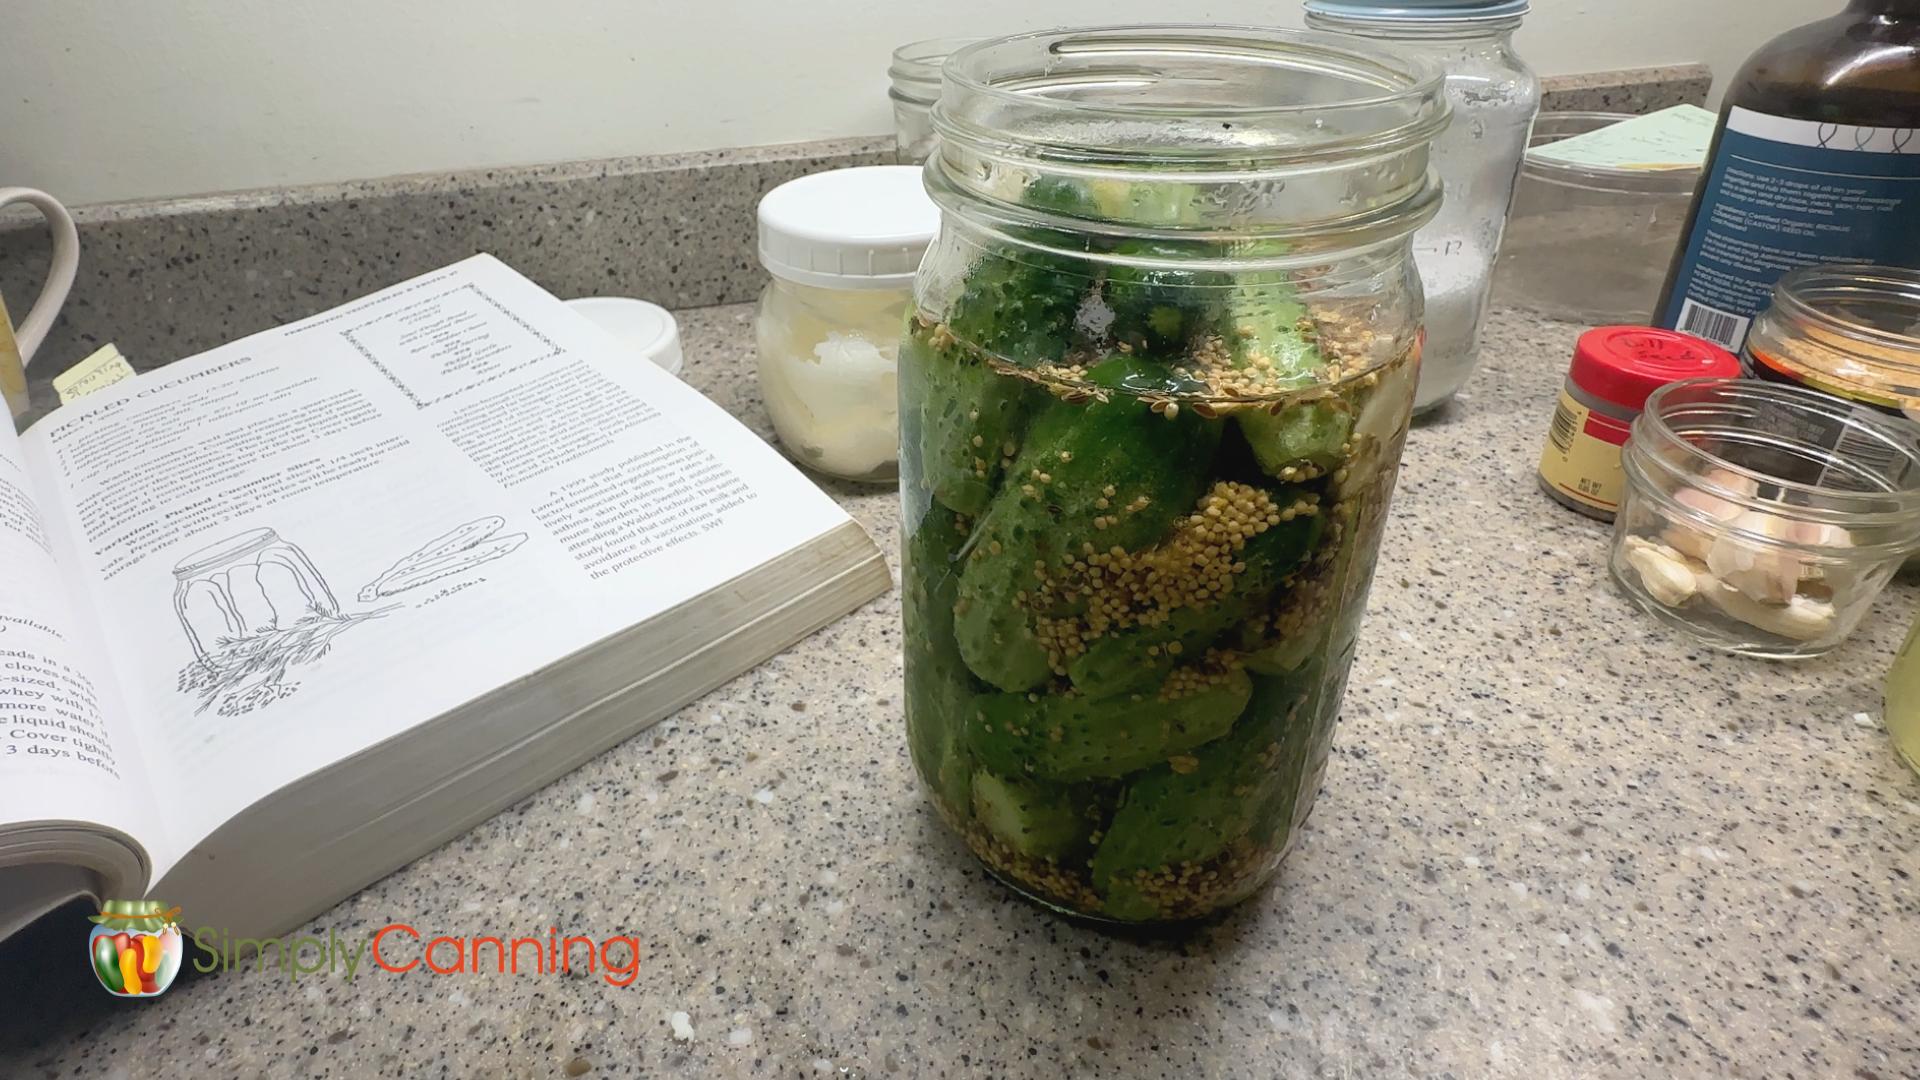
- Wash cucumbers and cut off the blossom end of each one. (This end contains enzymes that can make pickles go soft, so trimming it helps keep them crisp.)
- Pack the jar tightly with the cucumbers. Whole is fine or cut oversized cucumbers in half to fit.
- Add the garlic, mustard seed, and dill seed to the jar.
- Add the salt to the jar.
- Make the brine: mix 4 tablespoons of whey with 1 cup of water. Make more as needed. See notes on extra brine.
- Pour the brine over the cucumbers so they are fully under the liquid. If you need more liquid to cover them, add plain water, plus 1 tablespoon of salt for every extra cup of water. Leave 1 inch of space at the top of the jar. The pickles may swell a bit while they ferment
- Cap the jar and leave it on the counter for 3 days to ferment.
- Move the jar to the refrigerator for storage. Discard any pickles that turn slimy, smell off, or show mold.
Notes