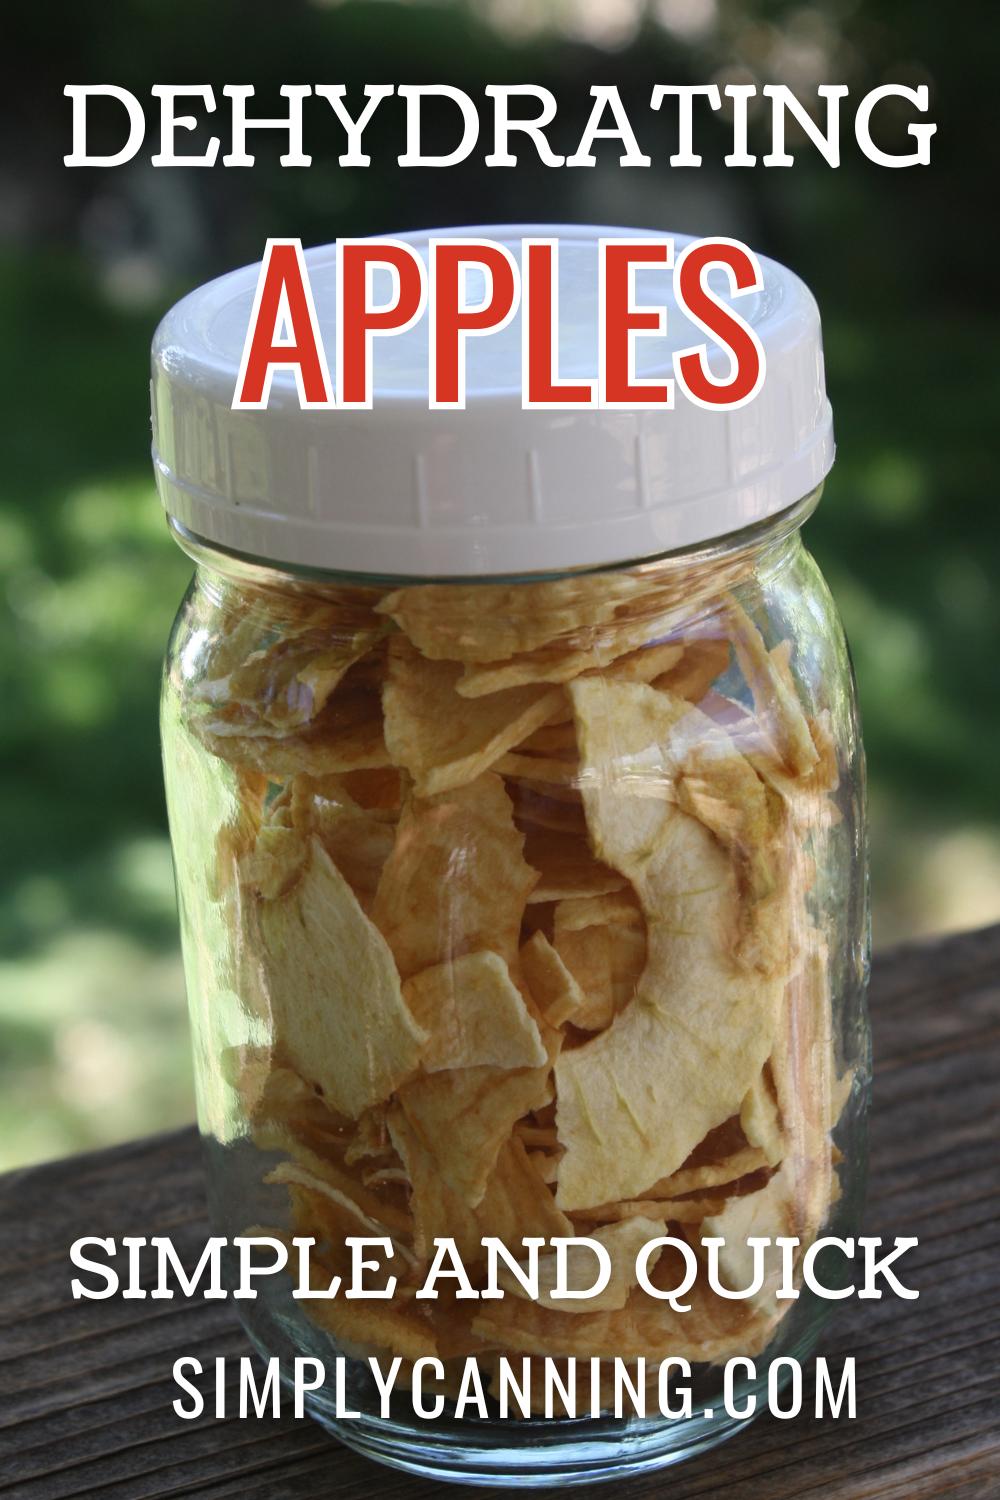
How to Dry Apples
This page may contain affiliate links. More Information.
Dehydrated apples are perfect for snacking, adding to granola, or rehydrating for recipes like apple pie filling! It typically takes about 6-7 fresh apples to yield a cup of dehydrated apples.
It typically takes about 6-7 fresh apples to yield a cup of dehydrated apples. This will vary.
Dehydrating Apples
- Wash apples thoroughly.
- Peel and core apples if desired.
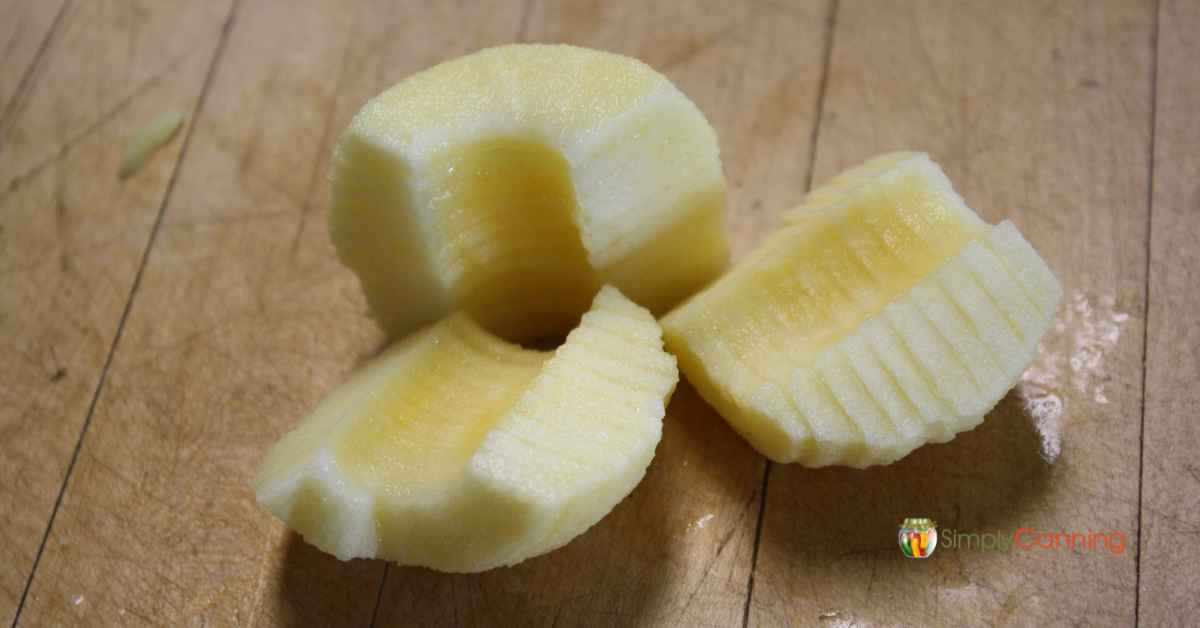
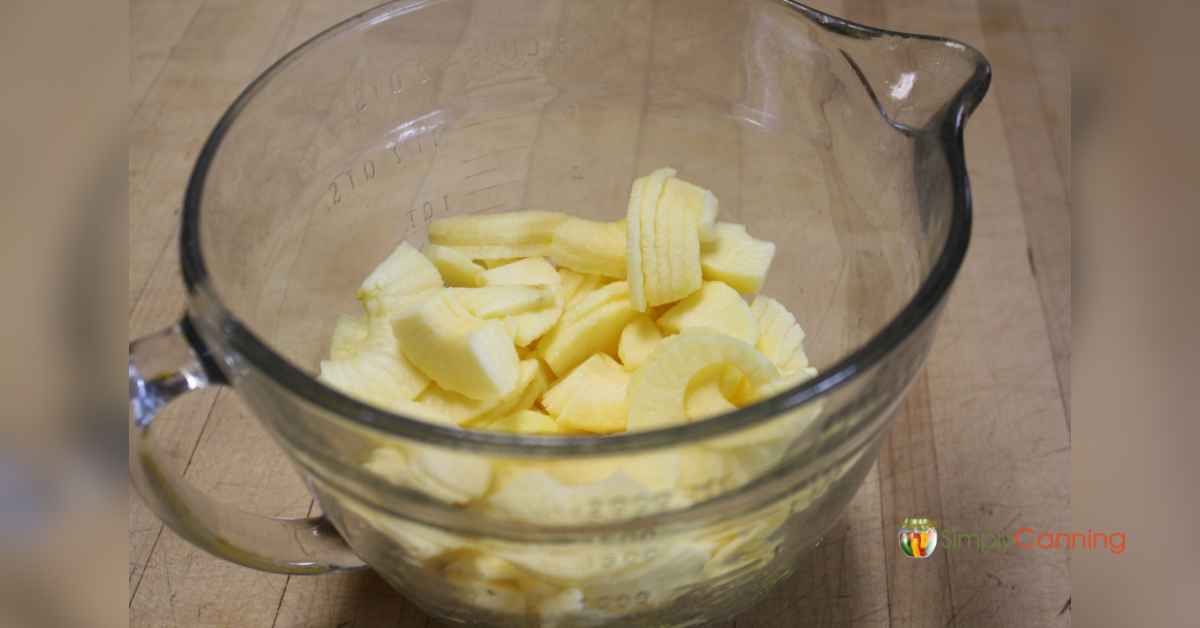
- Slice the apples thin, around 1/4-inch thick.
- Pre-treat to prevent discoloration. (See details below.)
- Dehydrate. (See details below on 3 dehydrating methods)
- Package and store.
Options and Decisions to Make
Peeling Apples for Drying: Required or Not?
Deciding whether to core or peel your apples depends on your personal preference. Peels can affect texture and appearance—some people like them, some don’t.
- Leaving the peels on adds fiber and nutrients and keeps the red color intact for red-skinned apples.
- Peeling the apples creates a softer texture, as the skins can become tough.
Personally, I like to peel mine, but I wouldn’t hesitate to leave the peels on if I was in a hurry. You might find you prefer peeled apples too!
Leaving the Cores In vs. Removing the Cores for Drying Apples
This brings us to the cores. You can choose to leave them in, but I always remove mine.
Leaving the cores in sliced apples can add a rustic touch. The cores with the seeds create a natural design in the center of the apple as it shrinks during dehydrating.
On the flip side, removing the cores makes using or snacking on your dehydrated apples easier. No cores or seeds to deal with.
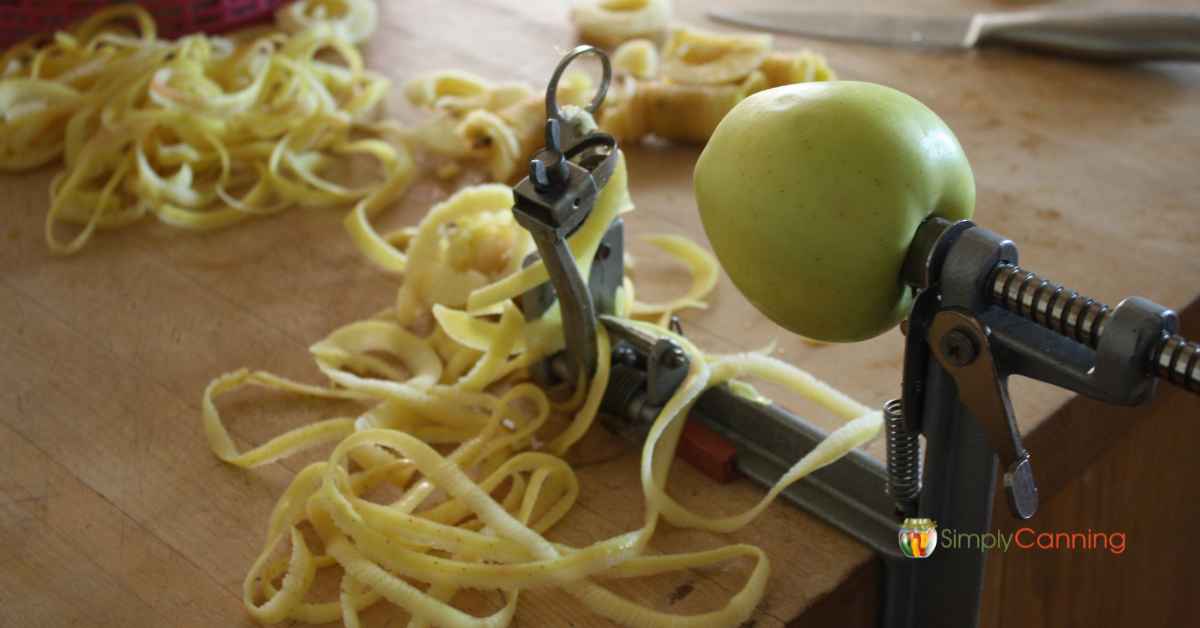
Slicing and coring: Advantages of Using an Apple Peeler Corer Slicer
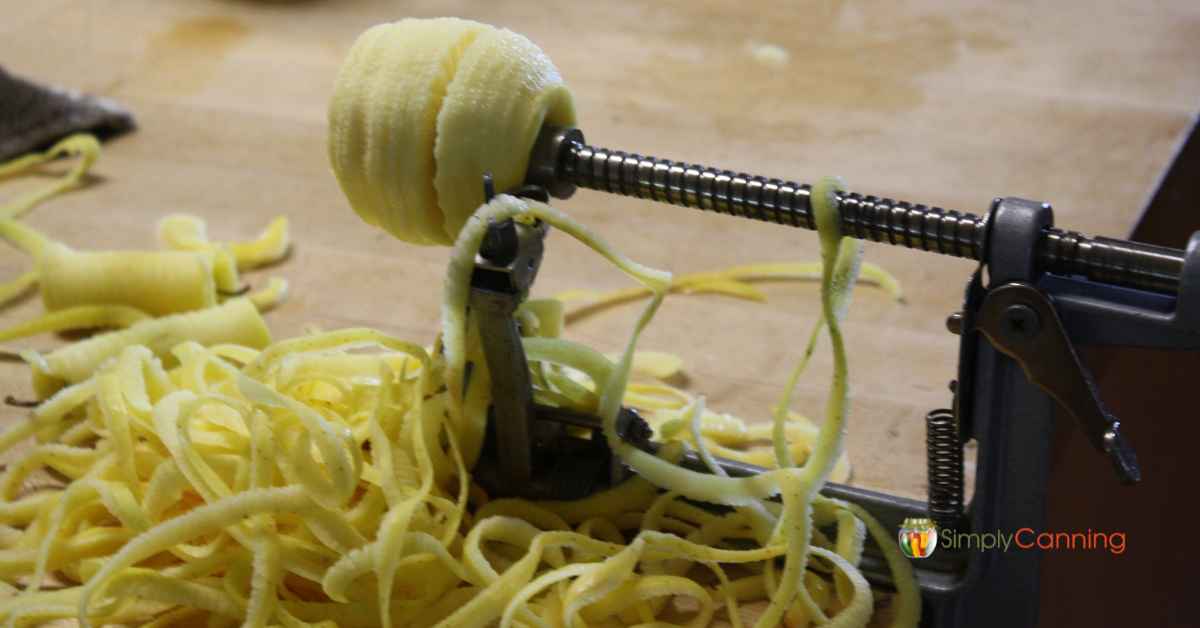
The more evenly your apples are sliced, the more evenly they will dry. A sharp knife works, but for larger quantities, an apple peeler corer slicer can save time and makes nice even slices. It peels, slices, and cores simultaneously, making the process much quicker.
If you’re facing a mountain of apples, investing in an apple peeler corer slicer. If you want to keep the peels but discard the cores an apple corer like this one is another great optin.
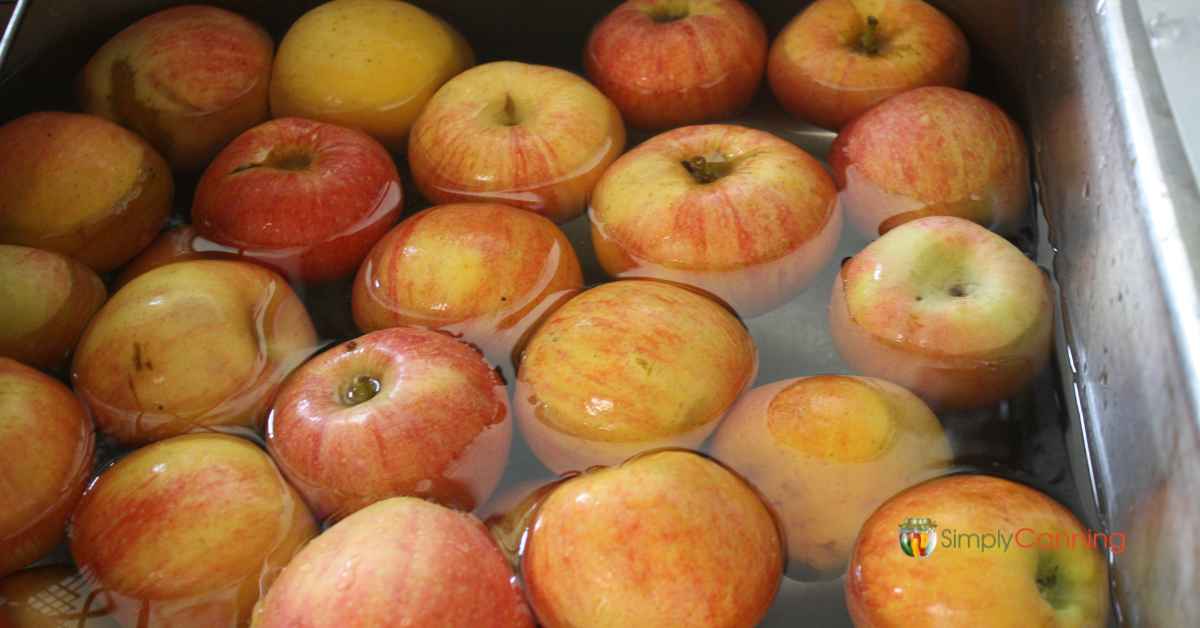
Pre-treating Apples Before Dehydrating
Pre-treating prevents browning, making the apples look more appealing.
Use one of the following solutions and soak apple slices for about 5 minutes:
- Sugar water: 3-4 tablespoons of sugar dissolved in 1 quart of water.
- Lemon water: 2 tablespoons lemon juice dissolved in 1 quart of water.
- Ascorbic acid (Fruit Fresh): Follow package directions.
- Salt water: 2 teaspoons of salt dissolved in 1 quart of water (my favorite).
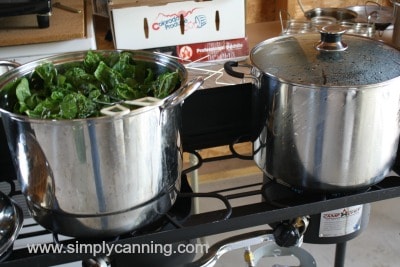
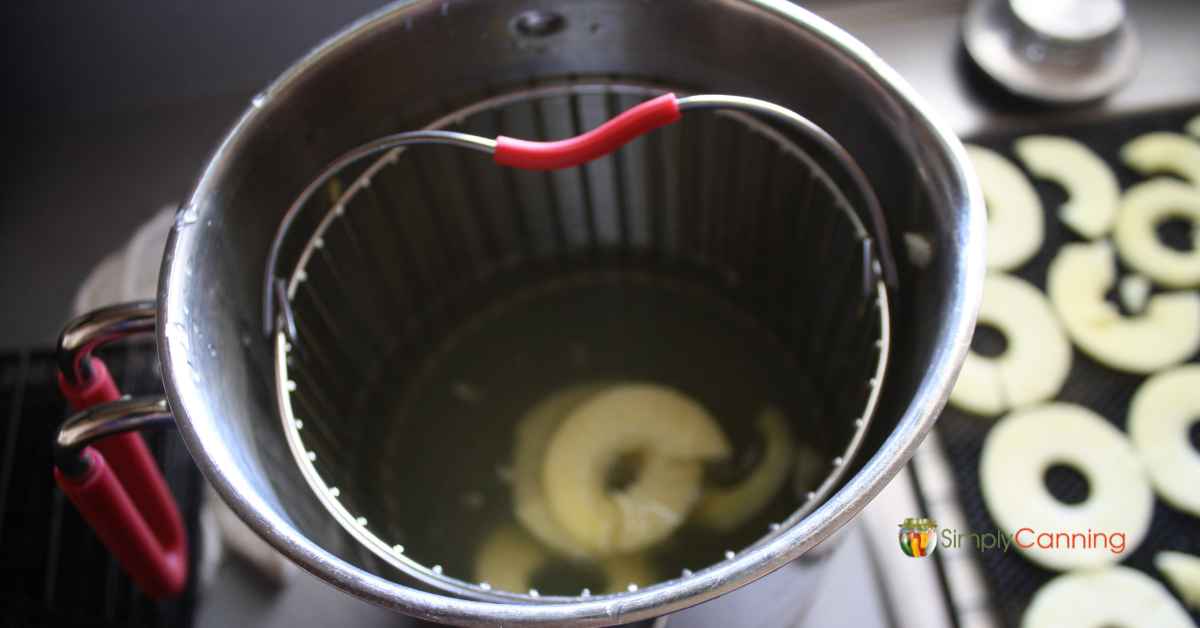
- Blanching: Blanch apple slices for 1 minute. This method, recommended by the NCHFP, helps prevent browning.
A comment about the salt water pretreatment: This has become a favorite of mine. It works really well. If you are concerned about a salty taste, you can rinse your apples with clear water before you dehydrate.
How to Dry apples – 3 Methods
You can dry apples using a few different dehydrating methods. Here’s a quick rundown:
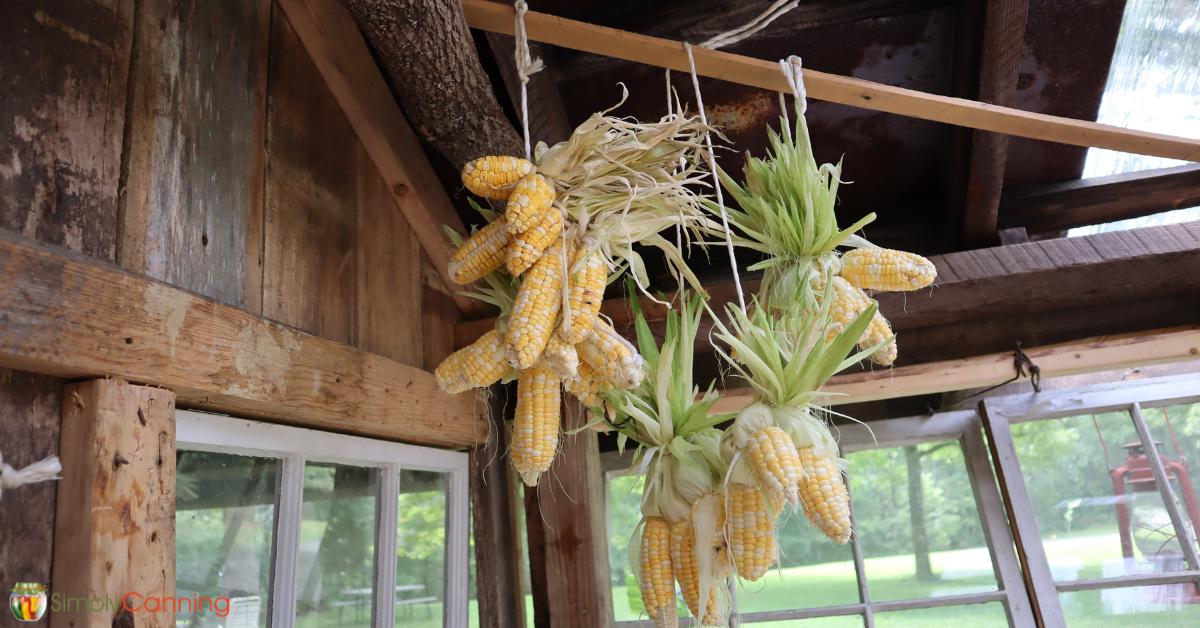
Air Drying Apples
The traditional method is to string the apples and hang them in a dry, protected, well ventilated area. Or you can place slices in a single layer on a baking sheet, a cooling rack or some other tray. Use a net cover to keep things clean and flip the apples daily.
This method requires consistent warm weather and takes several days and only works well if you have warm dry days.
Oven Drying Apples
Arrange the slices on a baking sheet, and bake at the lowest temperature. (150°F or lower) Leave the oven door slightly ajar for air circulation. Flip apples every couple of hours until dry. Drying takes 4-10 hours depending on your oven.
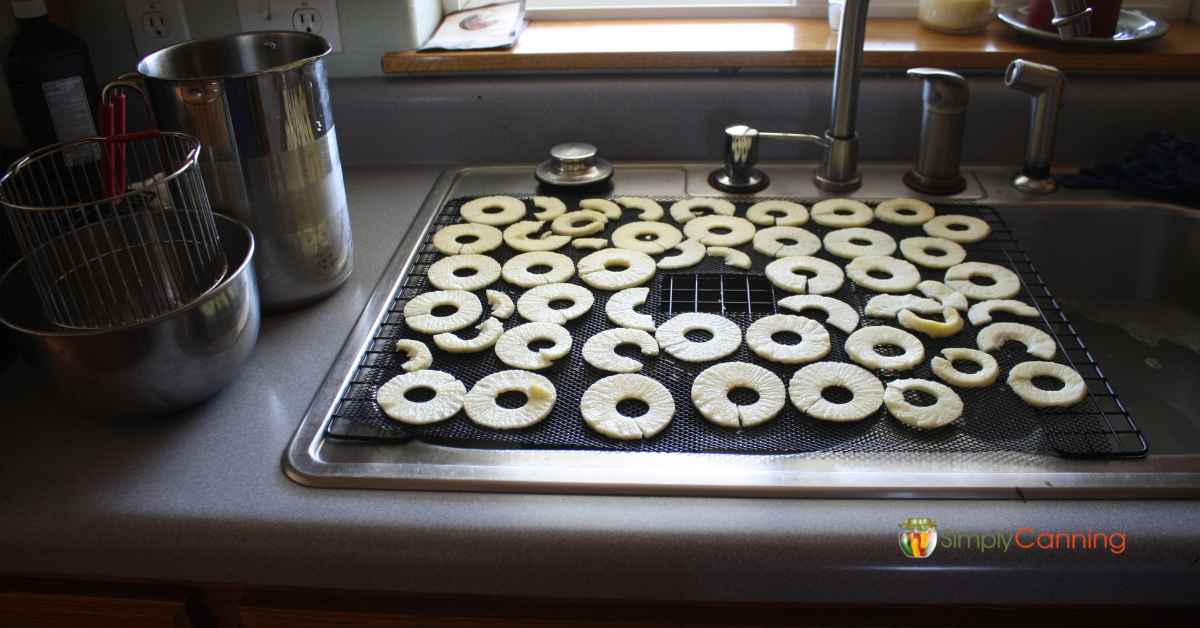
Dehydrator
My personal favorite method is to use a food dehydrator. Efficient and quick. Place the pre-treated apple slices on the dehydrator racks without overlapping. Set the dehydrator to 135°F and let it run for about 6-10 hours.
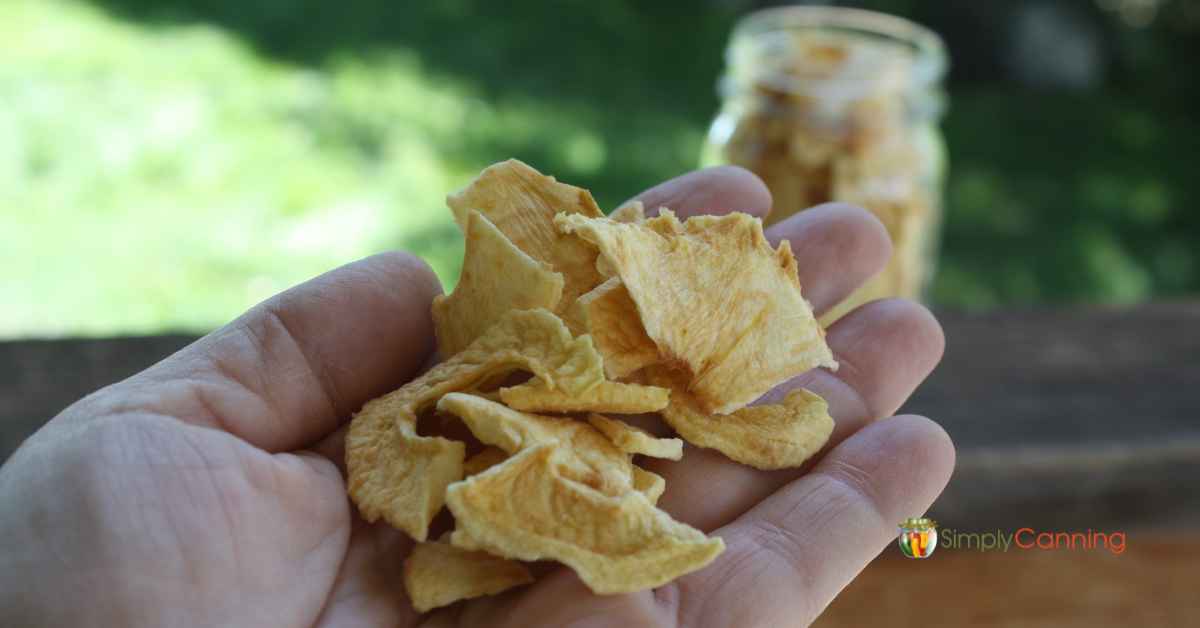
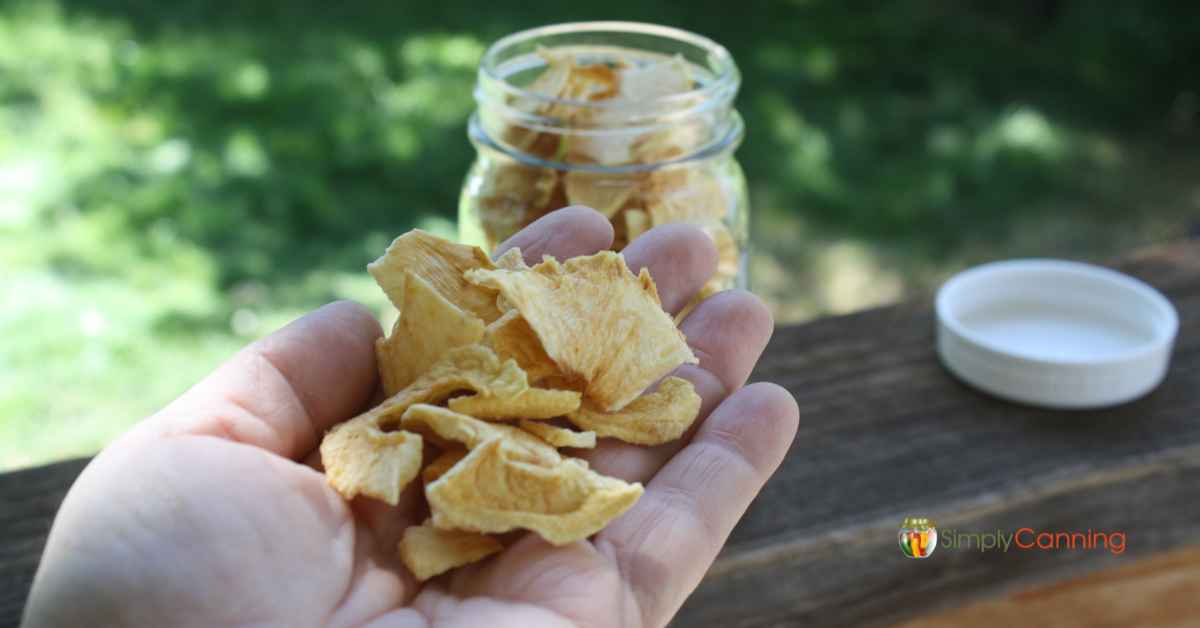
How to Tell When Dehydrated Apples are Done
You’ll know your apples are done when they’re leathery and pliable. You can dry longer and get to the crunchy or brittle stage if you like. ‘Bendy’ or ‘leathery’ is just fine.
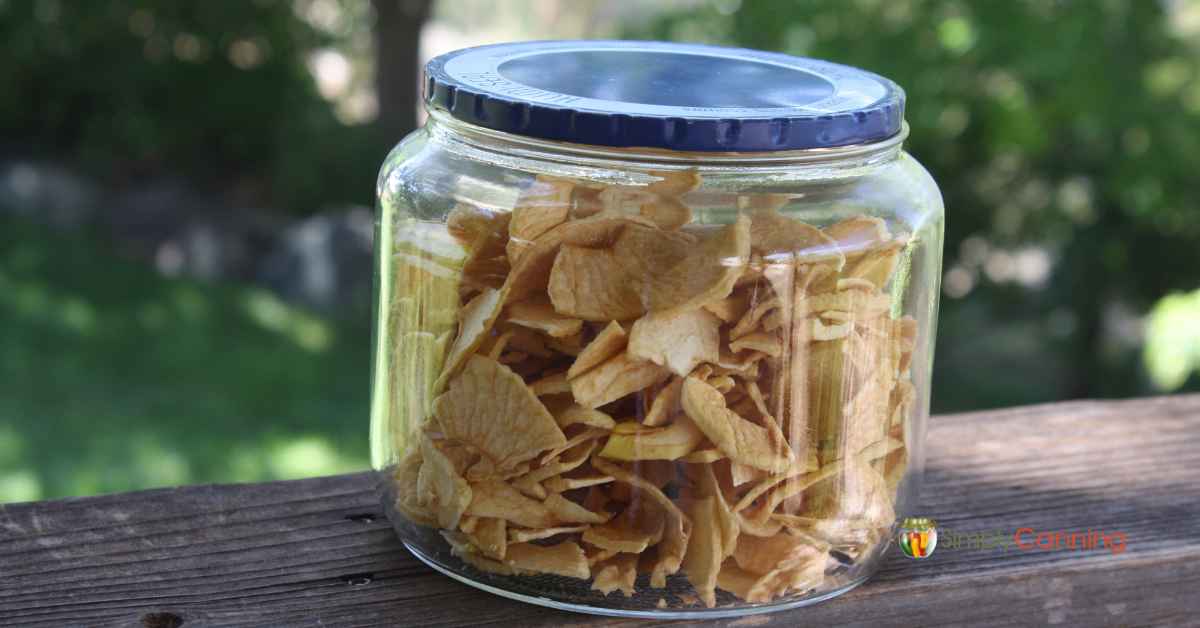
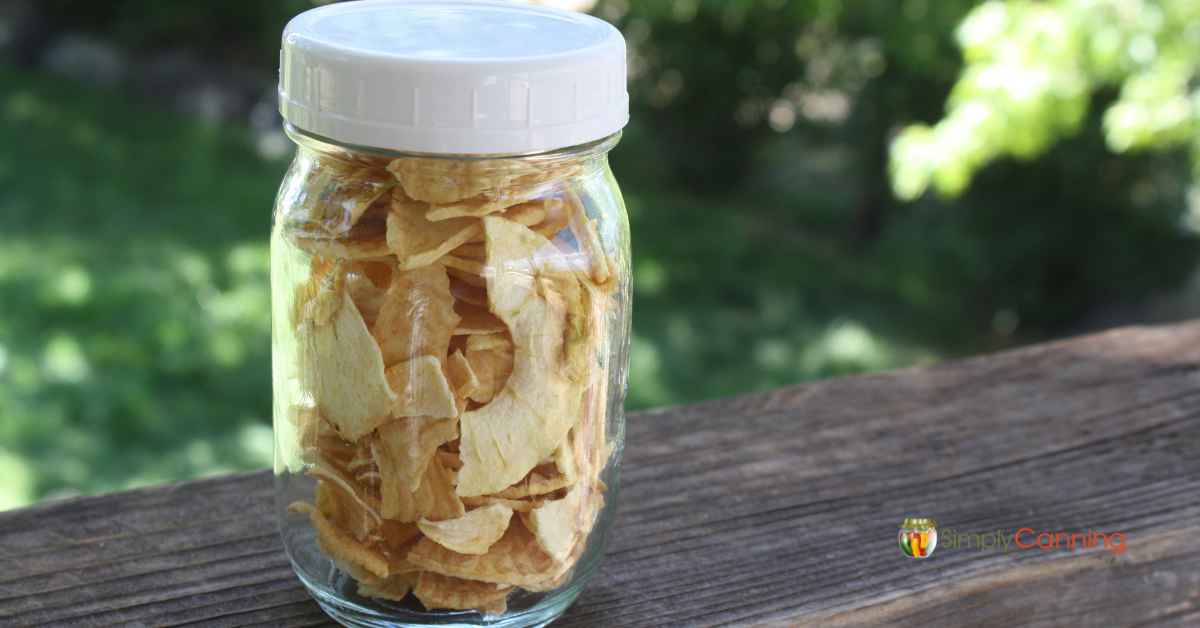
Conditioning Dried Apples
Before you store your apples, conditioning is simple a way to double check that the food is indeed completely dry. Place your dried apples in a clear jar with a tight lid. Shake and check the jar daily for a week, If condensation appears, the apples need more drying time.
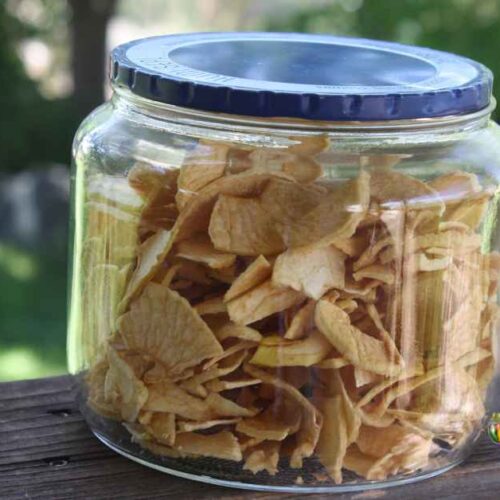
Storing Dried Apples
Store dried apples in a dry, dark place. Avoid heat, and direct sunlight especially if you have clear packaging. Cool is better than hot. After cooling, store dried apples in:
- Airtight containers: Jars or plastic containers. Reusable and visible but bulky. Store in a dark place to prevent light exposure.
- Vacuum-sealed bags: Compact and protects from air, moisture, and light but are single-use.
- Mylar bags: Durable and light-blocking but more expensive.
Label your containers. Trust me. You might forget when you dehydrated the apples or what is inside after a while, especially if you’ve got containers where you can’t see the product.
Properly stored, they can last for up to a year!
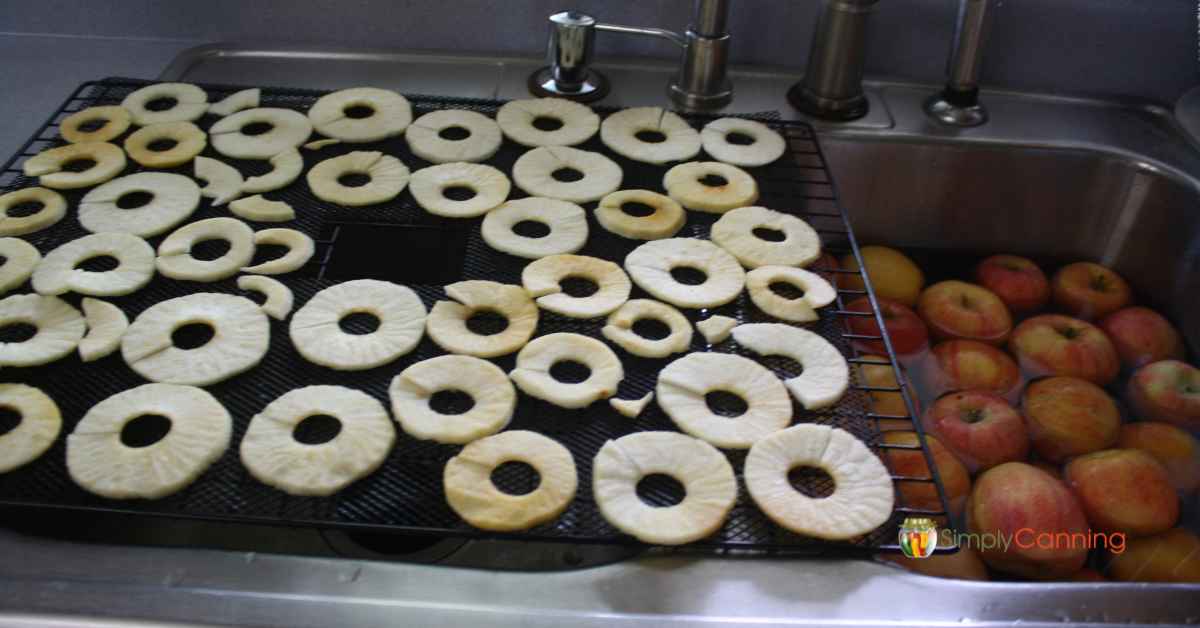
How to Make Dried Apple Rings
Making apple rings is no different from drying regular apple slices. You’ll simply core your apples before slicing them. Proceed with your chosen method of drying, and you’ll have beautiful apple rings. If you’re feeling crafty, these dehydrated apples, especially the rings, can also make beautiful, natural decorations!
Frequently Asked Questions on Dehydrating Apples
Oh, the possibilities! Eat them as is for a snack, toss them into granola or oatmeal, rehydrate them for pies or sauces. Trust me, once you start dehydrating apples, you’ll find endless uses for them!
Just about any apple can be dehydrated, but some varieties do better than others. I usually go for sweet apples like Honey Crisp, Gala, Fuji, or Red Delicious. That said, tart apples like Granny Smith give a lovely contrast to the sweetness brought out during dehydration. No hard rules here; it all comes down to personal taste!
You’ll just want to run your dehydrator for longer to make them more crispy.
Properly stored, they can last for up to a year!
Before You Go…
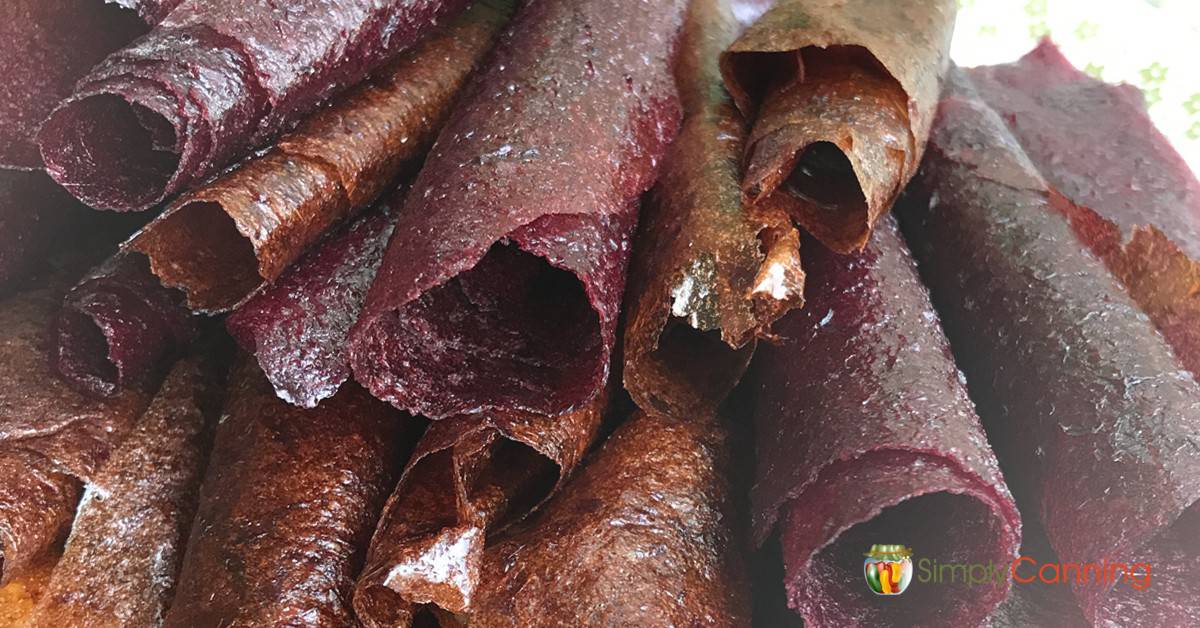
Got lots of apples? They’re also great made into applesauce, apple pie filling, or apple butter.
Recipe Card
Dehydrating Apples
Equipment
- Food Dehydrator
- Vegetable Peeler optional
- Airtight Container, like a canning jar
- Oxygen Absorbers optional
Ingredients
- Apples
- Pretreatment like sugar water, lemon water, saltwater, Fruit Fresh, etc.
Instructions
Dehydrating Apples
- Wash apples thoroughly.
- Peel apples if desired.
- Slice the apples into ¼-inch thick slices.
- Pre-treat for discoloring.
- Discard the cores and seeds.
- Dry apples. If using a dehydrator, run for 6-10 hours. If using an oven, set it to 150 degrees F or lower and run for 4-8 hours.
- Apples are dry when leathery and pliable, without any visible moisture.
- Allow dried apples to cool before storing in an airtight container in a dry, dark place.
Packaging for Storage Options
- Use sealed air tight containers.
- Mason Jars
- Mylar Bags/Vacuum Sealed Bags
- Good quality air tight plastic container.
Notes
If storage will be short-term, freezer bags will work just fine.