How to Make Fermented Sauerkraut: Raw Probiotic Rich Recipe
This page may contain affiliate links. More Information.
Fermented sauerkraut is one of those homemade foods that seems both timeless and incredibly satisfying – not to mention extremely healthy!
In the video, I walk through my process for making fermented sauerkraut—from prepping the cabbage to packing it tightly into the jar and letting it ferment on the counter for a few weeks.
(You can also follow along in the written instructions below the video.)
Links Mentioned in the Video:
- Kefirko Fermenting Kit
- Pickle Pipes fermenting lids
- Mandolin Slicer
- Other fermenting resources at Amazon
- Canning Sauerkraut in a water bath
Fermented sauerkraut is incredibly versatile! In this article, you’ll learn how to make raw fermented sauerkraut and safe ways to store your batch — whether in the fridge, freezer, or (for plain cabbage) canning jars.
Scroll down for more FAQs with extra tips and safety reminders including flavor variations.
How to Make Fermented Sauerkraut at Home (Step-by-Step Guide)
Making fermented sauerkraut at home only requires three ingredients:
- cabbage
- salt
- time
That’s it! No vinegar, no special starter—just a natural fermentation process that develops probiotics, flavor, and that classic, tangy crunch.
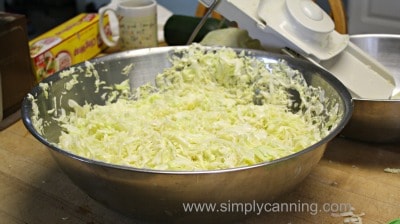
Preparing the Cabbage
Before you start, remove any damaged outer leaves from the cabbage. These can go straight into your compost pile.
You’ll shred the rest of the head using one of the following:
- A sharp knife
- A mandolin slicer (my favorite for thin, even cuts)
- An attachment or shredding blade on a food processor.
Your shreds should be fairly thin for best results. Thin shreds ferment more evenly, but don’t stress too much — this is forgiving. There’s some wiggle room depending on your texture preference.
Weighing and Salting
Salt is important for proper fermentation, This is not a vinegar based product nor does it use a starter. Salt is what starts the fermenting process. And the measurements are by weight.
- For every 5 pounds of cabbage, use 3 tablespoons of canning or pickling salt.
In the video, my cabbage weighed 2½ pounds, so I used 1½ tablespoons of salt.
Sprinkle the salt over the cabbage and mix it thoroughly with your hands. Massage it in well so it is mixed throughout.
Here is a 16″ bowl.
Letting the Cabbage Rest
Once salted, cover and let the cabbage rest for a minimum of 1 hour. This allows the salt to pull moisture from the cabbage, softening it and creating the natural brine your fermented sauerkraut needs.
If life gets busy and it sits longer—no worries! A couple extra hours won’t hurt a thing. In fact, it often produces more brine.
Packing the Jar
After resting, the cabbage should look wilted and juicy. Now it’s time to pack it into jars.
What You’ll Need
- A wide-mouth glass jar
- A kraut pounder or wooden tamper
- A fermenting lid (Pickle Pipe, or similar)
- OR Kefirko fermenting kit.
In this video I used the Kefirko jar and lid. It’s a favorite of mine.
How to Pack Sauerkraut
Add cabbage to the jar in layers, pressing each layer firmly to work the cabbage and draw out brine. As you add layers you’ll start to see start liquid rising above the cabbage.
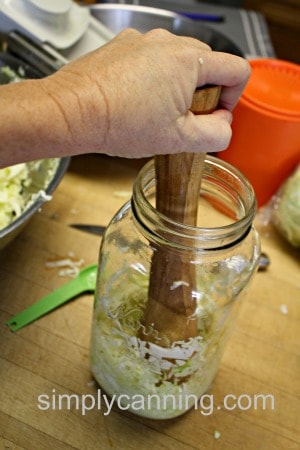
Stop packing before you reach the top. Leave 4 inches of headspace or you may get some bubbling overflow during fermentation! 🙂 Ask me how I know! (check the video and you’ll see my overflowing bubbly goodness. I’ve done this more than once. You’d think I’d learn. )
Important: During fermentation your cabbage must stay completely below the brine at all times to avoid spoilage.
Do you need Extra Brine?
You usually won’t need extra brine. But if your salted cabbage seems dry or you just can’t keep it below the level of the natural brine, you can make your own and add it to the jar.
Simple Brine Recipe
- 1 quart water
- 1½ tablespoons canning or pickling salt
Bring to a boil, dissolve the salt, then let it cool completely. Pour over the cabbage until it is fully submerged. Never add hot brine to your ferment.
Keeping the Cabbage Submerged
Keeping cabbage under the brine prevents spoilage and mold. It is helpful to use something to hold it down. Pickle Pebbles are what I use. They are a glass weight. You can also use:
- Reserved outer leaves of the cabbage folded over the top
- A sealed baggie filled with brine (not plain water, if the bag bursts it would dilute the brine. You need the salt levels to maintain.)
- If you are filling an old fashioned fermenting crock, but you don’t have the lid, try using a plate that will just fit inside the crock close to the edges. Place something on top to keep it down. A small jar filled with brine works. The goal is to keep the shredded cabbage submerged.
- The simplest method if you don’t have handy weights, is to place a small brine-filled storage baggie inside the fermenting jar on top. Fill this with a brine mixture, not plain water. If the bag breaks you don’t want to lower the salt content of the brine in the ferment.
Use what you have — specialized tools are helpful but not required. My preference is these glass fermentation weights, but I’ve had success with the baggie method too.
Setting Up for Fermentation
After weighing down your cabbage, place your fermenting lid on the jar.
These lids let gases escape while keeping oxygen from slipping back in.
These are my 2 favorite options for fermentation lids plus a link to some other styles.
Some people will just cover with a cloth, but I don’t recommend that. (see more below)
Fermentation Timing
Fermented sauerkraut generally takes 3–5 weeks, depending on the temperature of your home. Shorter time in warm weather; longer time in cooler seasons.
An ideal fermentation range is 70–75°F. But it will happen even if conditions are not in that ideal range.
About 3-4 weeks in, start checking for flavor. This is where your preferences come in. Simply take the lid off, take a bit out and taste it. (No double dipping! You want to keep the contents clean)
Ferment until it tastes right to you. There’s no single correct finish date.
Quick tip: Write the date on the outside of the jar so you’ll know when to start checking for flavor. Trust me, it’s easy to forget. I like to add both the date I started the fermentation and the date I want to start tasting it.
What’s Normal During Fermentation
- Bubbling is normal
- Liquid levels may rise and fall
- You may need to press cabbage back under brine
If you’re using a cloth cover or a cabbage leaf instead of a fermenting lid, you may see a light surface scum. This can be skimmed off. I always second guess myself when I get scum. So…. this is why I like the fermentation lids. They greatly reduce the chance of that scum forming. Scum is just gross.
Sauerkraut should smell tangy and fresh — not rotten.
Storing Your Sauerkraut
Once fermentation is complete, you have a few options for storing your sauerkraut. Each method has its own benefits depending on how you plan to use it.
Refrigerator Storage (Raw & Probiotic)
This is my top recommendation. Simply replace the fermenting lid with a regular lid and move the jar to the refrigerator.
Cold storage slows fermentation and keeps the sauerkraut raw and full of probiotics. It can last for months in the fridge.
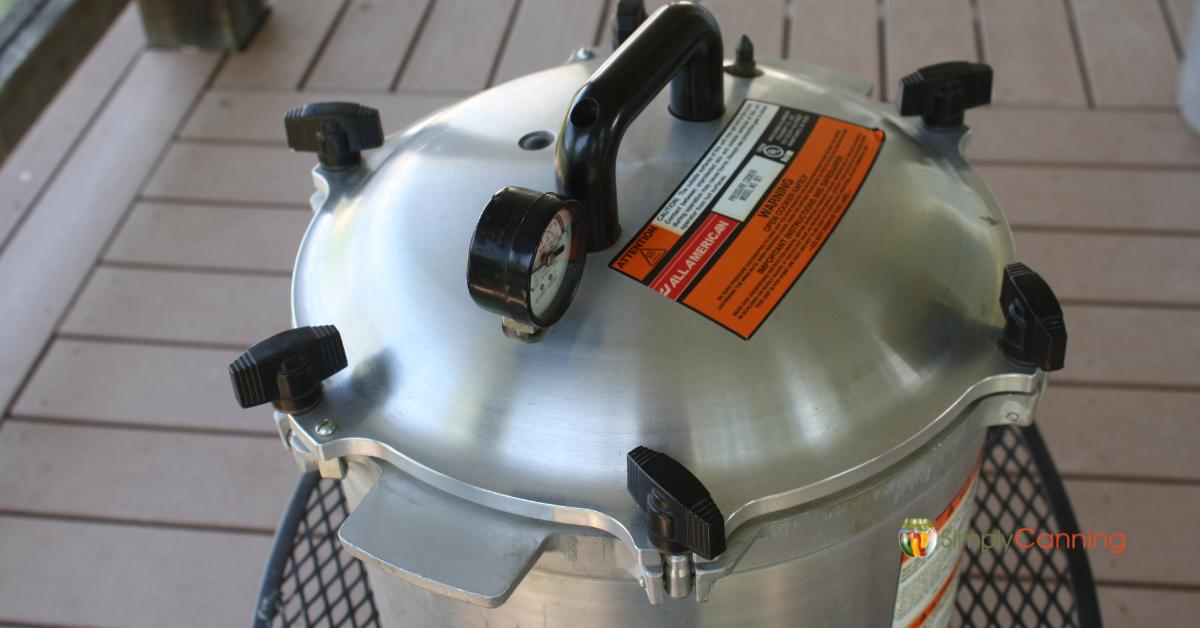
Canning for Shelf Storage
Canning stops fermentation and removes probiotic benefits, but it’s a safe storage option. When I have a lot of cabbage I’ll can it for convenience as well as keep some in the fridge.
It is a great 2nd choice and still MUCH better than store bought.
Full instructions here: How to Can Sauerkraut Safely
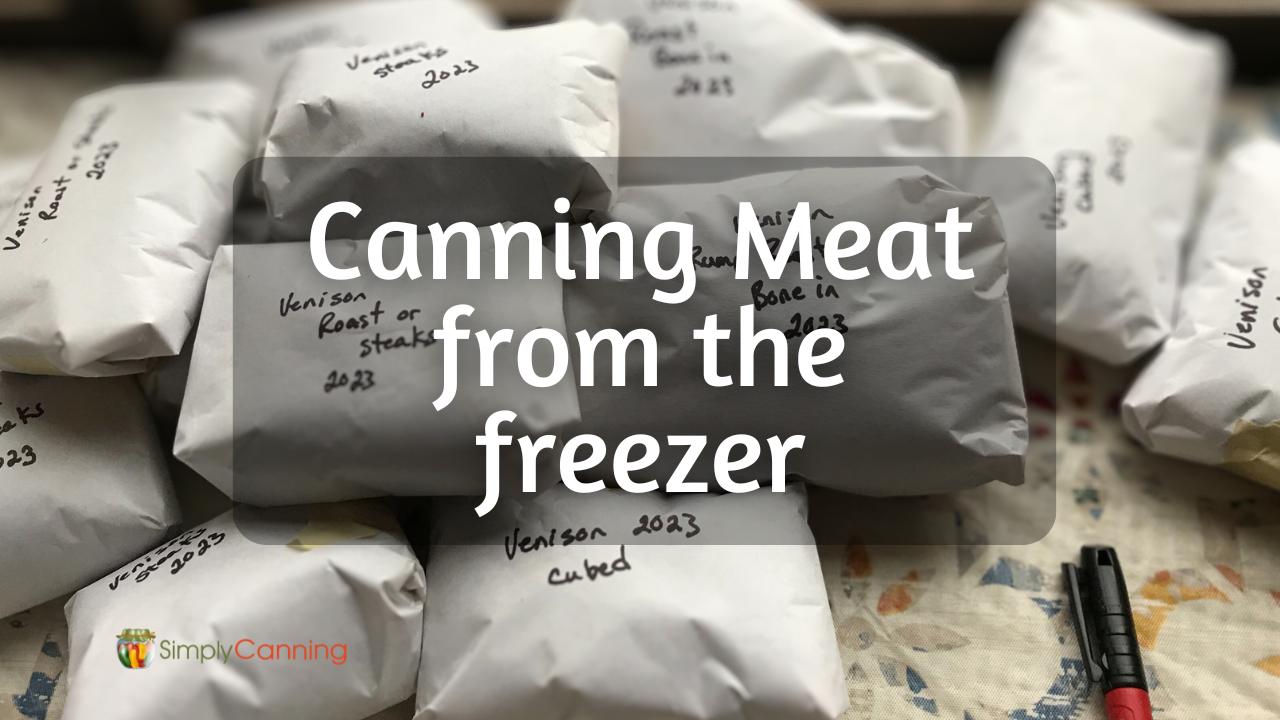
Freezing Sauerkraut
Yes — you can freeze fermented sauerkraut! Simply pack it into freezer-safe containers or bags and freeze.
Frozen sauerkraut will retain its flavor and health benefits, But the texture may become slightly softer once thawed. I’ve done this and it works just fine.
FAQ: Fermented Sauerkraut Tips
Yes! Carrots, caraway seeds, garlic, onions, and herbs like dill or juniper berries are safe. Keep additions to about 25–30% of total vegetable weight and maintain the correct salt ratio. And shred vegetables just like the cabbage.
Canning is different from fermentation. Tested canning recipes are for plain fermented cabbage only. Flavored ferments are best stored in the fridge or freezer to stay safe and retain probiotics
No. Use fresh brine each time. Leftover brine may not have the right salt balance or acidity, which can affect fermentation.
Recipe Card
Video
Equipment
- Mandolin Slicer or something else to slice cabbage finely
- Kraut Pounder or a spoon works too
- Weight like Pickle Pebbles, plate, small jar or bag filled with brine, etc.
- Fermenting Lid optional
- Bowl
- Fermenting Jar or canning jars
Ingredients
- 5 pounds Shredded Cabbage
- 3 Tablespoons Pickling Salt
- Water combined with more salt for additional brine if needed
Instructions
- Remove outer leaves, core cabbage, and slice in half. Slice cabbage into very thin slices.
- Weigh out 5lbs of shredded cabbage into a large bowl and thoroughly mix in 3 Tablespoons of salt.
- Allow cabbage to rest for about an hour, until wilted and slightly juicy.
- Pack tightly into containers. Add one layer, press down tightly. Add another layer, press down tightly. Continue until all cabbage is used.
- Add brine if needed. Cabbage must be fully covered. To make brine; bring one-quart water and 1.5 Tablespoons salt to a boil. Let cool.
- Weigh cabbage down to keep it below the brine at all times.
- Cover your container with a cloth or fermenting lid. Label jars with start dates and estimated end dates.
- Store your jars for fermenting in a cool, dark place. The best temperature is 70-75 degrees for about 3 – 6 weeks. This may vary according to your actual temperature. Cooler temperatures may require more time, warmer temperatures may require a shorter time. Remove scum if needed.
- Sauerkraut is done when fermented to your tastes. Store in the refrigerator once complete.
Notes
- NCHFP