How to Hang Dry Corn on the Cob
This page may contain affiliate links. More Information.
Air drying corn on the cob is one of the simplest, most traditional ways to preserve a harvest. It requires no electricity, very little equipment, and gives you a pantry staple that lasts for years if you do it right. If you’ve never dried corn on the cob before, you’ll be surprised by how easy and satisfying the process is!
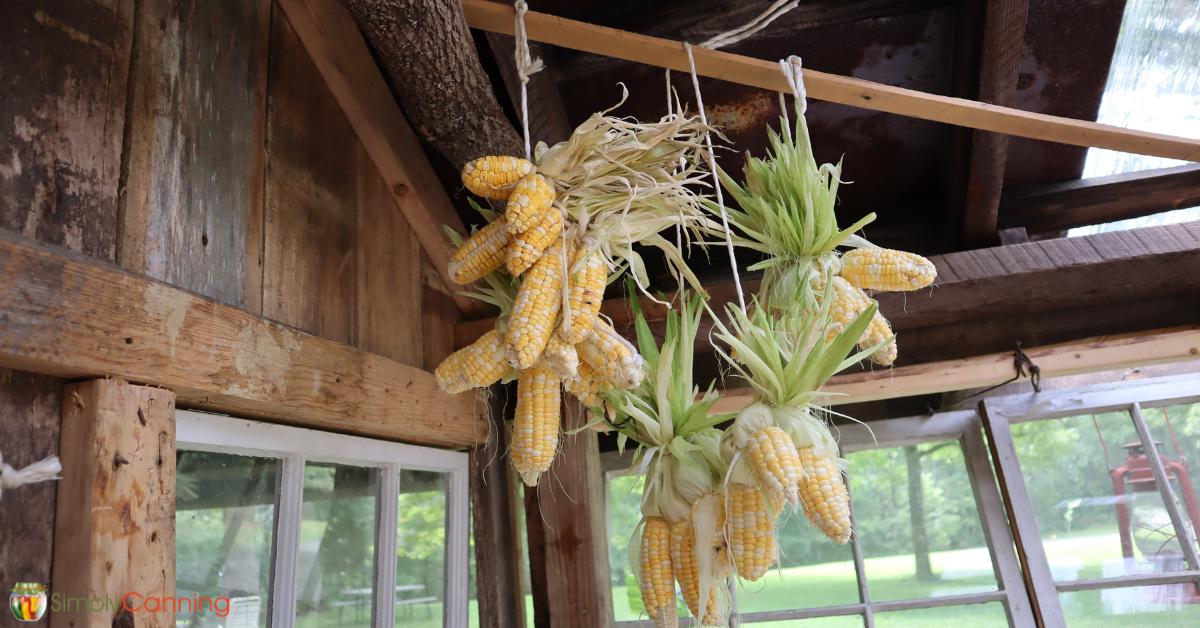
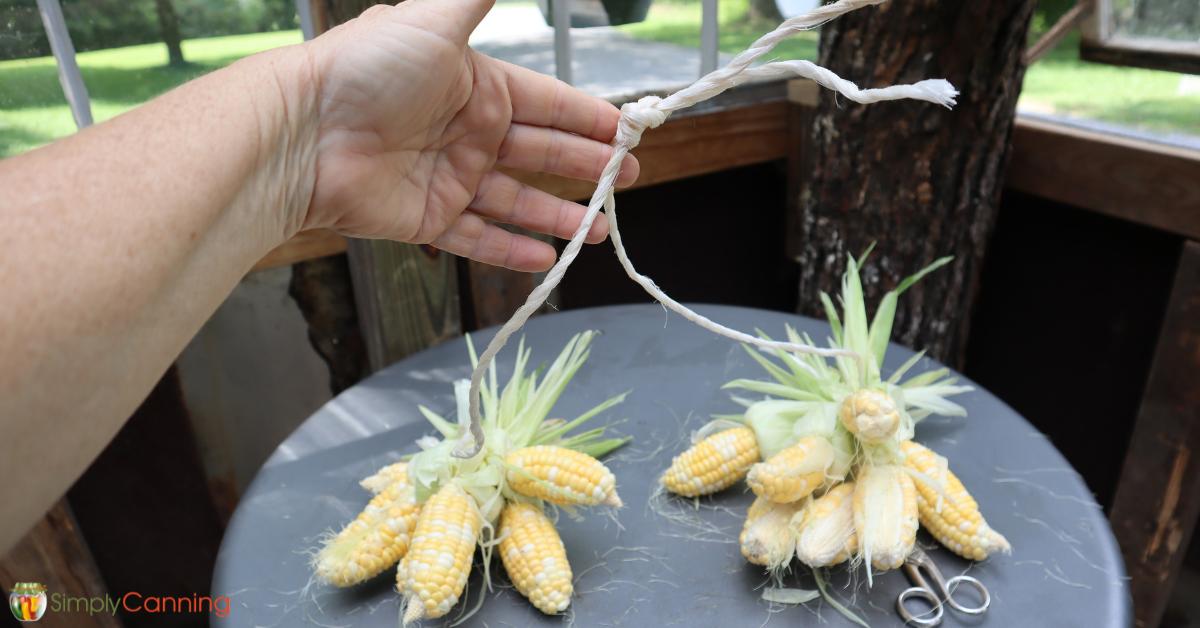
The bundle on the left is already partially dried. The bundle on the right was just hung up.
This page is all about hanging and air drying. I have also stripped fresh corn cobs and dried just the kernels. If you want to dry just the kernels check this post linked here.
While technically, hang drying corn can be done with sweet corn, it is more commonly done with popcorn or corn used for grinding (“dent corn”), since those types of corn are already used dry. The end product can be eaten by humans OR animals!
I decided to dry some of it.
How to Dry Corn on the Cob
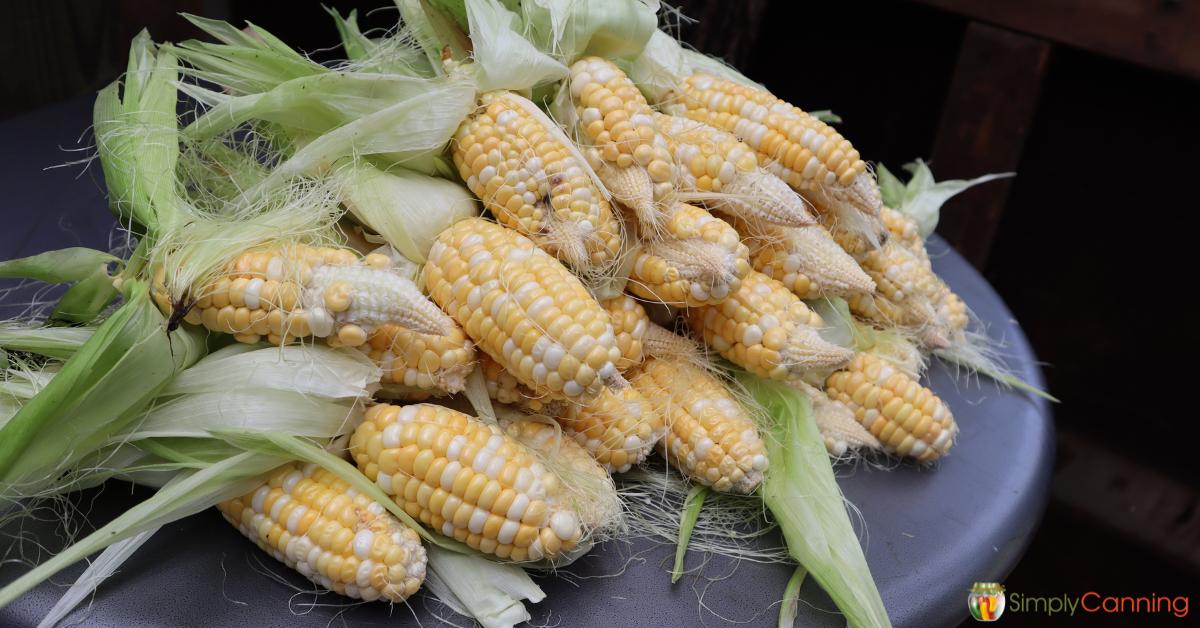
Start by choosing fully ripe ears of corn. If the weather is dry, you can actually leave the corn on the stalk until it dries naturally—that’s the easiest method. But if heavy rain is in the forecast or humidity is climbing, pick the corn earlier to prevent mold and spoiling in the garden.
Another thing to keep in mind is humidity in general. In dry Colorado it was very easy to hang dry foods. Here in E Tennessee it is a little more tricky. Usually corn ripens late enough in the fall that is is our dry season so it works. But if you’ve got early corn watch your weather.
Once harvested, peel the husks back but leave them attached. Peel them back just enough so you can tie them later if you choose to hang the cobs. You don’t need to wash the cobs unless they’re visibly dirty; brushing off dirt is usually enough.
Drying Methods & Time
Hanging the Cobs
This is my preferred method because it takes advantage of natural airflow. Smaller bundles are better than large. Air flow is key! (I’ll likely repeat that several times on this page.)
Tie the cobs together tightly by their husks. This is important—husks shrink as they dry, and loosely tied cobs will fall.
This is how I did it:
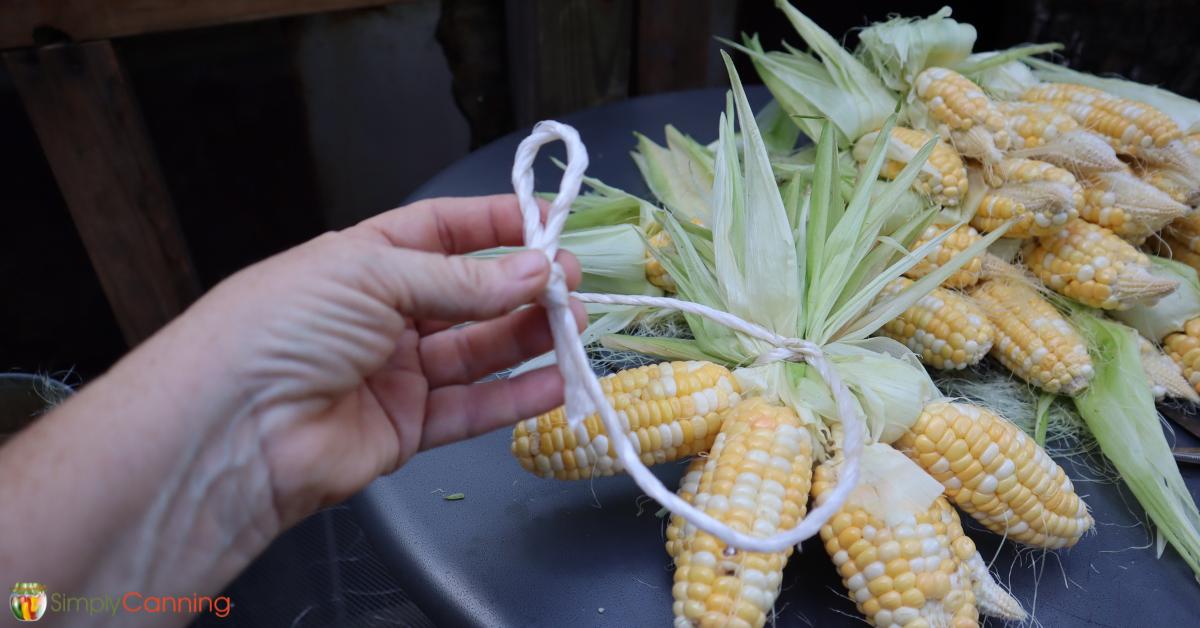
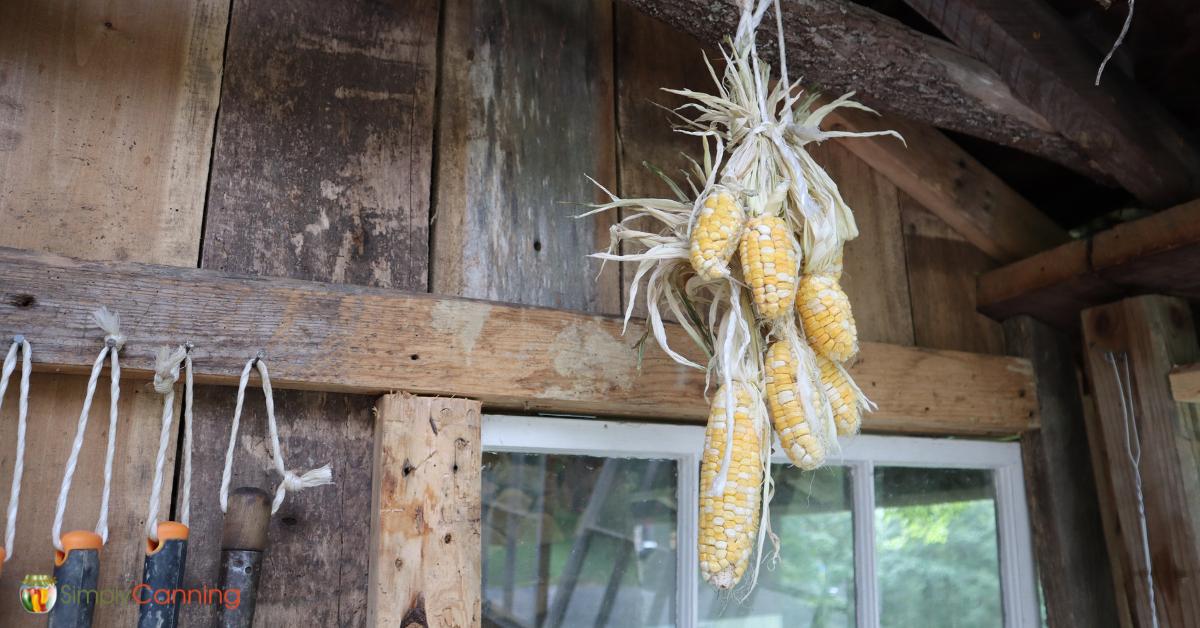
Hang your bundles in a warm, airy location with plenty of ventilation. Good airflow is the key to preventing mold. I ended up hanging them to dry in my homemade greenhouse building, since it gets a lot sunlight and airflow late in the year when I need to dry corn.
Laying the Cobs Out
If hanging isn’t convenient, you can also lay the cobs on a rack, table, or screen where air can move freely around them. Keep them single layer and leave space between each cob if possible. Again- airflow is key.
Drying on the Stalk
If you live in the right climate, you can leave the corn on the plant until it dries completely. This is only practical during stretches of little to no moisture.
It won’t work if you live in a humid climate like I do here in TN. I tried it with a few stalks just to see how it worked… It didn’t. I ended up just giving those cobs to my chickens.
How Long Does Corn on the Cob Take to Dry?
Drying time varies widely based on humidity, temperature, size of the cobs, and airflow. Expect several weeks for full drying—sometimes longer in damp climates.
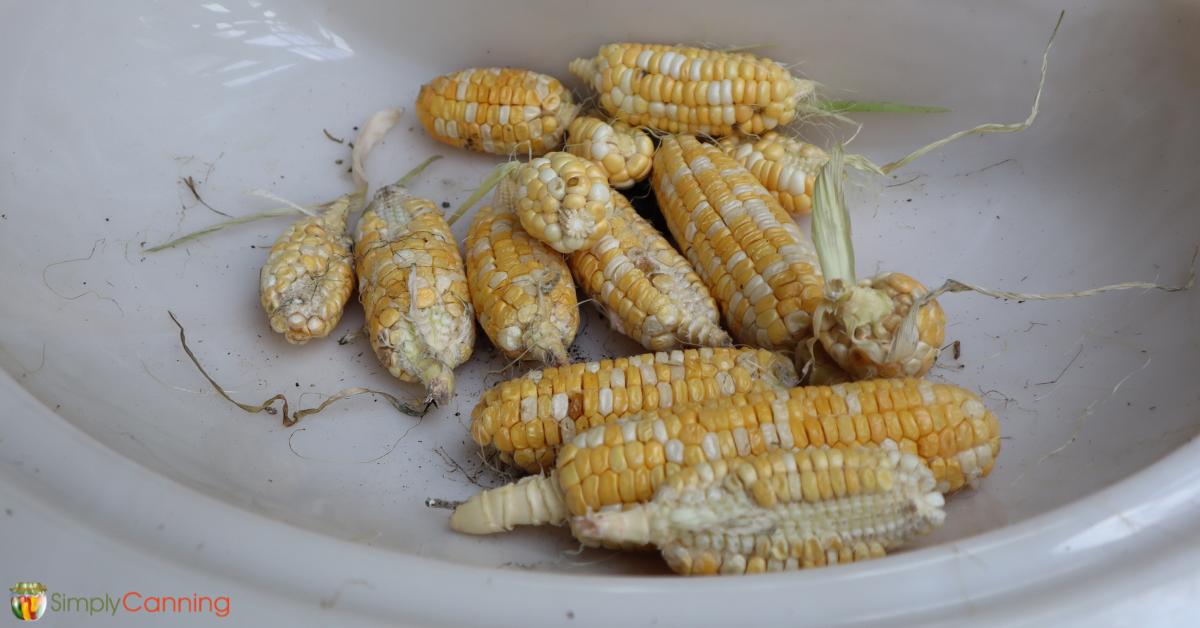
Texture When Dry
Fully dried corn kernels will be very hard—too hard to dent with your fingernail. If the kernels still feel waxy or soft, they need more drying time.
Once dried, remove the kernels from the cob for storage. They should pop off with your hands when properly dry. This can be hard on your hands so gloves do help. There are corn shellers available. Here is a simple corn sheller on Amazon. If I did a lot of corn like this… I’d be getting one of these to try.
Rehydrating Tips
To rehydrate whole kernels, you can cover with warm water. Soak for 1–2 hours, or simmer gently until tender.
Air-dried corn can also be rehydrated right in in soups, stews, and chilis.
It can also be ground into cornmeal. For grinding, do not rehydrate. Just run the dry kernels through a grain mill or a sturdy high-speed blender.
Popcorn is ready to pop once removed from the cobs!
Storage of Dried Corn
Condition the kernels before long-term storage by placing them in a closed glass container for 5–7 days and shaking daily to check for moisture buildup.
If you see signs of dampness, the corn is not ready for storage. Dry it some more. Lay it out again or maybe pop it into a dehydrator to dry that last little bit. A few hours should do it.
If you see signs of mold…. bummer but I suggest you toss it. If you see mold there is likely mold throughout.
Store in airtight jars, canisters, or vacuum-sealed bags. Keep in a cool, dark place for the longest shelf life.
Properly dried corn can last for years! There’s a reason corn was traditionally stored in this manner.
My Tips
- Watch the humidity—both before harvest and during drying. High humidity is the biggest cause of mold.
- Tie tightly if you’re hanging corn. Loose ties will slip as the husks shrink when they dry. I often end up retying the bundles as they dry.
- Use fully ripe ears that are perfect for eating. Over ripe will work but the quality isn’t as good.
- Once dried, grind the kernels for homemade, shelf-stable cornmeal.
- Whole dried kernels make excellent additions to winter stews and soups.
Quick Reference
- Drying Time: Several weeks depending on humidity
- Texture When Dry: Very hard kernels, no softness or give
- Storage: Condition, then store airtight in a cool, dark place
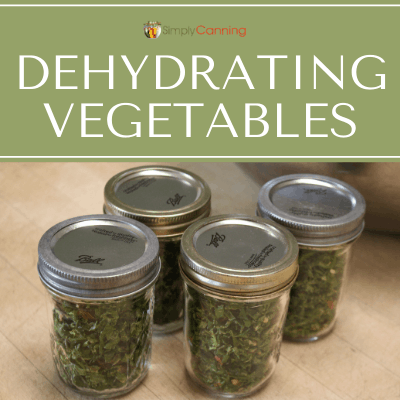
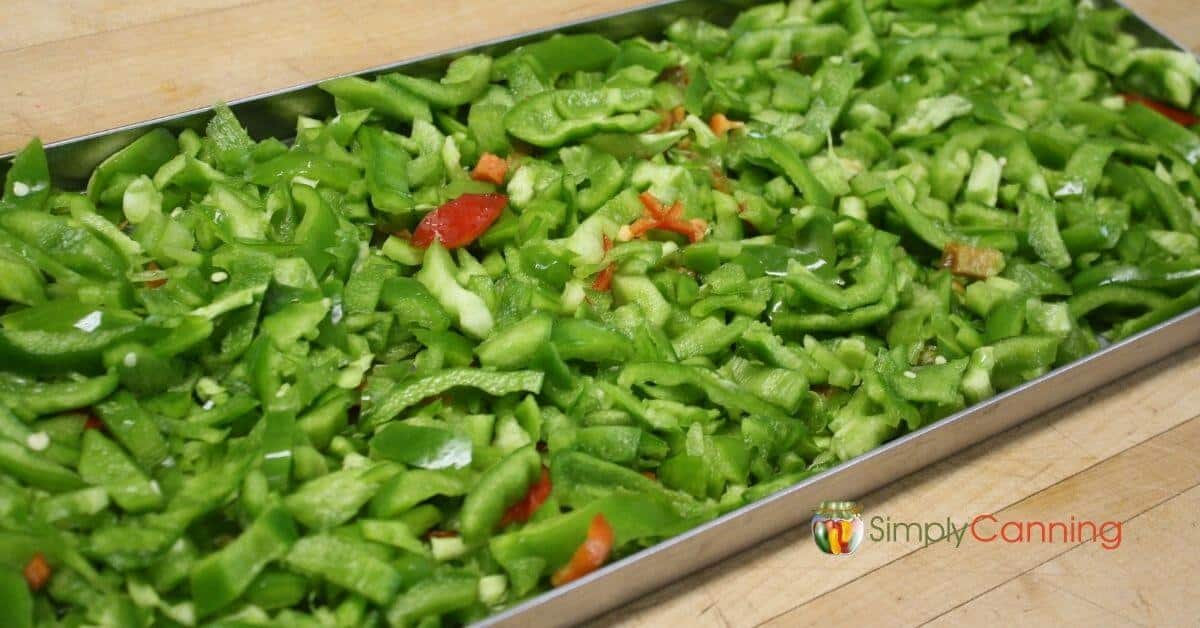
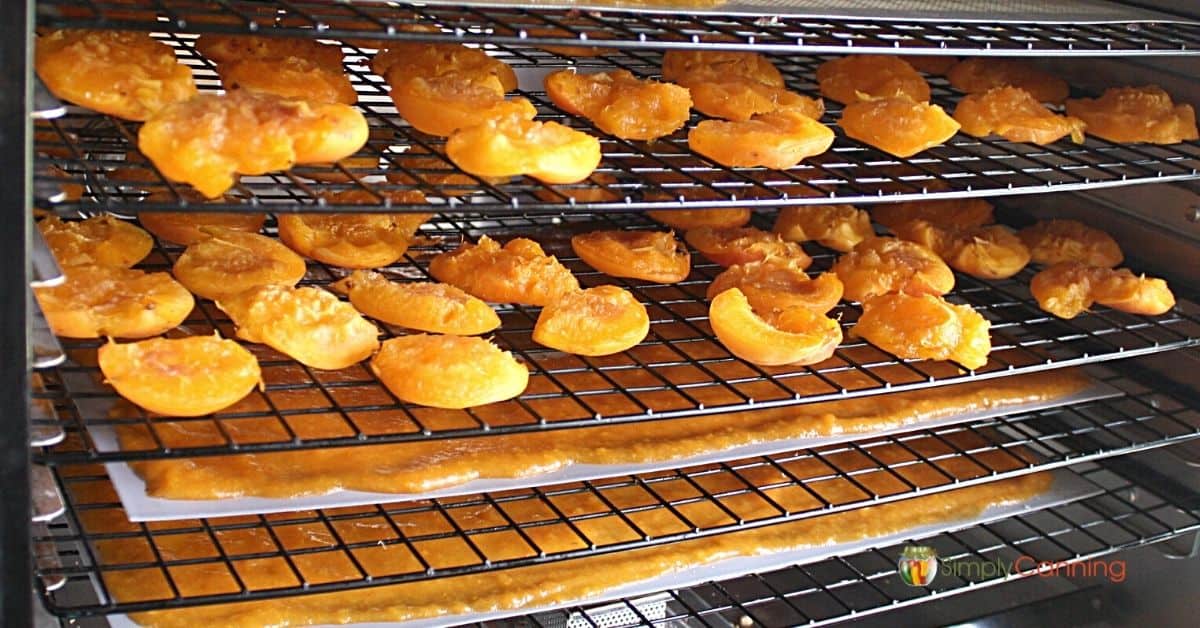
Want to Try Dehydrating Other Foods?
- How to Dry Corn in a Dehydrator
- How to Dry Beets
- How to Dry Onions