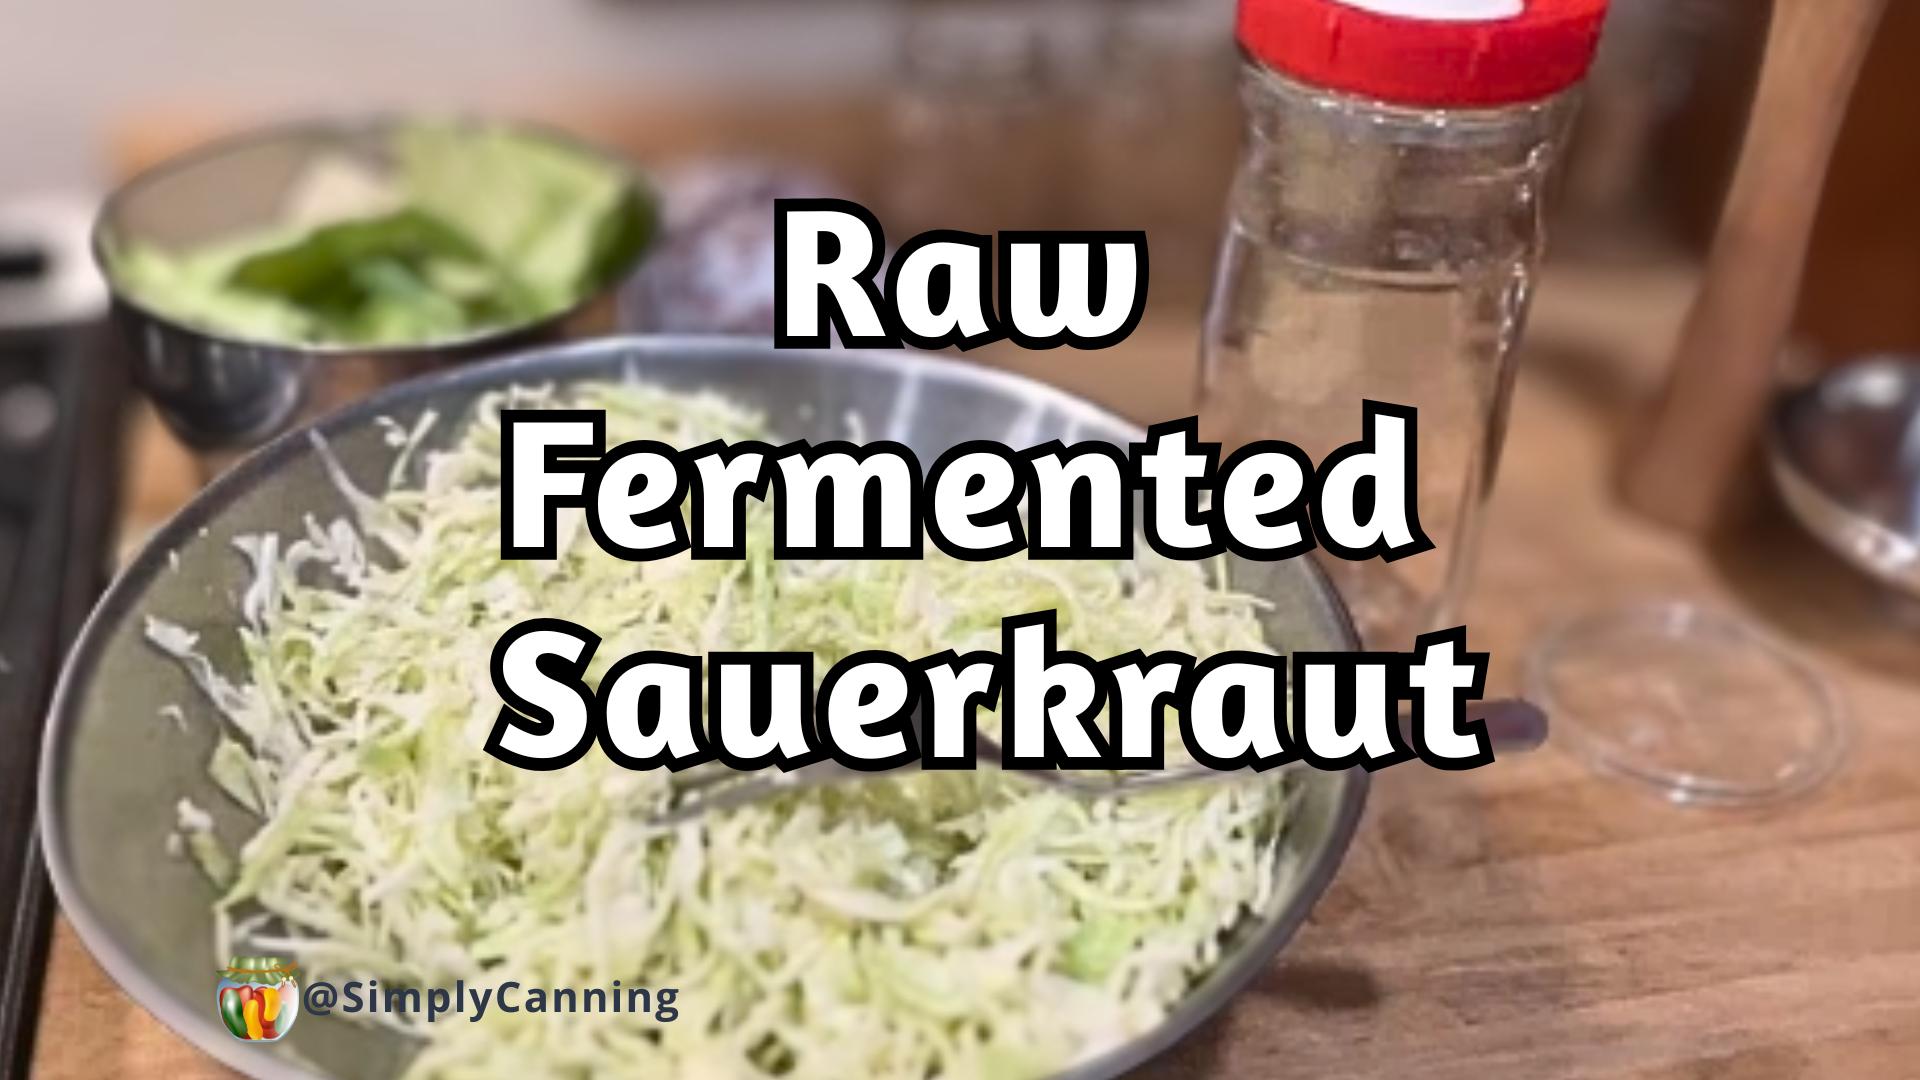
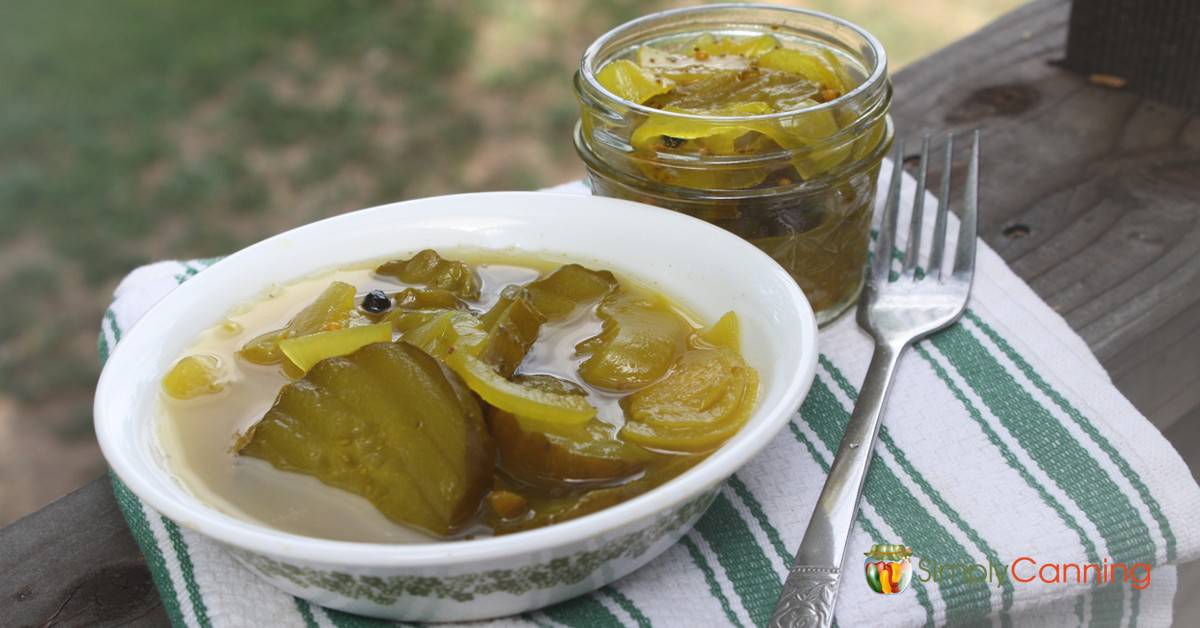
How to Can Crunchy Pickles
This page may contain affiliate links. More Information.
When I first started canning, pickles were one of the first things I tried. I didn’t just make a little batch to practice; I went all in and made over twenty quart jars of dill pickles. The flavor was good, but the texture? Terrible. They were soft, soggy, and downright disappointing. My family wouldn’t eat them, so they went to the chickens. (The chickens were happy — I wasn’t!)
In this video, I’ll share everything I’ve learned since then. These are tips and techniques that can be used with most pickle recipes.
Links Mentioned in the Video:
- For the full canning recipe I use for crunchy dill pickles… click here.
- This tutorial is a section of our complete Pickling Made Easy Course. If you liked this, you might like more! Click to learn more about the full Pickling Course.
How to Can Crunchy Dill Pickles
It took me years to try canning dill pickles again. Nobody likes mushy pickles. But then I learned – it’s all in the processing. With a low-temperature pasteurization process — (plus a few other tips) my pickles finally turned out crisp and delicious.
1. Start with Fresh Cucumbers
The single most important thing for crispy pickles is freshness. The sooner you can get your cucumbers from garden to jar, the better your pickles will be.
Ideally, pick your cucumbers and process them within three to four hours. That’s not always realistic, so if you can’t get to them right away:
- Keep them cool.
- Don’t leave them out in the sun.
- Store them in the refrigerator or in ice water until you’re ready to start.
The fresher your cucumbers are, the firmer and crunchier they’ll stay once they’re canned. You can sometimes can them the next day… but same day you harvest is better. If you must wait, put them directly in the fridge.
- Harvest tip: Focus on small whole cucumbers. I tell my kids, pick when they are about the size of your thumb (they are teen boys just for size reference). You can certainly use them bigger… but small is better.
- Farmers Market Tip: Ask when the cucumbers were harvested and how they were stored. If you find a bin of cucumbers that are out in the heat and the farmer picked them 2 days ago. I’d pass.
2. Remove the Blossom End
This is one of those small steps that makes a big difference.
Look at the ends of your cucumber. The stem end (where it was attached to the vine) and the blossom end (where the flower was). The blossom end can contain enzymes that cause softening.
To prevent that, slice off about ¼ inch from the blossom end as soon as you pick your cucumbers. I like to take a small knife with me into the garden and trim them right there. Removing that enzyme early helps stop the softening process before it even begins.
3. Give Them an Ice Water Bath
If you can’t process your cucumbers right away, soak cucumbers in ice water for a couple of hours.
This keeps them cold, slows down any softening, and helps firm them up. Plus, they’ll absorb some of that cool water, which helps make them even crisper once they’re canned.
4. Try a Crisping Agent
There are a few commercial products that can help you achieve crispy homemade pickles. Choose one of these to try…not all at once! My preference is the Pickle Crisp.
Alum
Alum is sometimes used for fermented pickles. According to the Missouri Extension Service, it can increase firmness when used up to ¼ teaspoon per pint. More than that can actually make your pickles softer, so measure carefully. Alum doesn’t help with fresh-pack (non-fermented) pickles, so use it only if you’re fermenting.
Pickling Lime
Pickling lime has a great reputation for producing crisp pickles. You mix the lime with water and soak your cucumbers (usually overnight — check your package for directions).
Before canning, you must rinse them thoroughly — soak and rinse in fresh water three times — to remove all lime residue and make them safe for processing. Ball makes a food-safe pickling lime product that’s easy to find in most canning aisles and online.
Pickle Crisp
This is the product I personally use. Pickle Crisp (by Ball) comes in a small plastic container filled with white granules. It’s made from calcium chloride — a type of salt that helps preserve firmness.
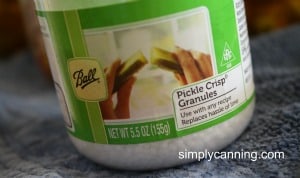
Just add the recommended amount directly into each jar before you pour in your brine. It’s simple, safe, and very effective.
5. Consider Grape Leaves
Some people swear by adding a grape leaf or an oak leaf to each jar of pickles. The leaf contains natural tannins that help block the enzymes that cause softening.
I haven’t used grape leaves myself, but they’re a traditional option that some canners still like. If you’re already trimming the blossom ends, you may not notice much difference, but it can be fun to experiment and see if you like the result.
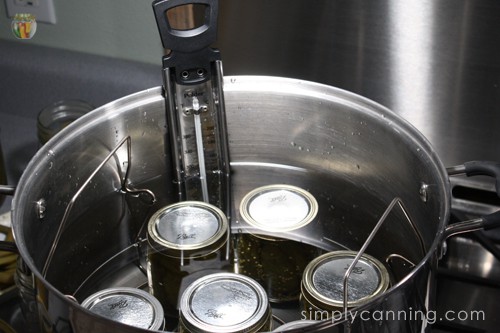
6. Use the Low-Temperature Pasteurization Process
This final method completely changed my pickling game. Instead of bringing your water bath canner to a full boil, you heat it to 180°F and hold that temperature for 30 minutes.
You’ll need a good thermometer (I use a candy thermometer) to make sure it stays steady. This gentle process is safer for your pickles — they’re still properly preserved but not cooked to death, which helps them stay wonderfully crisp.
Just make sure your pickle recipe is approved for this method. I use it with my favorite dill pickle recipe, and it works beautifully.
You can find this process in this recipe for dill pickles.
Final Thoughts
If your first batch of pickles turns out soft, don’t give up! We’ve all been there. Use these methods — fresh cucumbers, trimmed blossom ends, ice water soaks, crisping agents, and the low-temp process — to find what works best for you.
Now that you know all the tricks to can crunchy homemade, you can enjoy jars full of crunchy pickles your whole family will love. And this time, you won’t have to share them with the chickens!