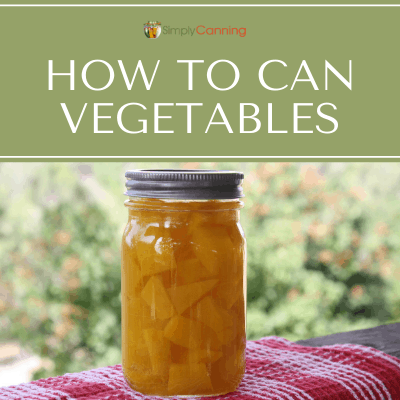
How to Sterilize Canning Jars
This page may contain affiliate links. More Information.
Did you know that sterilizing jars for home canning is not always necessary? In most cases, you can skip the sterilization. The jars will be well sterilized during the canning process.
I want to emphasize that you DO need to start with clean jars.

Sterilizing Canning Jars; is it necessary?
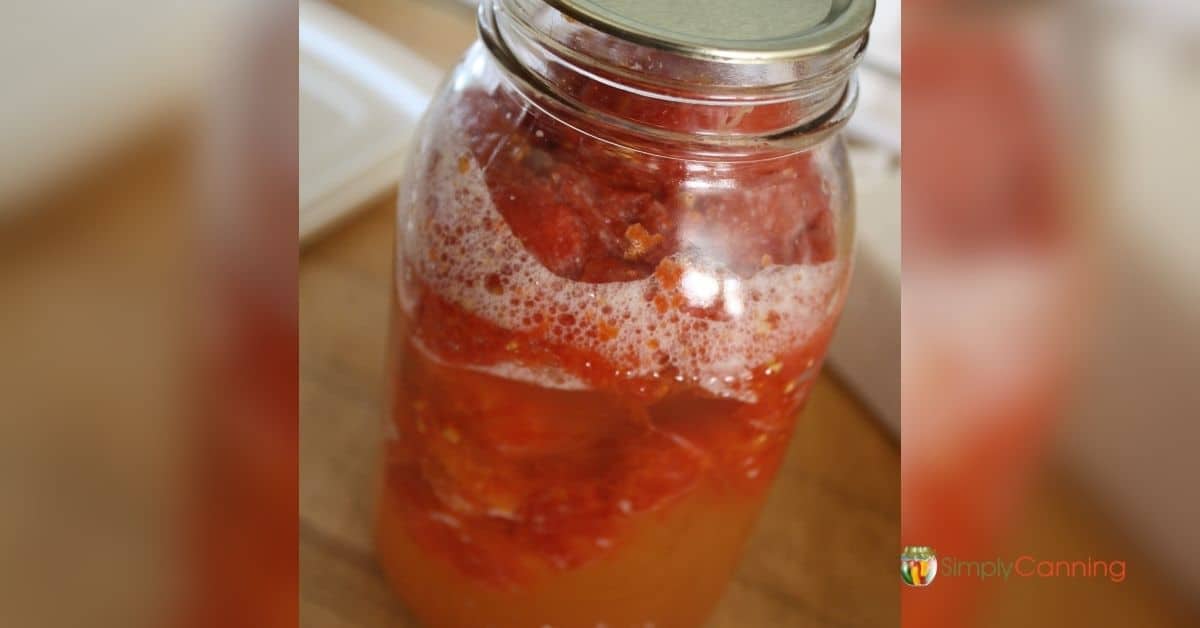
The necessity of sterilizing is dependent on the processing time of your recipe. Jars need to be boiled for 10 minutes to be sterilized. The thing is, this time can actually be part of the processing of your food.
Sterilizing canning jars becomes necessary when dealing with specific recipes, such as some jams and jellies, that require a processing time of less than 10 minutes.
When It Is Not Necessary
It is not needed in most instances. Any canning recipe that process for more than 10 minutes sterilizes both the food and the jars. If your recipe is processed for more than 10 minutes no sterilization is needed. Which is the case for most foods. Watch your processing time when making the decision.
When It Is Necessary
Occasionally, there will be a recipe that has a processing time that is less than 10 minutes. Some jam recipes or fruit preserves are examples.
In that case, you do need to sterilize the jars first. Again, Watch your processing time when making the decision.

How to Sterilize Mason Jars
So you’ve decided you want or need to sterilize your jars. Here’s how. Follow these steps to sterilize empty canning jars:
- Place the empty jars right-side up on the rack in a boiling-water canner.
- Fill the canner and jars with hot (not boiling) water, ensuring it reaches 1 inch above the tops of the jars.
- Boil for minimum of 10 minutes if you’re at an altitude of less than 1,000 feet. For higher elevations you’ll need additional time. , add 1 minute for each 1,000 feet.
- Use a jar lifter to remove and drain hot sterilized jars one at a time. Avoid using oven mitts, as they can become soaked and pose a burn risk in the boiling water. Tongs are another choice that can work.
If you don’t have a canner with a rack, you can still do this in a stock pot. The goal is jars fully covered in water that is boiled for the appropriate amount of time.
Note: I’ve heard people say they “sterilize the jars in the dishwasher.” However, these washing methods do not sterilize jars; they simply clean them very well. A perfect way to prepare your jars for canning but it is not sterilization.
Peace of Mind!
While these guidelines suggest that sterilizing might not be necessary, it’s perfectly fine if you prefer to continue doing so. If you’ve been doing it and feel more comfortable with the process, go ahead. It doesn’t hurt a thing. Your peace of mind is valuable, even if the guidelines indicate it’s optional.
The Importance of Clean Jars
If you decide that you do not need to sterilize, starting with clean jars is still required . Follow these guidelines:
- Wash empty jars in hot, soapy water by hand or in a dishwasher.
- Rinse the jars thoroughly to remove any detergent residue, which can affect taste and appearance.
- Check for scale or hard water films on jars, and if present, soak the jars in a solution of 1 cup of vinegar (5 percent acidity) per gallon of water to easily remove them.
Add Some Time To Make It Easy
If you do have a recipe that calls for less than 10 minutes processing time it is acceptable to just add time so you reach that 10 minutes. Some jam and jelly recipes call for a short processing. I just add minutes to the processing so I can skip the step of sterilizing the jars first.
Sterilizing Jars In the Oven
I often see people say they sterilize their jars in the oven. Do NOT do this. The dry heat of an oven is very different than circulating boiling water. You run a high risk of the glass shattering.
Do I have to wash new canning jars from the box?
Yes, Do wash new jars. You should not open a box of new jars and use them straight from the box. You might think it is sealed up in plastic so it’s not necessary, but that would be wrong. It came from a factory. Contamination is likely.
- Who knows who handled them?
- Who knows what the conditions of the factory were?
- Were there insects?
- Were there rodents?
- Was there dirt?
- Was there plastics floating around?
There could be any number of things impacting those jars! Please wash your jars, new or not.
Do I need to sterilize my Canning lids and screw bands?
Actually no, you don’t need to sterilize these either. It used to be standard practice to boil canning jar lids before putting them on the jars. However…the rubber seal compound that is used on canning jar lids nowadays is different. It is thinner, and it does not require boiling.
It can actually cause problems if you DO boil your lids. So in this case if you’ve been boiling, I suggest you stop. I’ve got more on this topic on this page… Why Are My Canning Jars Not Sealing?
Printable Steps to Sterilizing Canning Jars.

How to Sterilize Canning Jars
Equipment
- Water Bath Canner or large pot, to boil jars
Instructions
- Place empty jars right-side up on the rack in a boiling water canner.
- Fill the canner and jars with hot (not boiling) water to 1 inch above the tops of the jars.
- Bring to a boil and boil 10 minutes for elevations less than 1,000 feet; for higher elevations, boil 1 minute for each additional 1,000 feet.
- Allow the boil to stop, and then carefully remove hot, sterilized jars one at a time and drain the water into your canner. They will be hot! Do not burn yourself! Use a jar lifter.
- Fill this hot jar according to your product's directions and place the filled jar back into the canner.
- Remove the next jar and repeat.
- Did I say…they will be hot? (Don't want you to miss this point!)
- Continue with your canning recipe. (Be sure to add water to your canner if needed.)
Notes
Sterilizing Canning Jars Tips & FAQs
Sterilizing canning jars in the oven is not recommended. Dry heat is unpredictable and jar manufacturers say that it can cause the jars to weaken or break.
While you may be able to clean canning jars in the dishwasher, it doesn’t actually sterilize them. If you’re using a recipe that requires jars to be sterilized first, they cannot be sterilized using the oven, dishwasher, or microwave. Use the instructions on this page to ensure your jars are safe.
If by sterilizing you mean processing the filled jars (i.e., canning), then no. That is not the same at all and is never recommended. I talk more about some unsafe canning methods on this page. ac
No, the only way to pre-sterilize jars for home canning is to submerge them in boiling water. Of course remember that this is only needed if you have a recipe with less than 10 minutes processing time. The glass jars will be fully sterilized in the processing step of either water bath or pressure canning.
Boil 10 minutes at altitudes of less than 1,000 ft. At higher elevations, boil 1 additional minute for each additional 1,000 feet elevation.
These new jars will follow the same steps as any other jar. They don’t need to be sterilized before using (Unless your processing is less than 10 minutes) However…. DO wash them. They are not in any sort of a sterile environment even wrapped in the plastic wrap. Dust and debris is likely to be in the jars.
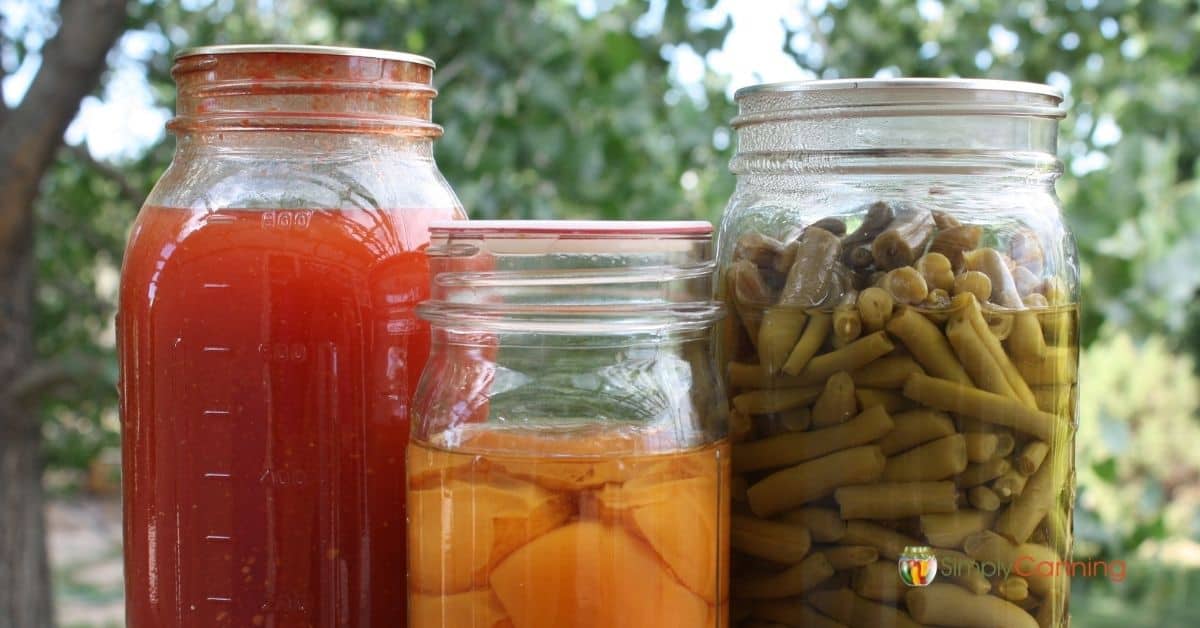
Always start by washing your jars in hot soapy water.
Well for me, the best way is to just sterilize them during the processing time of the food you are canning. But second best would be to use a water bath canner, place cleaned jars right-side up on the rack. Fill each jar with hot water, lower the rack to the bottom of the canner. Add hot water until the jars are fully submerged. Then boil for the correct amount of time for your altitude. When done you can lift the rack. The jars will then be easier to handle and drain.
Resources
- https://nchfp.uga.edu/how/can_01/sterile_jars.html
- https://ucanr.edu/sites/mfp_of_cs/files/378539.pdf
- National Center for Home Food Preservation
On the Certo package, the pectin that I use for some jams, it explicitly states to heat the jars in the oven at 225 degrees for 10 minutes to sterilize them, then leave them in the oven (turned off) to keep warm while you prepare your fruit etc. I’ve never had jars break with this method and it’s very quick and easy.
how about the rings and lids of mason jars?
I assume you are asking if the rings and lids need to be sterilized. No, the rings and lids just need to be clean. I rinse the rings off and put my lids in a bowl of hot water. Meaning hot water out of the tap, not boiling. I’ve read just use them out of the box… but I’d suggest a rinse at least. They will also be sterilized in the canning process.
Remember cold jars could crack if what you put in extremely hot liquid.
I Love to can and I am glad to hear that during covid that more people are learing it
Thank you for sharing your great information. I read your blog daily . It give me so much knowledge and ideas.