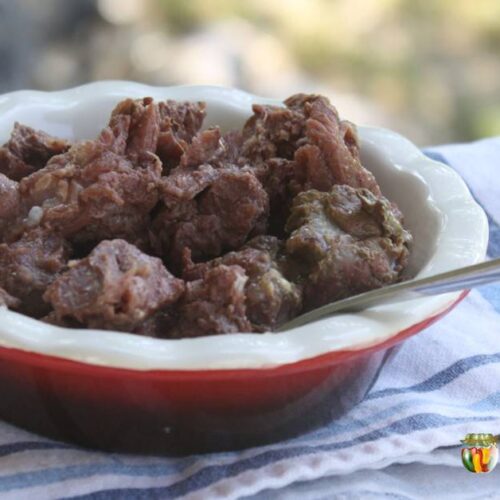
Canning Cubed Meat
Canning cubed meat is so easy, I wish I had started years ago. These directions will also work for canning meats such as beef, elk, or pork.
Print Recipe
Equipment
Ingredients
- Meat
- Boiling Water or broth
- Canning Salt Optional. Use 1/2 to 1 teaspoons per pint or 1–2 teaspoons per quart.
Instructions
- Start by preparing your jars and getting water in the canner heating. You want the canner hot, but not boiling, when the jars are ready to be processed. If you are new to using a pressure canner, see this article for full pressure canning instructions. This includes more detailed information and step-by-step instructions on how a pressure canner works.
For a Raw Pack
- Trim excess fat or gristle from the meat.
- Slice meat across the grain into 1” thick pieces. Cubes or strips are fine.
- Add canning salt to each jar.
- Pack raw meat into jars, leaving 1” headspace. Don’t add liquid.
- Remove bubbles, wipe the rim clean, and place on seal and ring.
- Place the jar in the warm canner. Proceed to fill all jars. Process according to below directions.
For a Hot Pack
- Trim excess fat or gristle from the meat.
- Slice meat across the grain into 1” thick pieces. Cubes or strips are fine.
- Add canning salt to each jar.
- Lightly brown cubed meat.
- Once heated through, use a slotted spoon to pack meat into hot jars.
- Distribute meat drippings evenly into all jars.
- Top off jar with boiling water or liquid, leaving 1” headspace.
- Remove bubbles, wipe the rim clean, and place on seal and ring. Proceed to fill all jars. Place the jars in the warm canner. Process according to below directions.
Notes
Processing with a Pressure Canner
Place the jars in the warm canner. Proceed to fill all jars placing them in the prepared hot canner.
Put the lid on the canner leaving the weights off. Bring to a boil. Watch for the steam to start coming out the vent pipe in the lid.
Allow the steam to 'vent' for 10 minutes then put the weights on. Use the proper weight for your altitude (check the chart below) This is when pressure will start to build.
When the pressure reaches the pressure required for your altitude (check the chart below) that is when you’ll start your time. Process for the full time indicated, adjusting the heat as needed to maintain the correct pressure for the entire time.
When processing time is completed turn off the heat. Do not remove weights yet. Let the canner sit undisturbed until pressure comes back to zero. Do not try to speed up the cooling process.
Remove the weight and wait 5 minutes.
Open the lid to allow steam to escape. (carefully don't let it hit your face or arms!) Leave the lid setting on top of the canner slightly ajar and wait 5 minutes.
Take the lid off the canner and remove your jars. (optionally you can wait another 5 minutes if the contents appear to be bubbling so hard it is coming out of the jars)
Put the jars a few inches apart on a thick towel and allow them to cool to room temperature undisturbed. 12 hours is suggested.
When the jars are cool, remove the metal bands, check the seals, and store the jars in a cool dark place.
Processing Instructions (Raw Pack or Hot Pack)
Process pints for 1 hour 15 minutes or quarts for 1 hour 30 minutes, adjusting for altitude.
Altitude Adjustments for Pressure Canner
Altitude – Weighted Gauge
0-1,000 ft - 10 pounds
1,001-8,000 ft - 15 pounds
Altitude – Dial Gauge
0-2,000 ft - 11 pounds
2,001-4,000 ft - 12 pounds
4,001-6,000 ft - 13 pounds
6,001-8,000 ft - 14 pounds
Adapted from: The National Center for Home Food Preservation, Wisconsin Extension
Servings: 2 pounds of meat per a quart jar