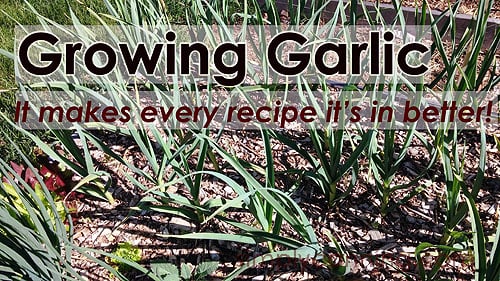
Growing Garlic
Growing garlic should be on your to do list if you have any kind of a garden. Is there a more versatile plant specimen on the planet than garlic? First, it makes every recipe it’s in better. It has an incredible amount of health benefits ranging from boosting your immune system to its anti-inflammatory properties. And, garlic is one of the most beneficial plants to have in your garden.
Here is another great benefit of growing garlic, many garden pests despise garlic and will move on elsewhere if garlic is present. I saw this first hand this spring where I planted a few Kale plants in with my garlics. The plants were not touched by the normal Kale tormenters. Interestingly, the Kale I had planted in another bed, which had no garlic, were decimated by the leaf eating critters.
I say all this to tell you: START GROWING GARLIC! If you’ve never planted garlic before, do yourself a favor and put some in the ground this fall. Besides all the above-mentioned benefits, garlic is relatively easy to grow for the home gardener. A little garden prep work, a couple fertilizer applications and some mulch will do the trick for you. So let me help you get started.
Varieties
There are many varieties of garlic to choose from. I recommend doing some research for Organic Garlic Growers online and chose the one you are most comfortable with. The most important thing to know is: will a particular variety grow in your area. A simple google research of the variety should help you in this or you could call the seller and ask for their recommendation.
One other thing to know is that there are two distinct type of garlic: softneck and hardneck. Softneck garlics grow better in the southern states up to zone 5.
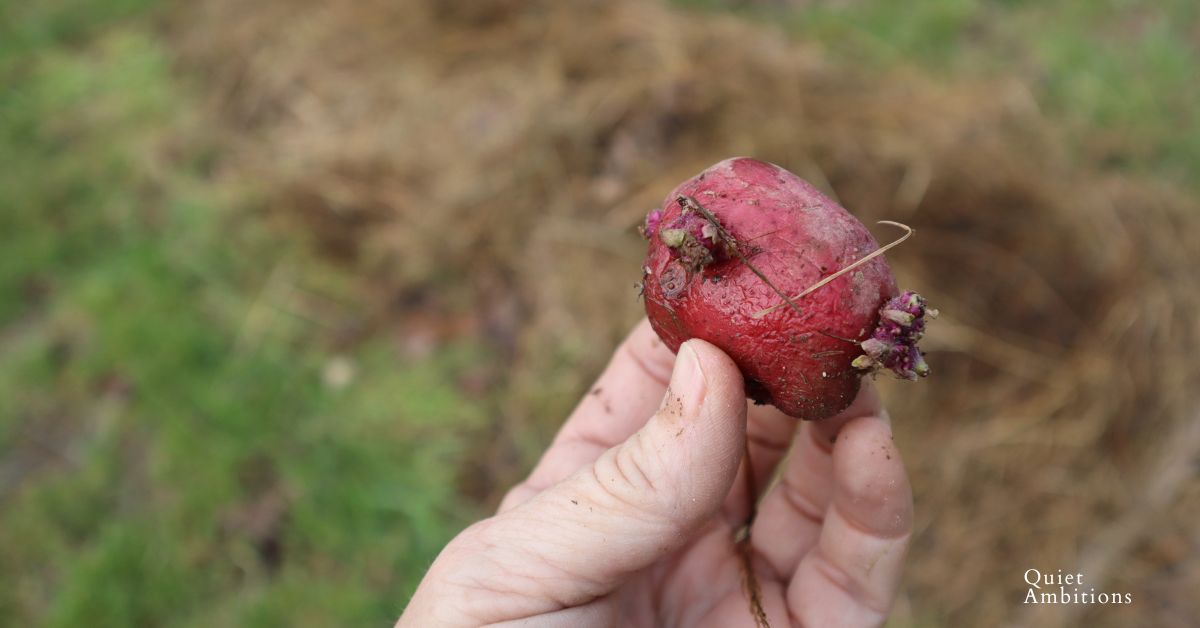
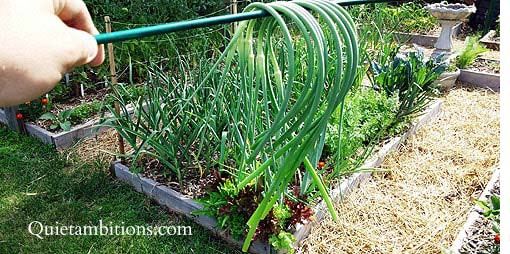
Hardneck garlics are better suited for climates with colder winters. This garlic type has a distinct shoot in late sprint/early summer known as a scape. This should be pruned off after it has curled. This will help the bulb swell larger.
I should also tell you that those scapes you remove are not just edible, but they are delicious and versatile in dishes from eggs to soups and are considered gourmet. A few easy-to-grow varieties for the backyard gardener are Red Toch, California Early, Spanish Roja and Chesnok Red.
Growing Garlic: Basics for the Garden
Soil Preparation
Garlic is, as they say, a heavy feeder so you will want to add plenty of good organic compost to your beds a few weeks prior to planting. Composted chicken, horse or cow manure should do the trick just fine. But as I always tell my friends, “do the best you can”.
Most of the compost I make is from yard litter and vegetable scraps along with worm castings and rabbit manure from our pet bunnies Fern and Leon! One benefit to rabbit manure is that it’s pretty stable and can be applied directly to the soil without the need for composting. Your worms will love you for it to!
Timing
For the highest quality garlic, you’ll want to plant in the fall sometime after your first frost. Here in zone 5, our first frost is typically the 2nd week of October. Most garlic growers in this area will plant mid to late October. The idea behind this is to give the garlic a good head start with its root system while inhibiting top growth.
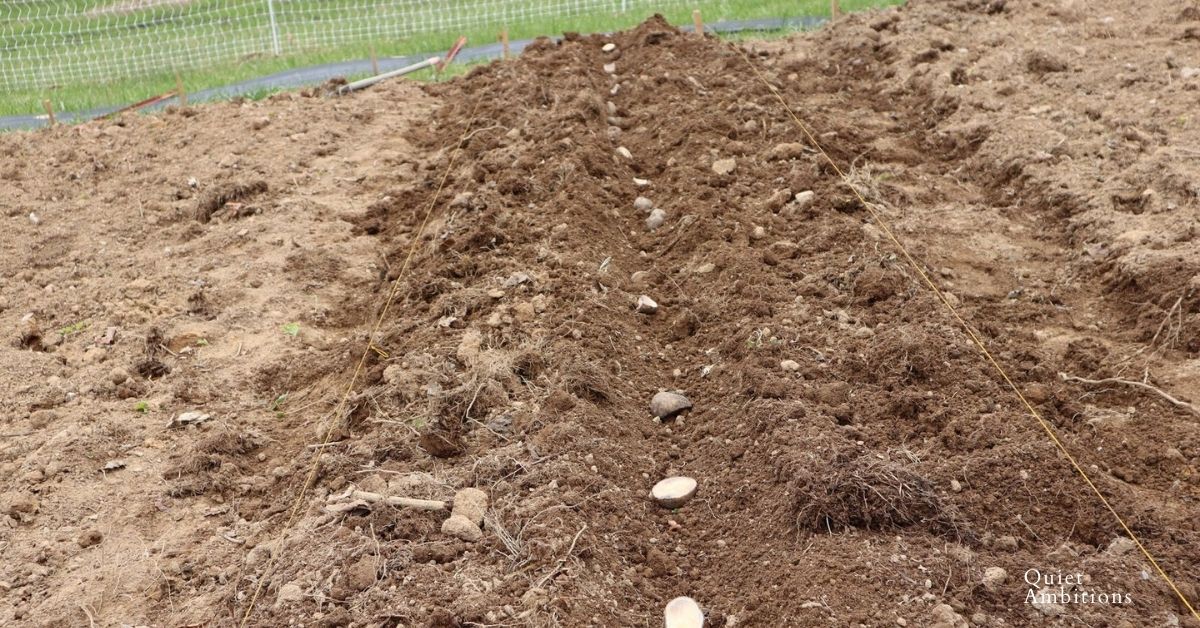
If you start your garlic too early you’ll end up with too much top growth that will only be damaged as it’s exposed to harsh winter temps. Too late and your roots don’t get the head start they need. As far as planting goes, just plant your cloves with the pointy tip up about two inches deep.
Mulch
Mulch is vital to garlic growing so be sure to pile it on. The best mulches for garlic are grass clippings, leaves, straw and of course wood chips. Be sure to mulch at least 4 to 8 inches deep prior to winter and leave the mulch in place until harvest. It will break down nicely the next spring providing slow release nutrients to your plants.
Fertilizer
In the spring, when your garlic starts to take off, fertilize with a good general purpose fertilizer such as fish and seaweed emulsion or a good batch of compost tea. You can do this every couple of weeks through May and then stop fertilizing. Watering is very important as well during this time but you will want to stop once the bulbs start to swell. A sure sign of this is when lower leaves begin to get pale or yellow.
Growing Garlic, The Harvest
Harvest and Curing
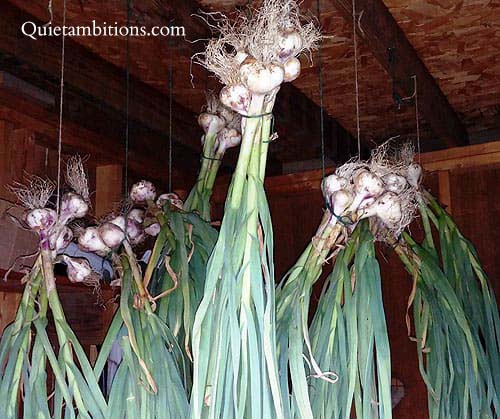
Harvest your garlic when a third to half of the leaves have died, but no later. Preferably, harvest on a day where your soil is fairly dry so you don’t have to deal with muddy bulbs of garlic. Immediately hang your garlic in a dry place with decent airflow and leave for 3 to 4 weeks.
By then your bulb wrappers should be plenty dry and you can store them in a dark area at room temperature. While the flavor of many varieties of garlic will improve after curing, don’t be afraid to take a few bulbs straight to the kitchen after harvest for use in your favorite dishes.
I hope this inspires you to start growing garlic this year. You’ll be happy you did!
About Brad

Brad Cloutier is a backyard gardener from Indiana with a passion for permaculture and bio-diverse gardening. He serves as a team leader at his local community garden alongside his wife and five boys.